We first met John Kotlowski when he shared his story of his experience with HoldFast gear and were blown away by both his work, and his commitment to HoldFast. Read below as John shares his recent adventure where his gear held up like a champ through some seriously tough terrain, and why he says he’s “actually very proud to own HoldFast gear.”
The Trip:
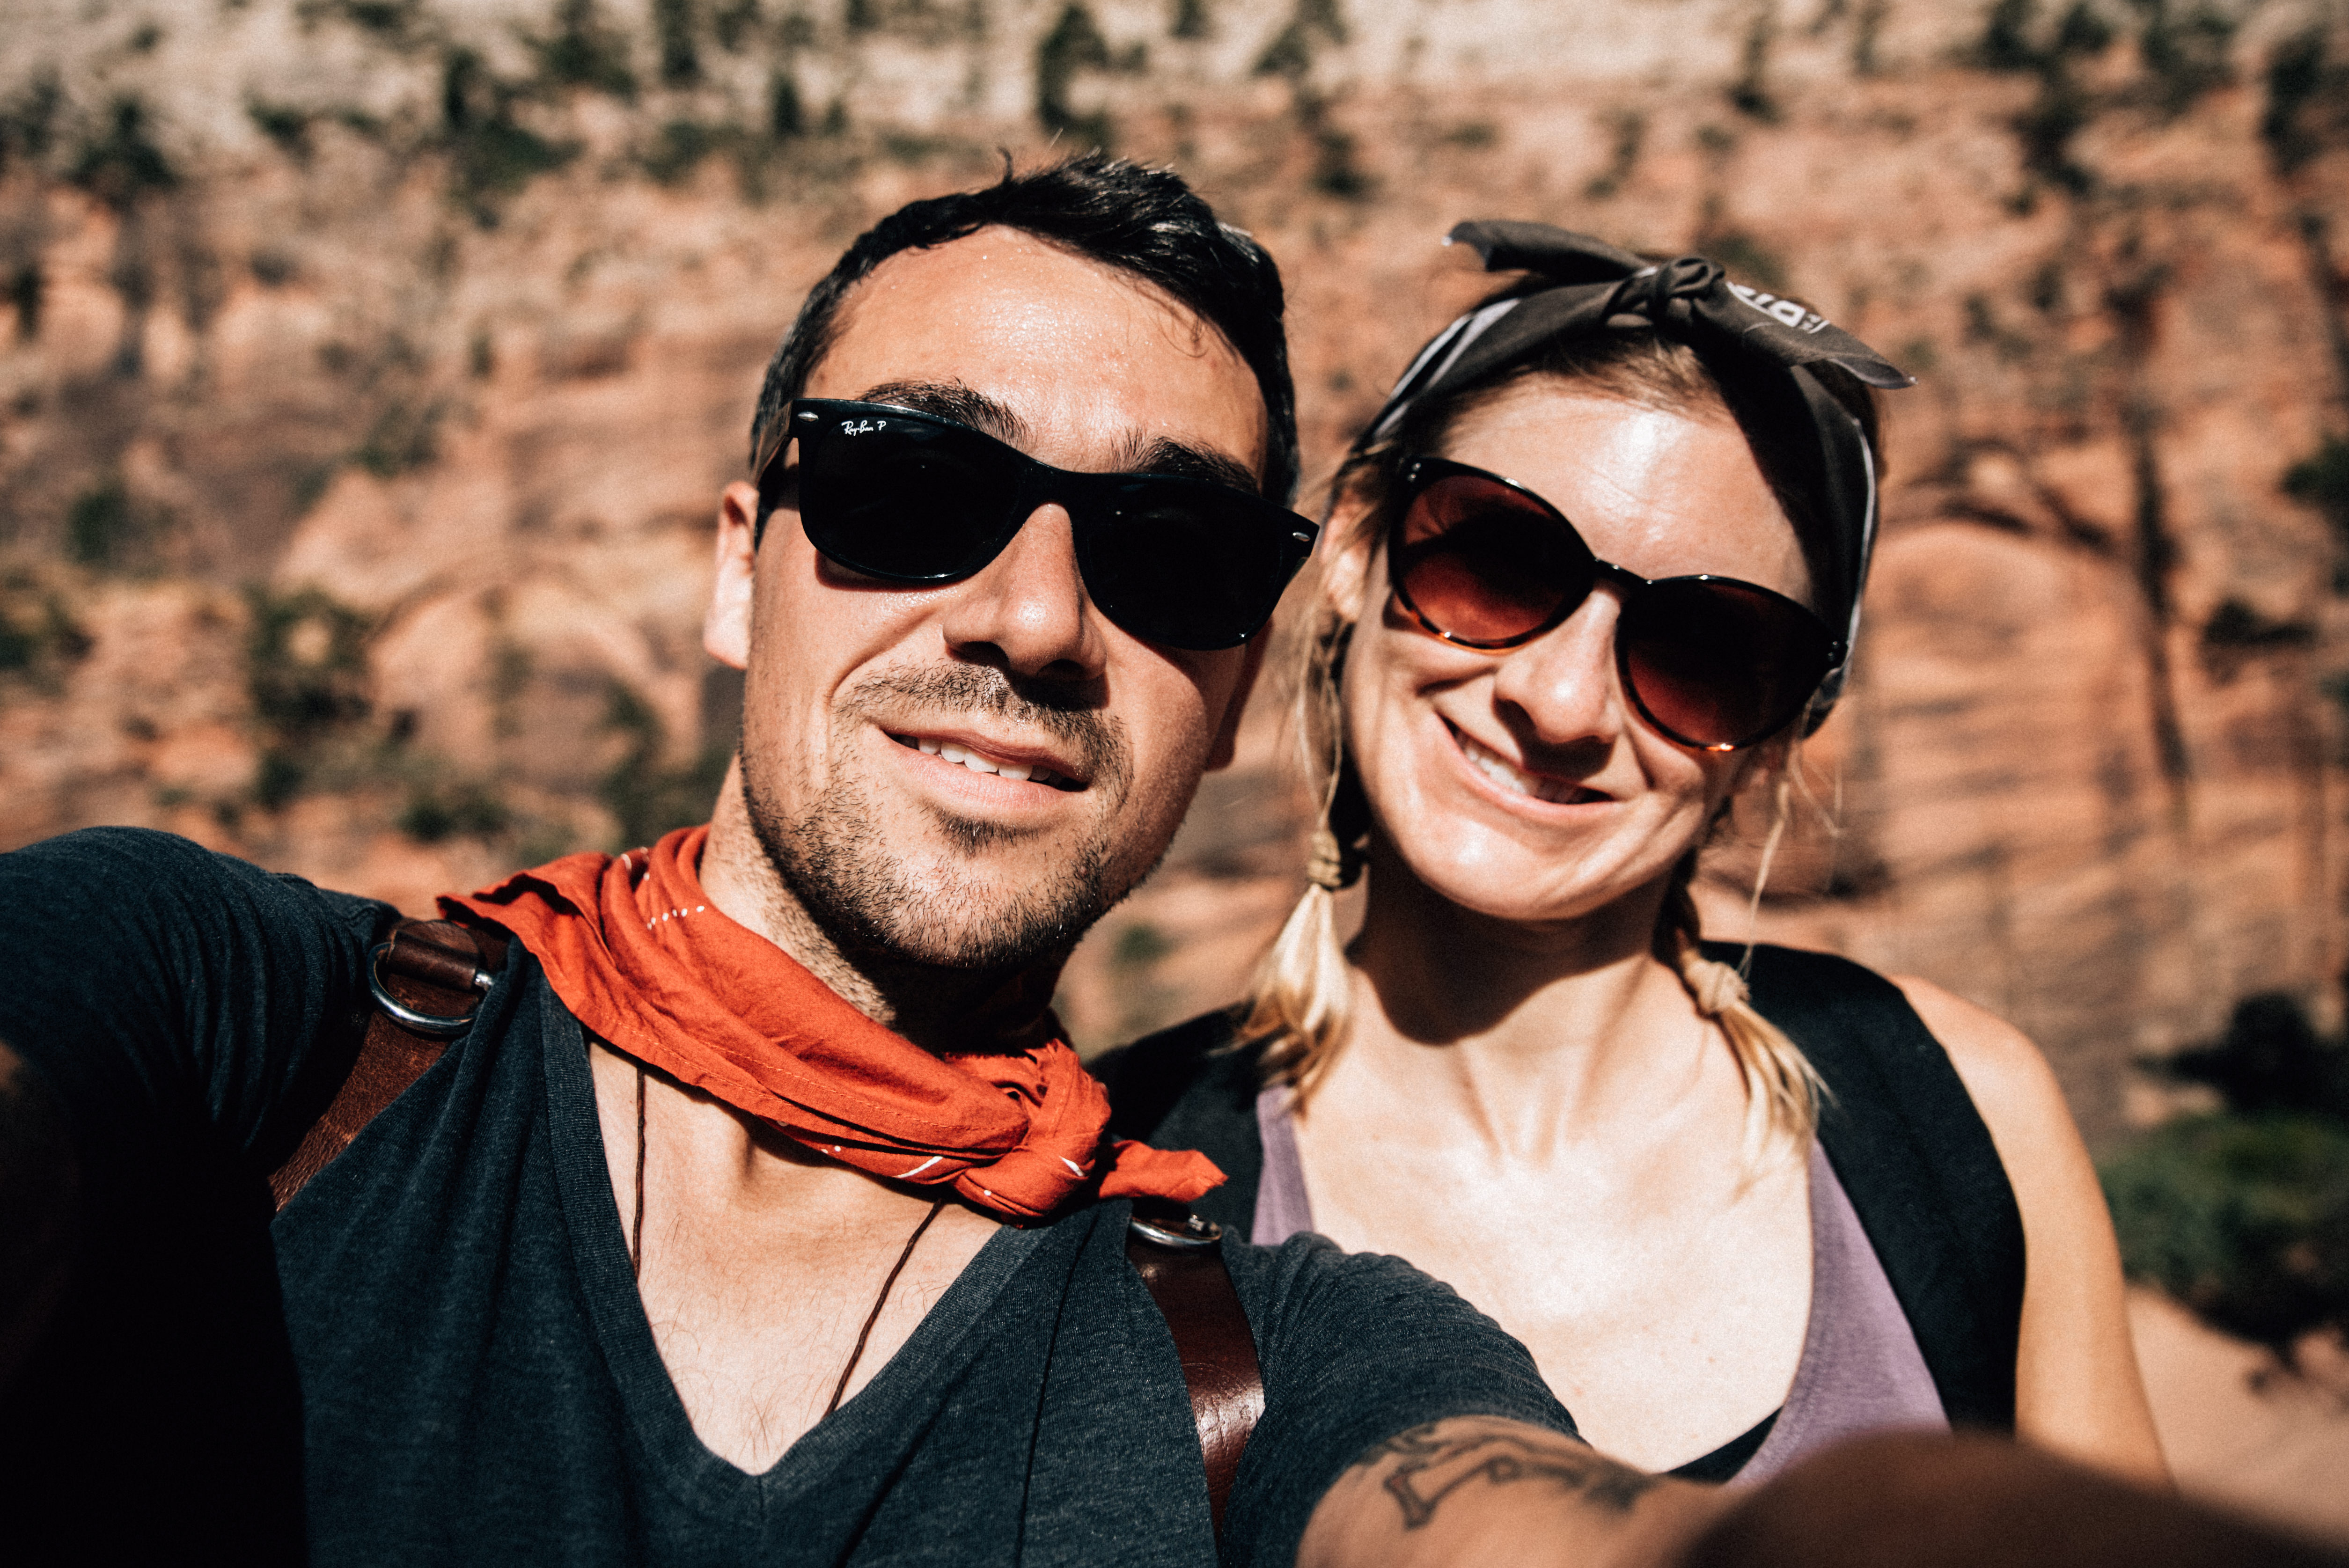
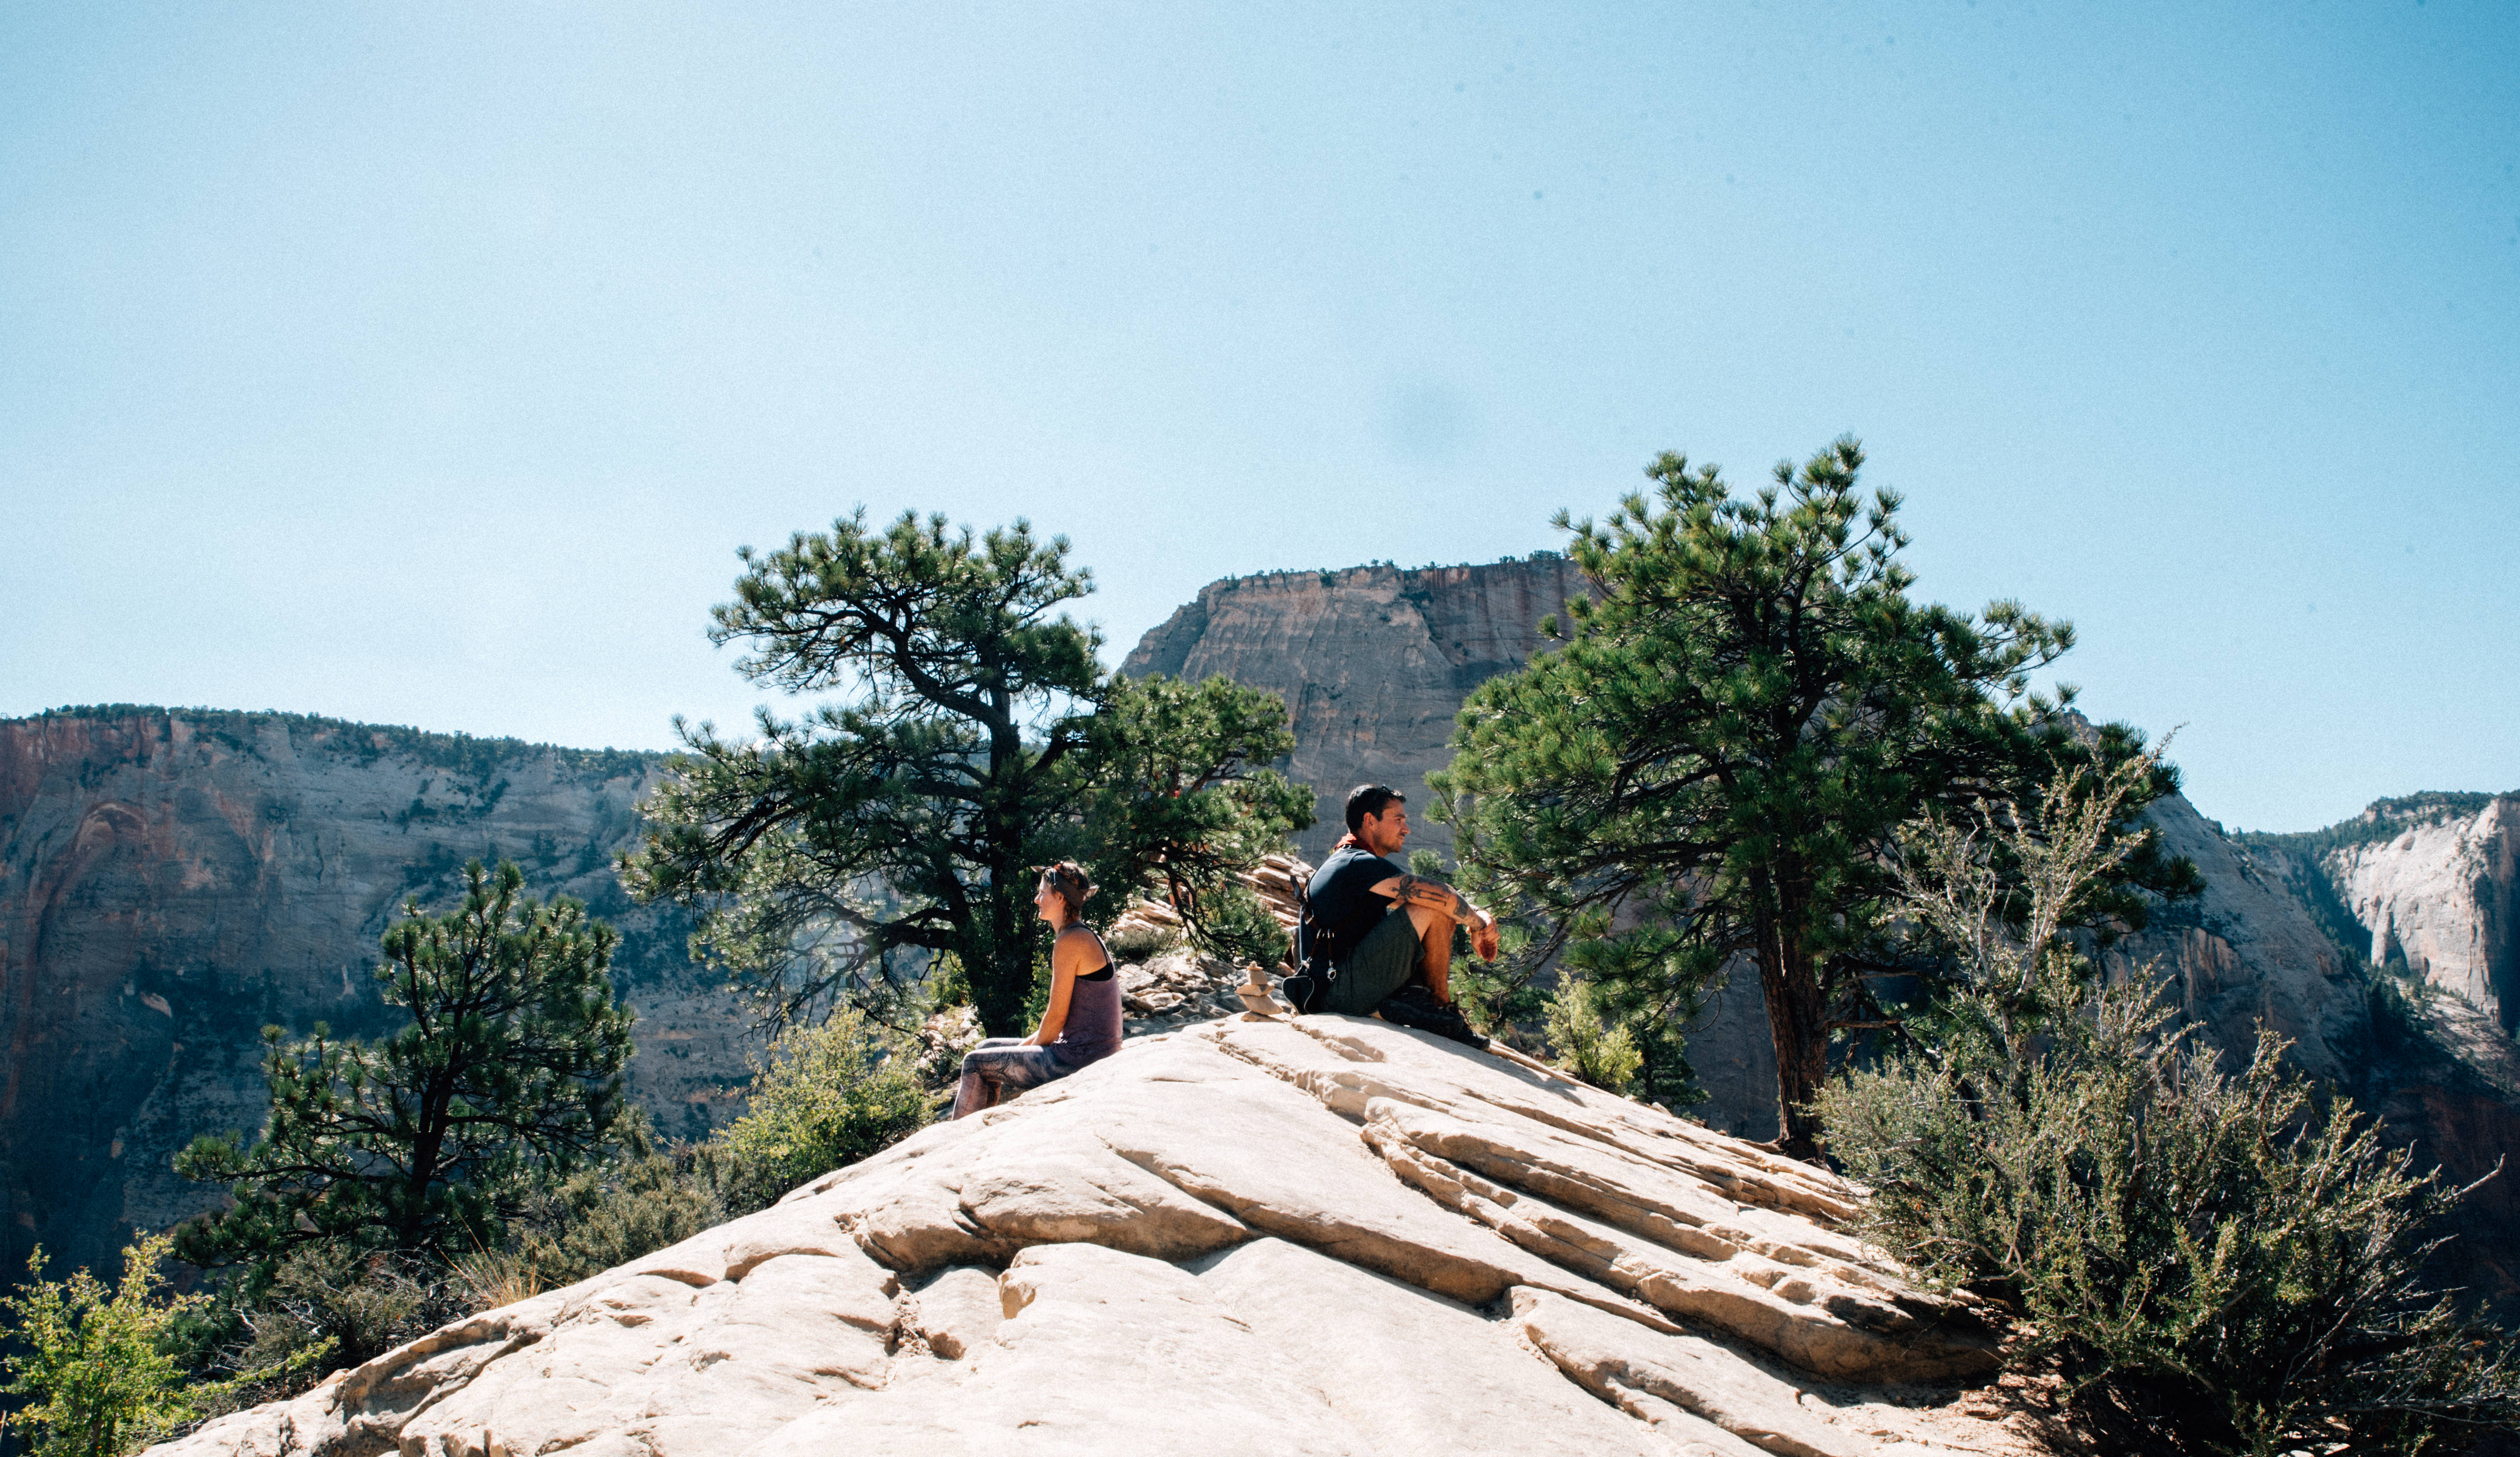
So my wife and I were just heading out to Zion National Park to start crossing National Parks off the bucket list. Like most people today, getting out and seeing all these natural wonders our country has to offer is definitely something we wanted to do. My wife has never been out to the Midwest, so seeing the Zion landscape was something completely new to her. We took the trip in the name of our anniversary, but in all honesty, every married couple with children knows how often we get stuck in the role of Mom and Dad, and that we put Husband and Wife on the back burner. Some time spent as just the two of us was very much needed. My wife and I love getting outside. Getting lost in nature is a big part of who we are, and it was just what we needed.
Obviously as a photographer myself, I wanted to do as much as I could, photographically speaking, without limiting my experience with the hike itself. I knew the Sightseer was weather treated, so the idea of it getting splashed or wet didn’t really concern me that much. I figured I’d leave enough room open in the bag so if I had to, I could slip my camera in the bag to avoid the camera itself from getting wet. I decided to hit the Narrows with my MoneyMaker and Sightseer because I knew I could fasten a small tripod to the extra clips, stock my Sightseer with the lenses I thought I would use, and still have room for the most important stuff, snacks. I was able to slip a water bottle in the extra 70-200mm pouch I got, and fasten that to one of the D rings on my back. So, camera hanging at my hip, bag packed, and me looking like I was wearing the coolest war gear, we set out to hike The Narrows.
The Narrows:
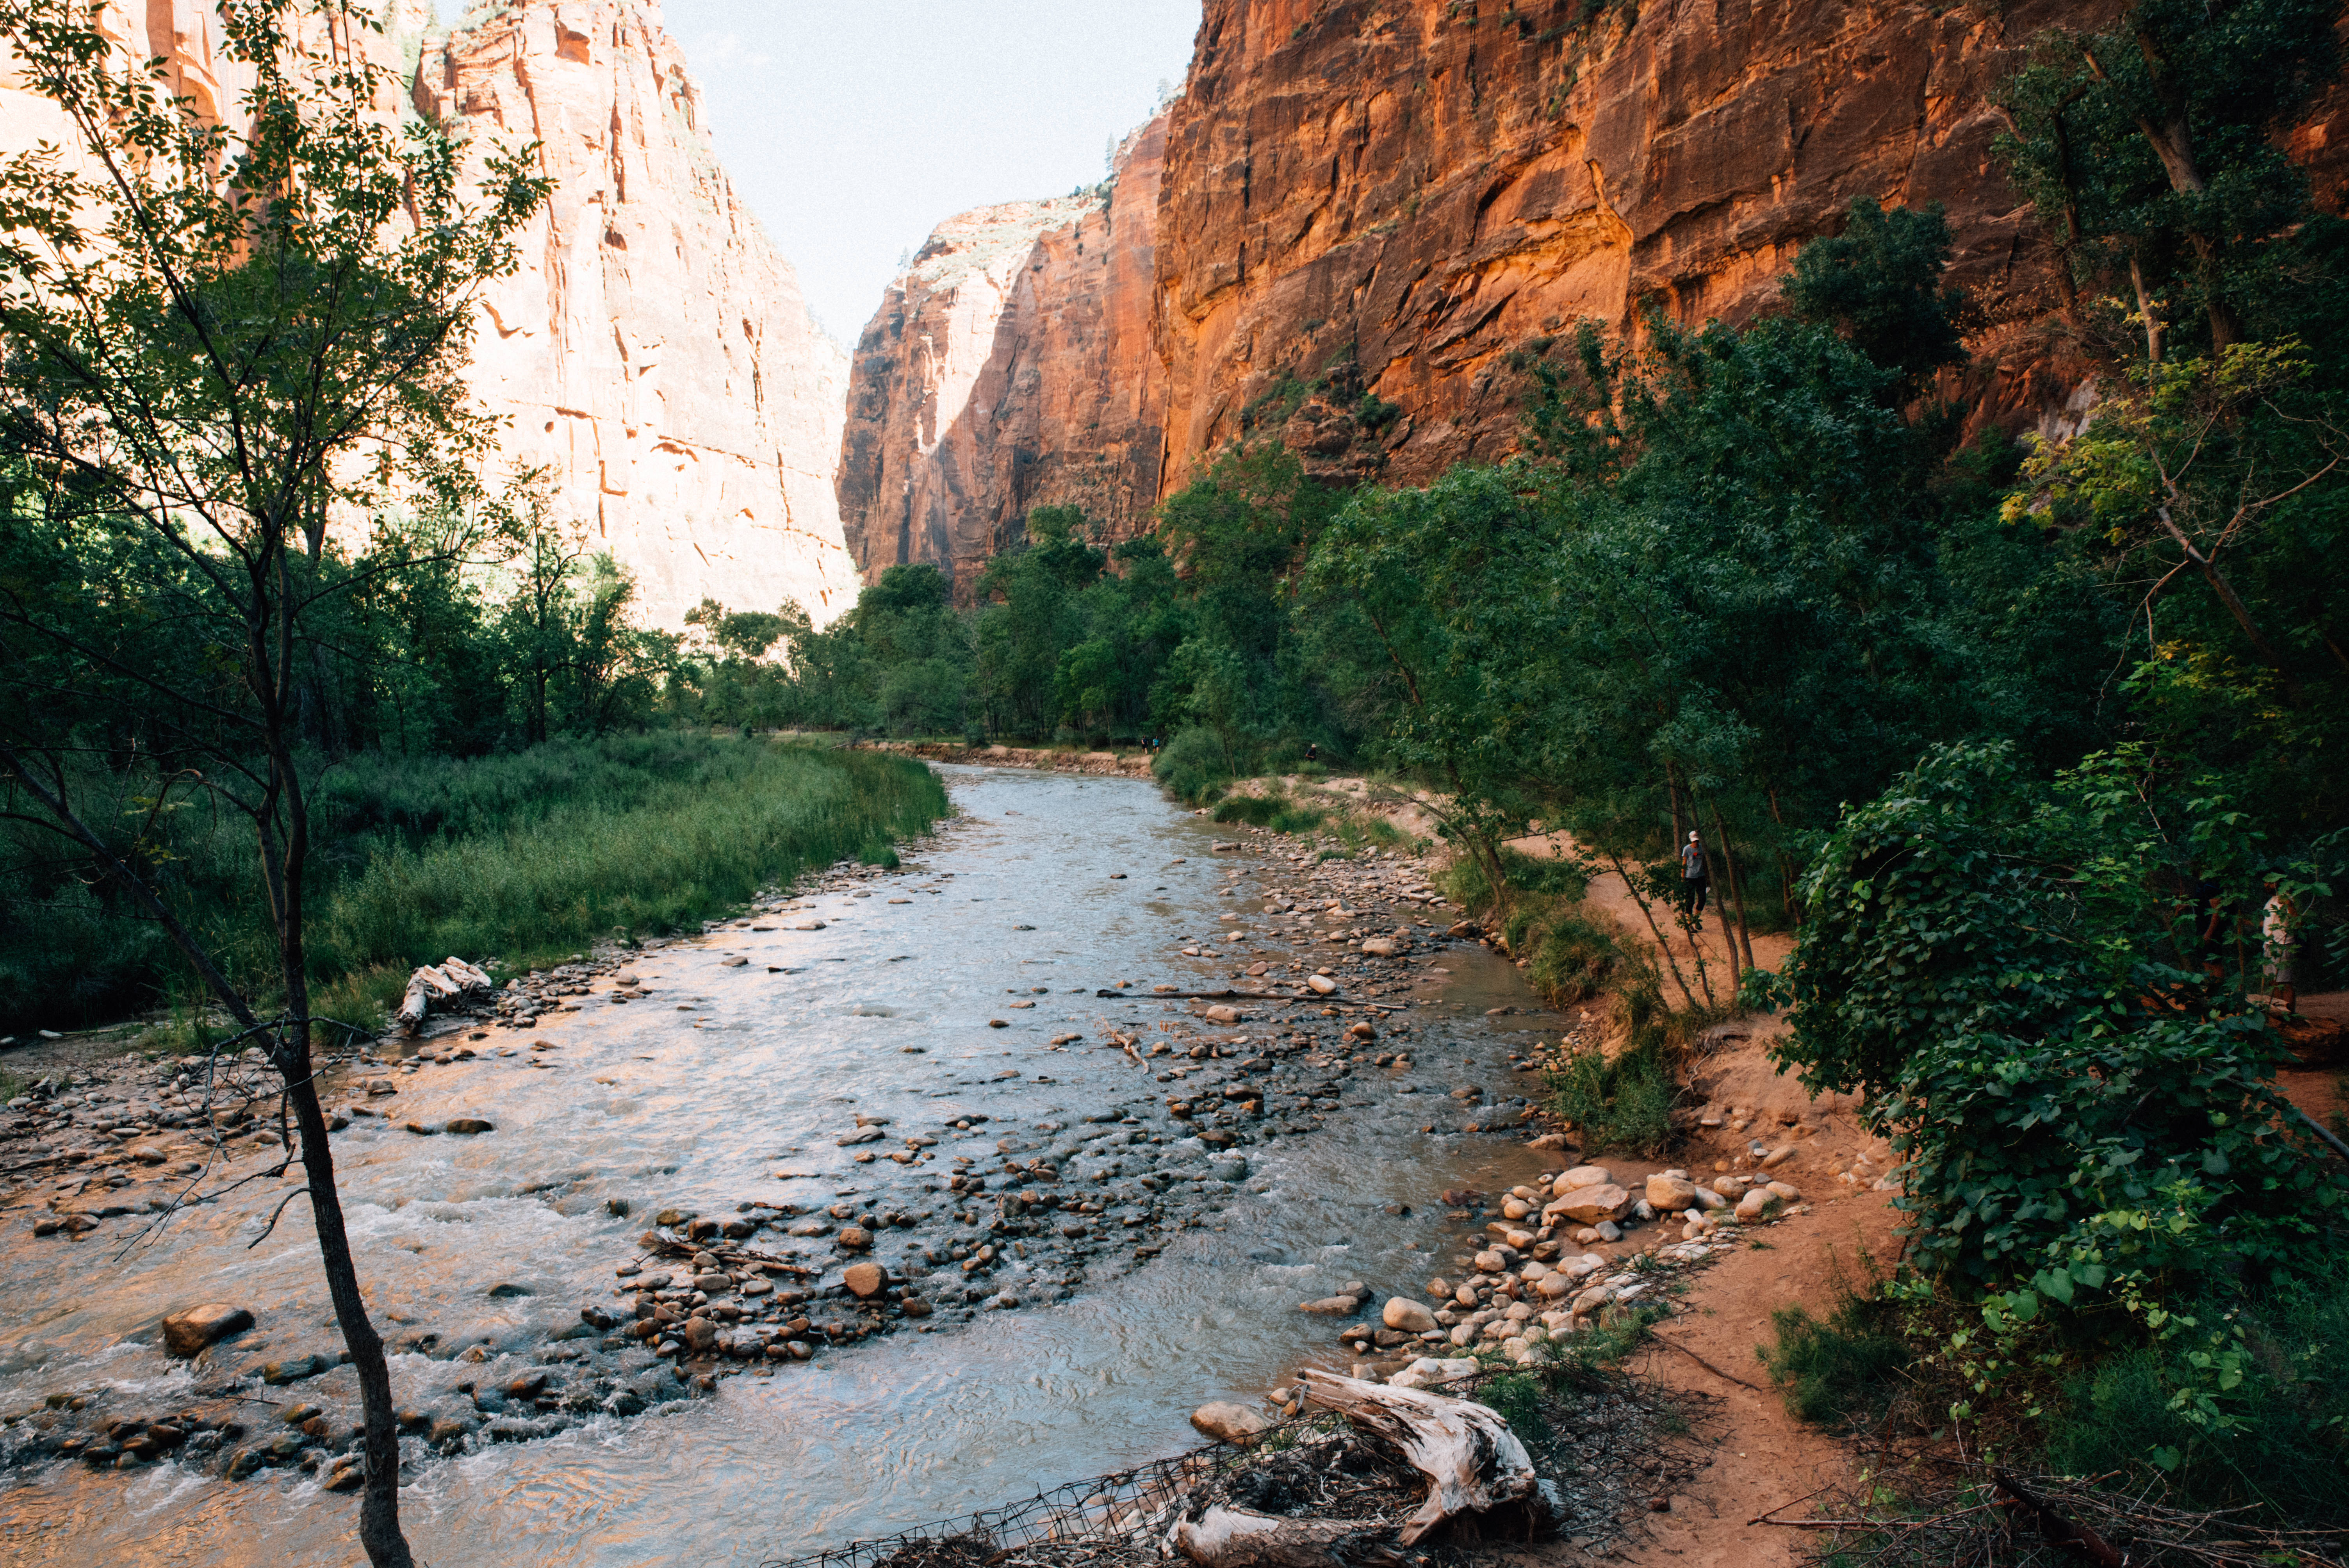
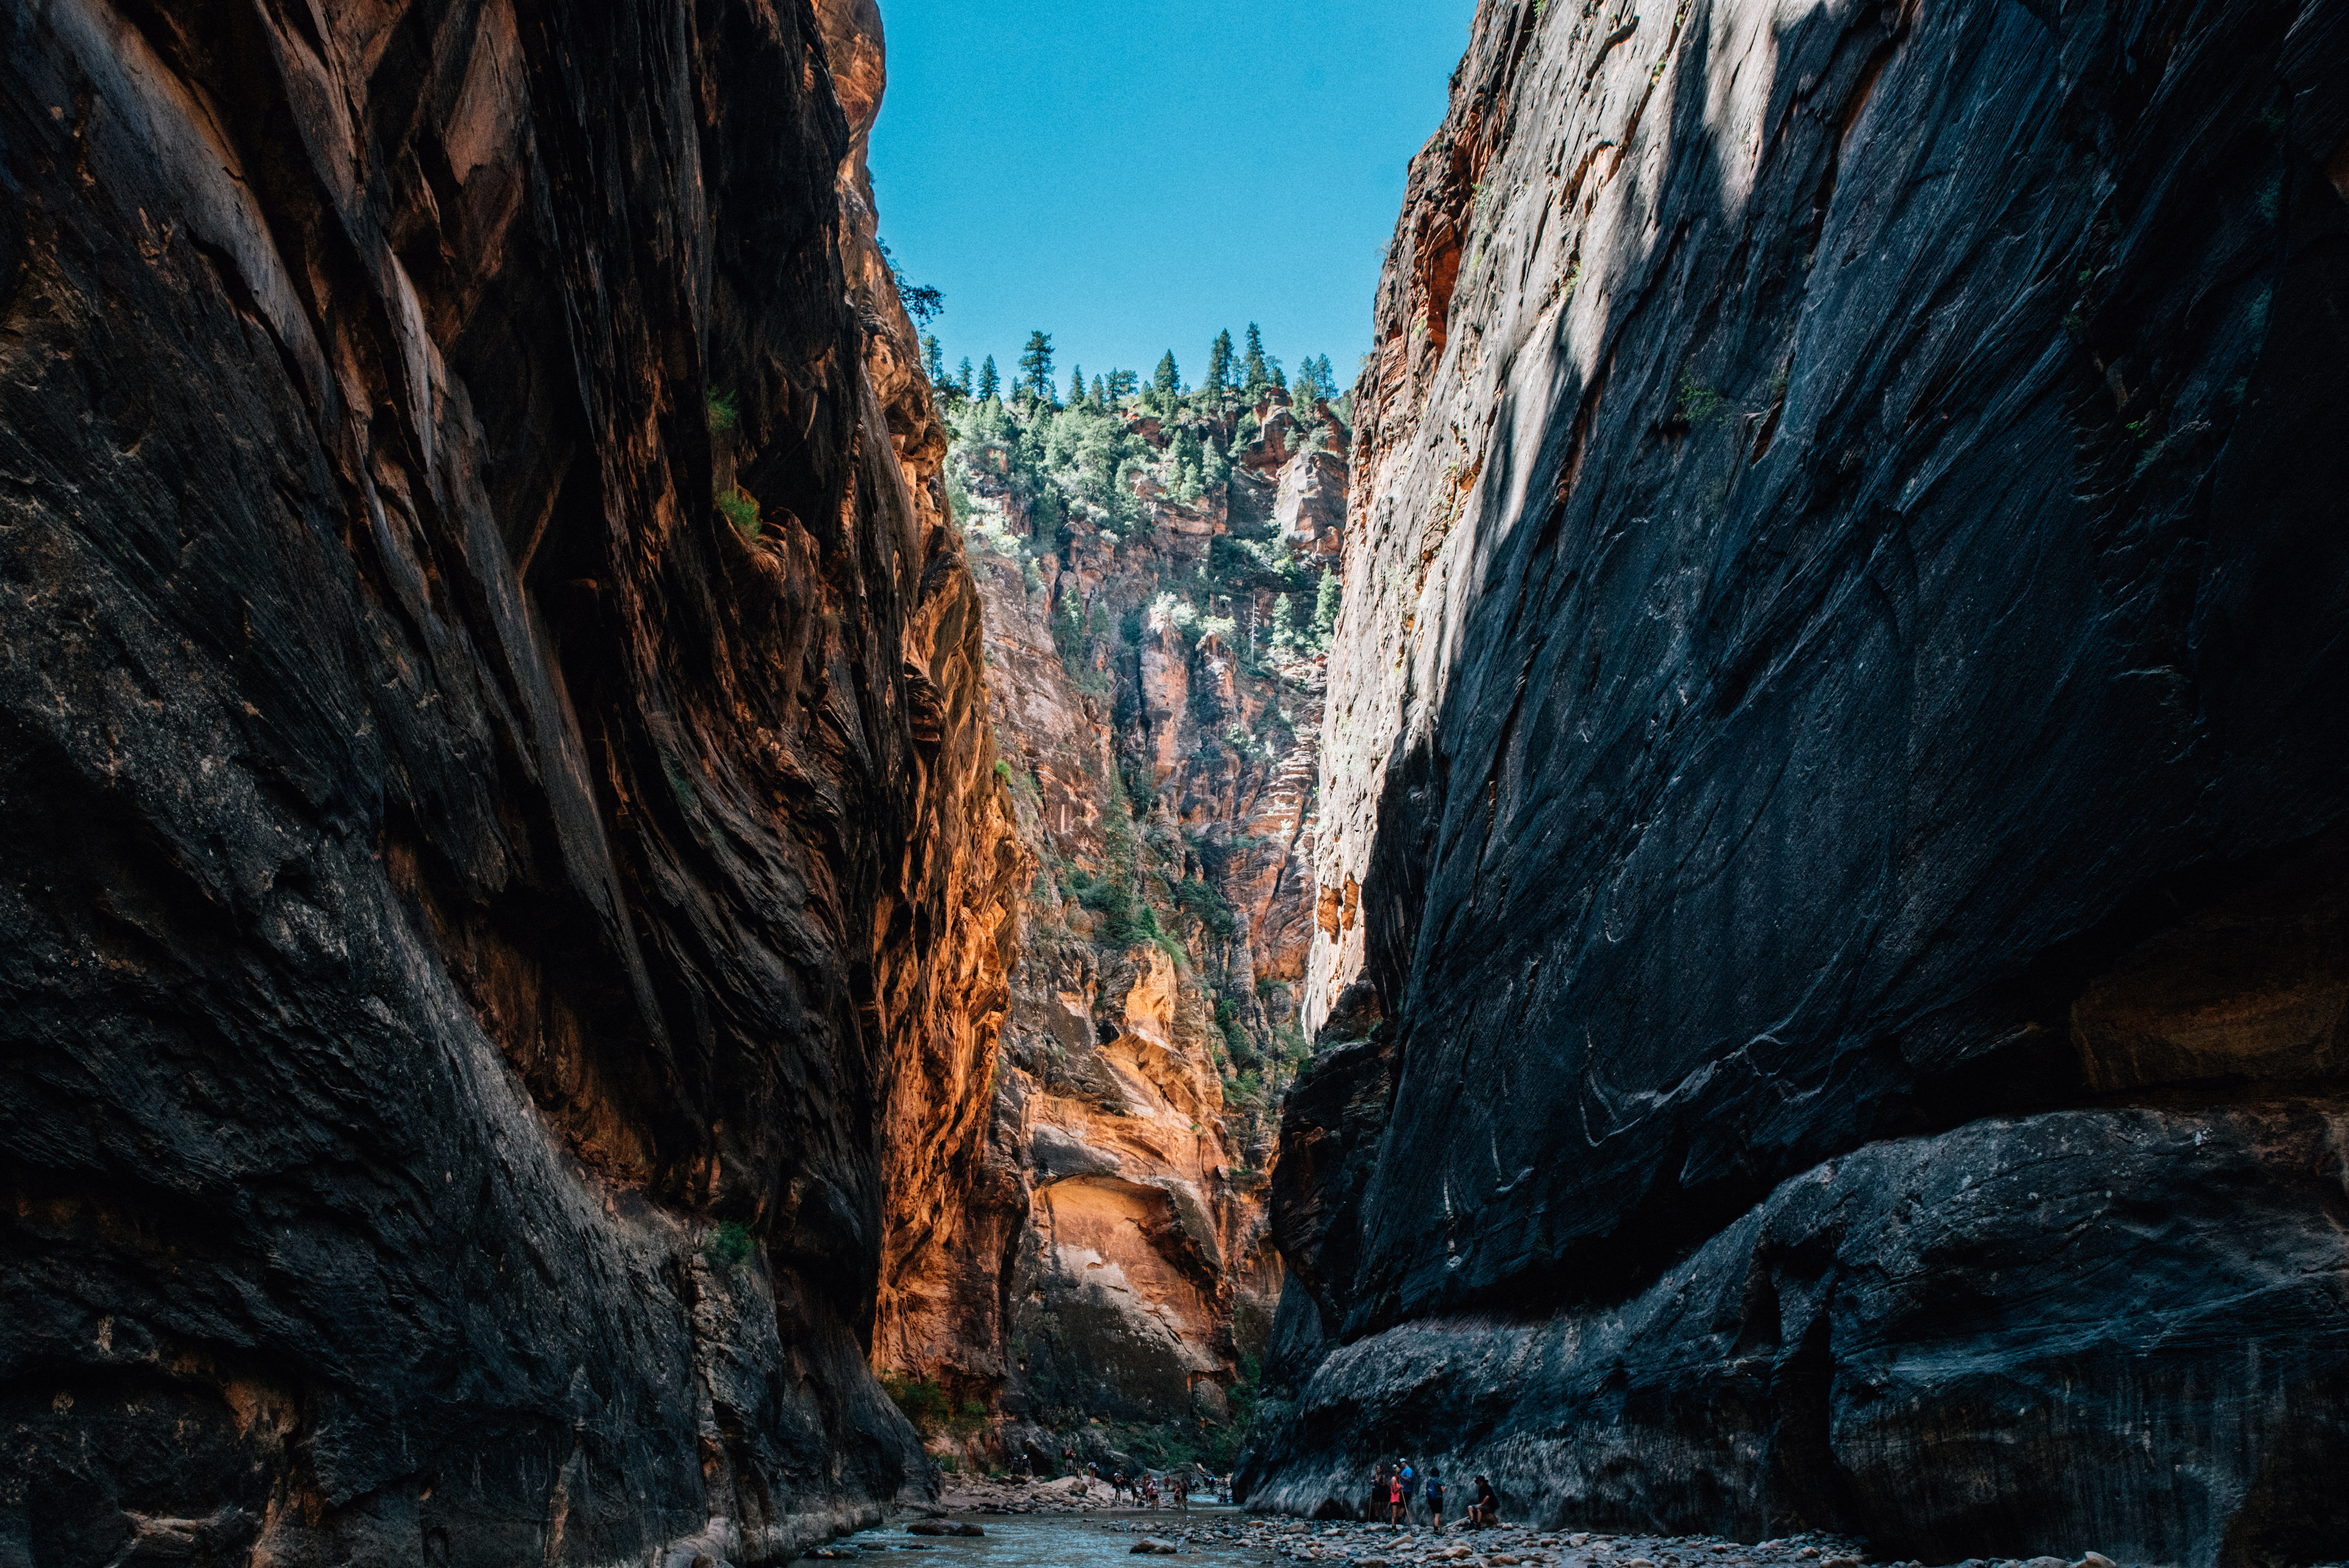
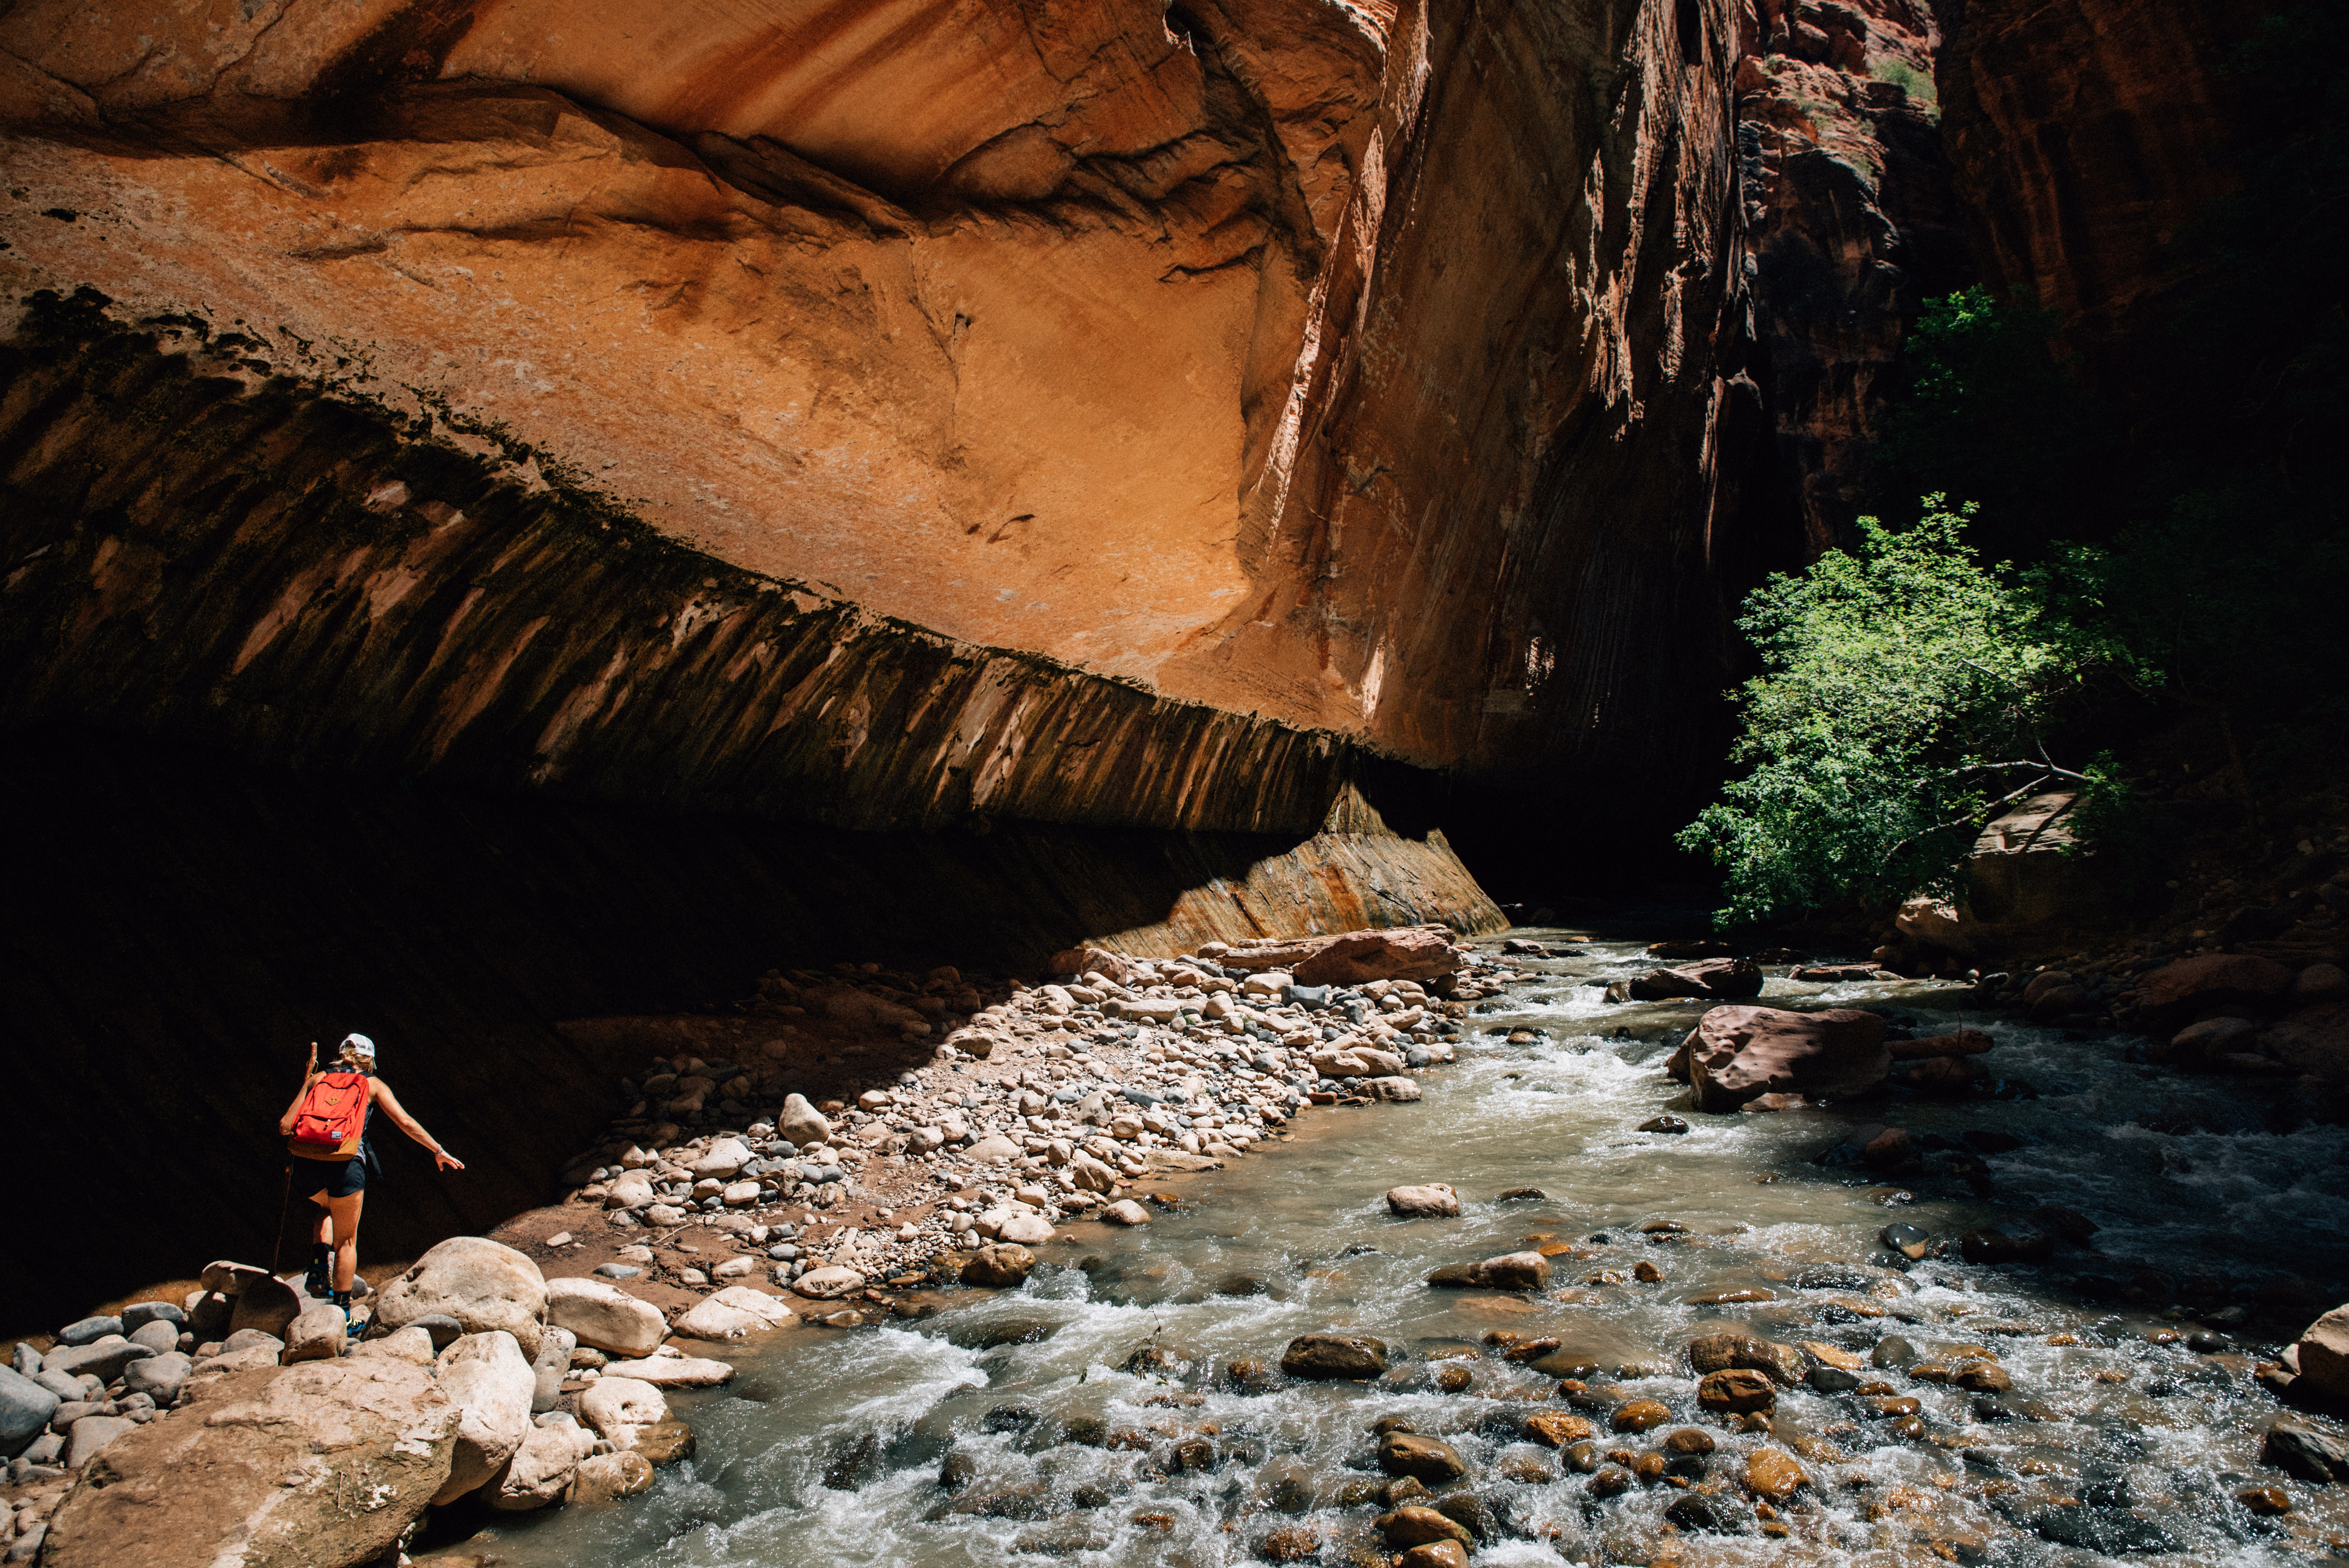
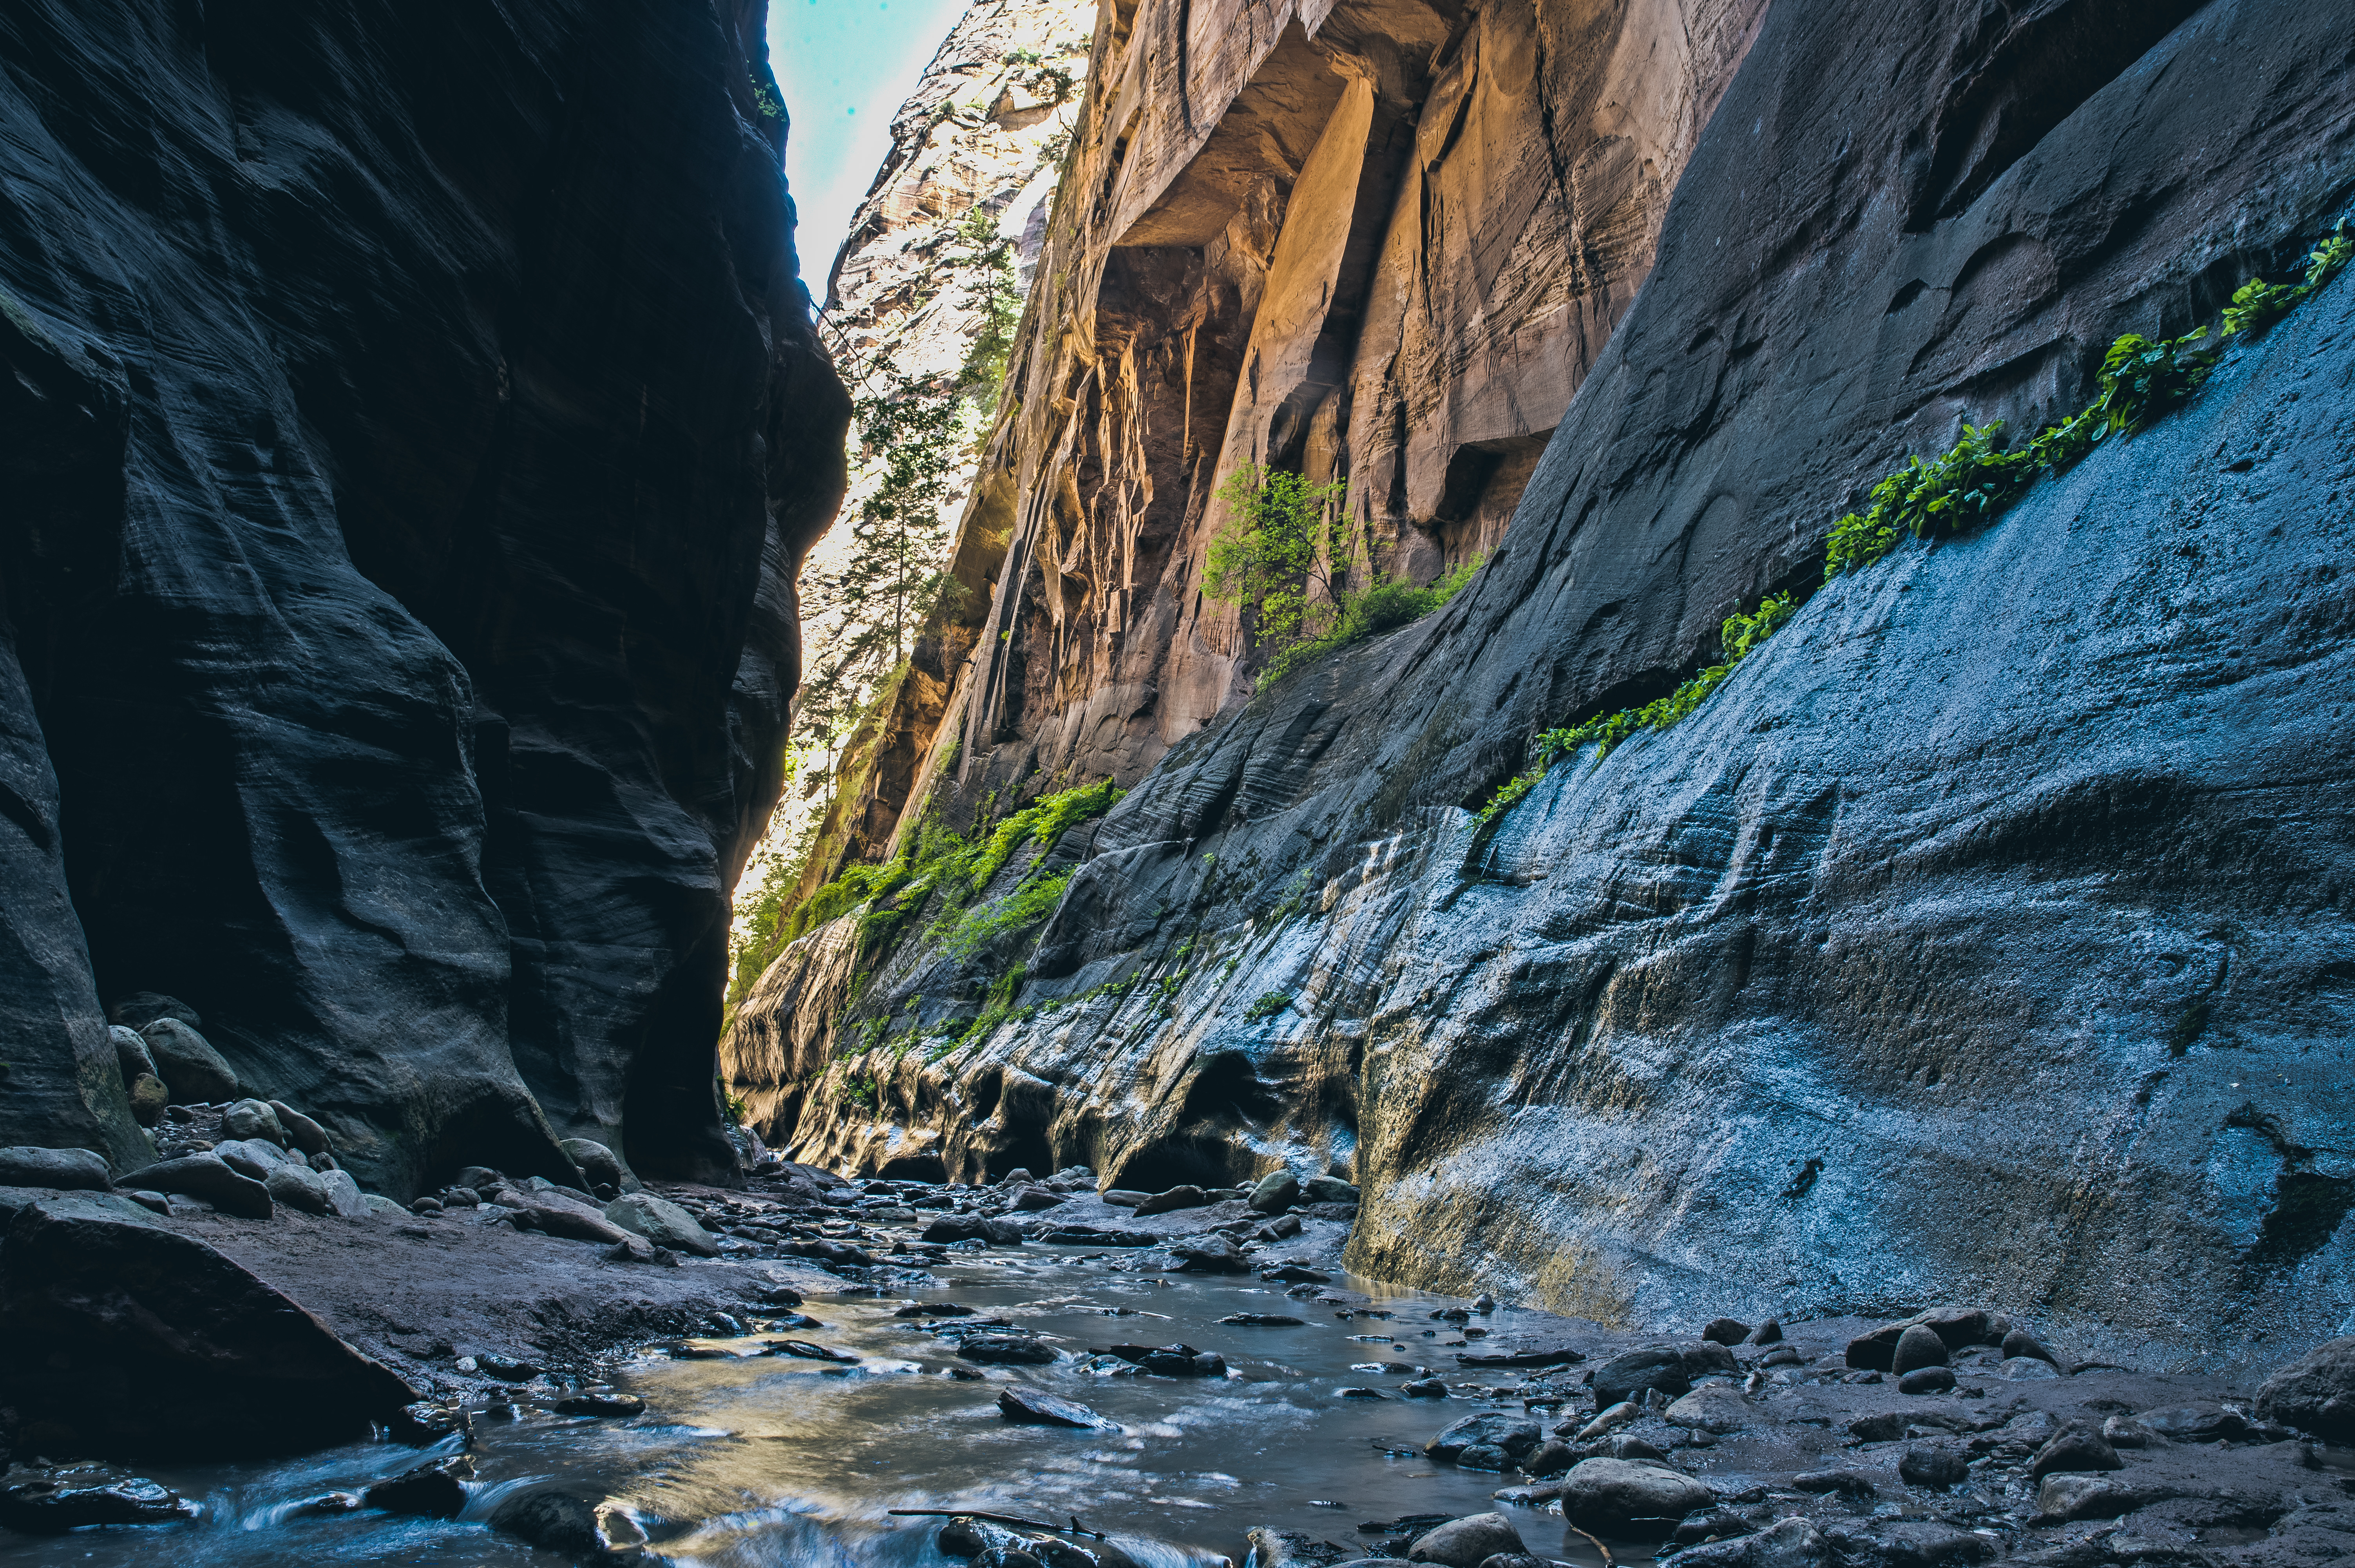
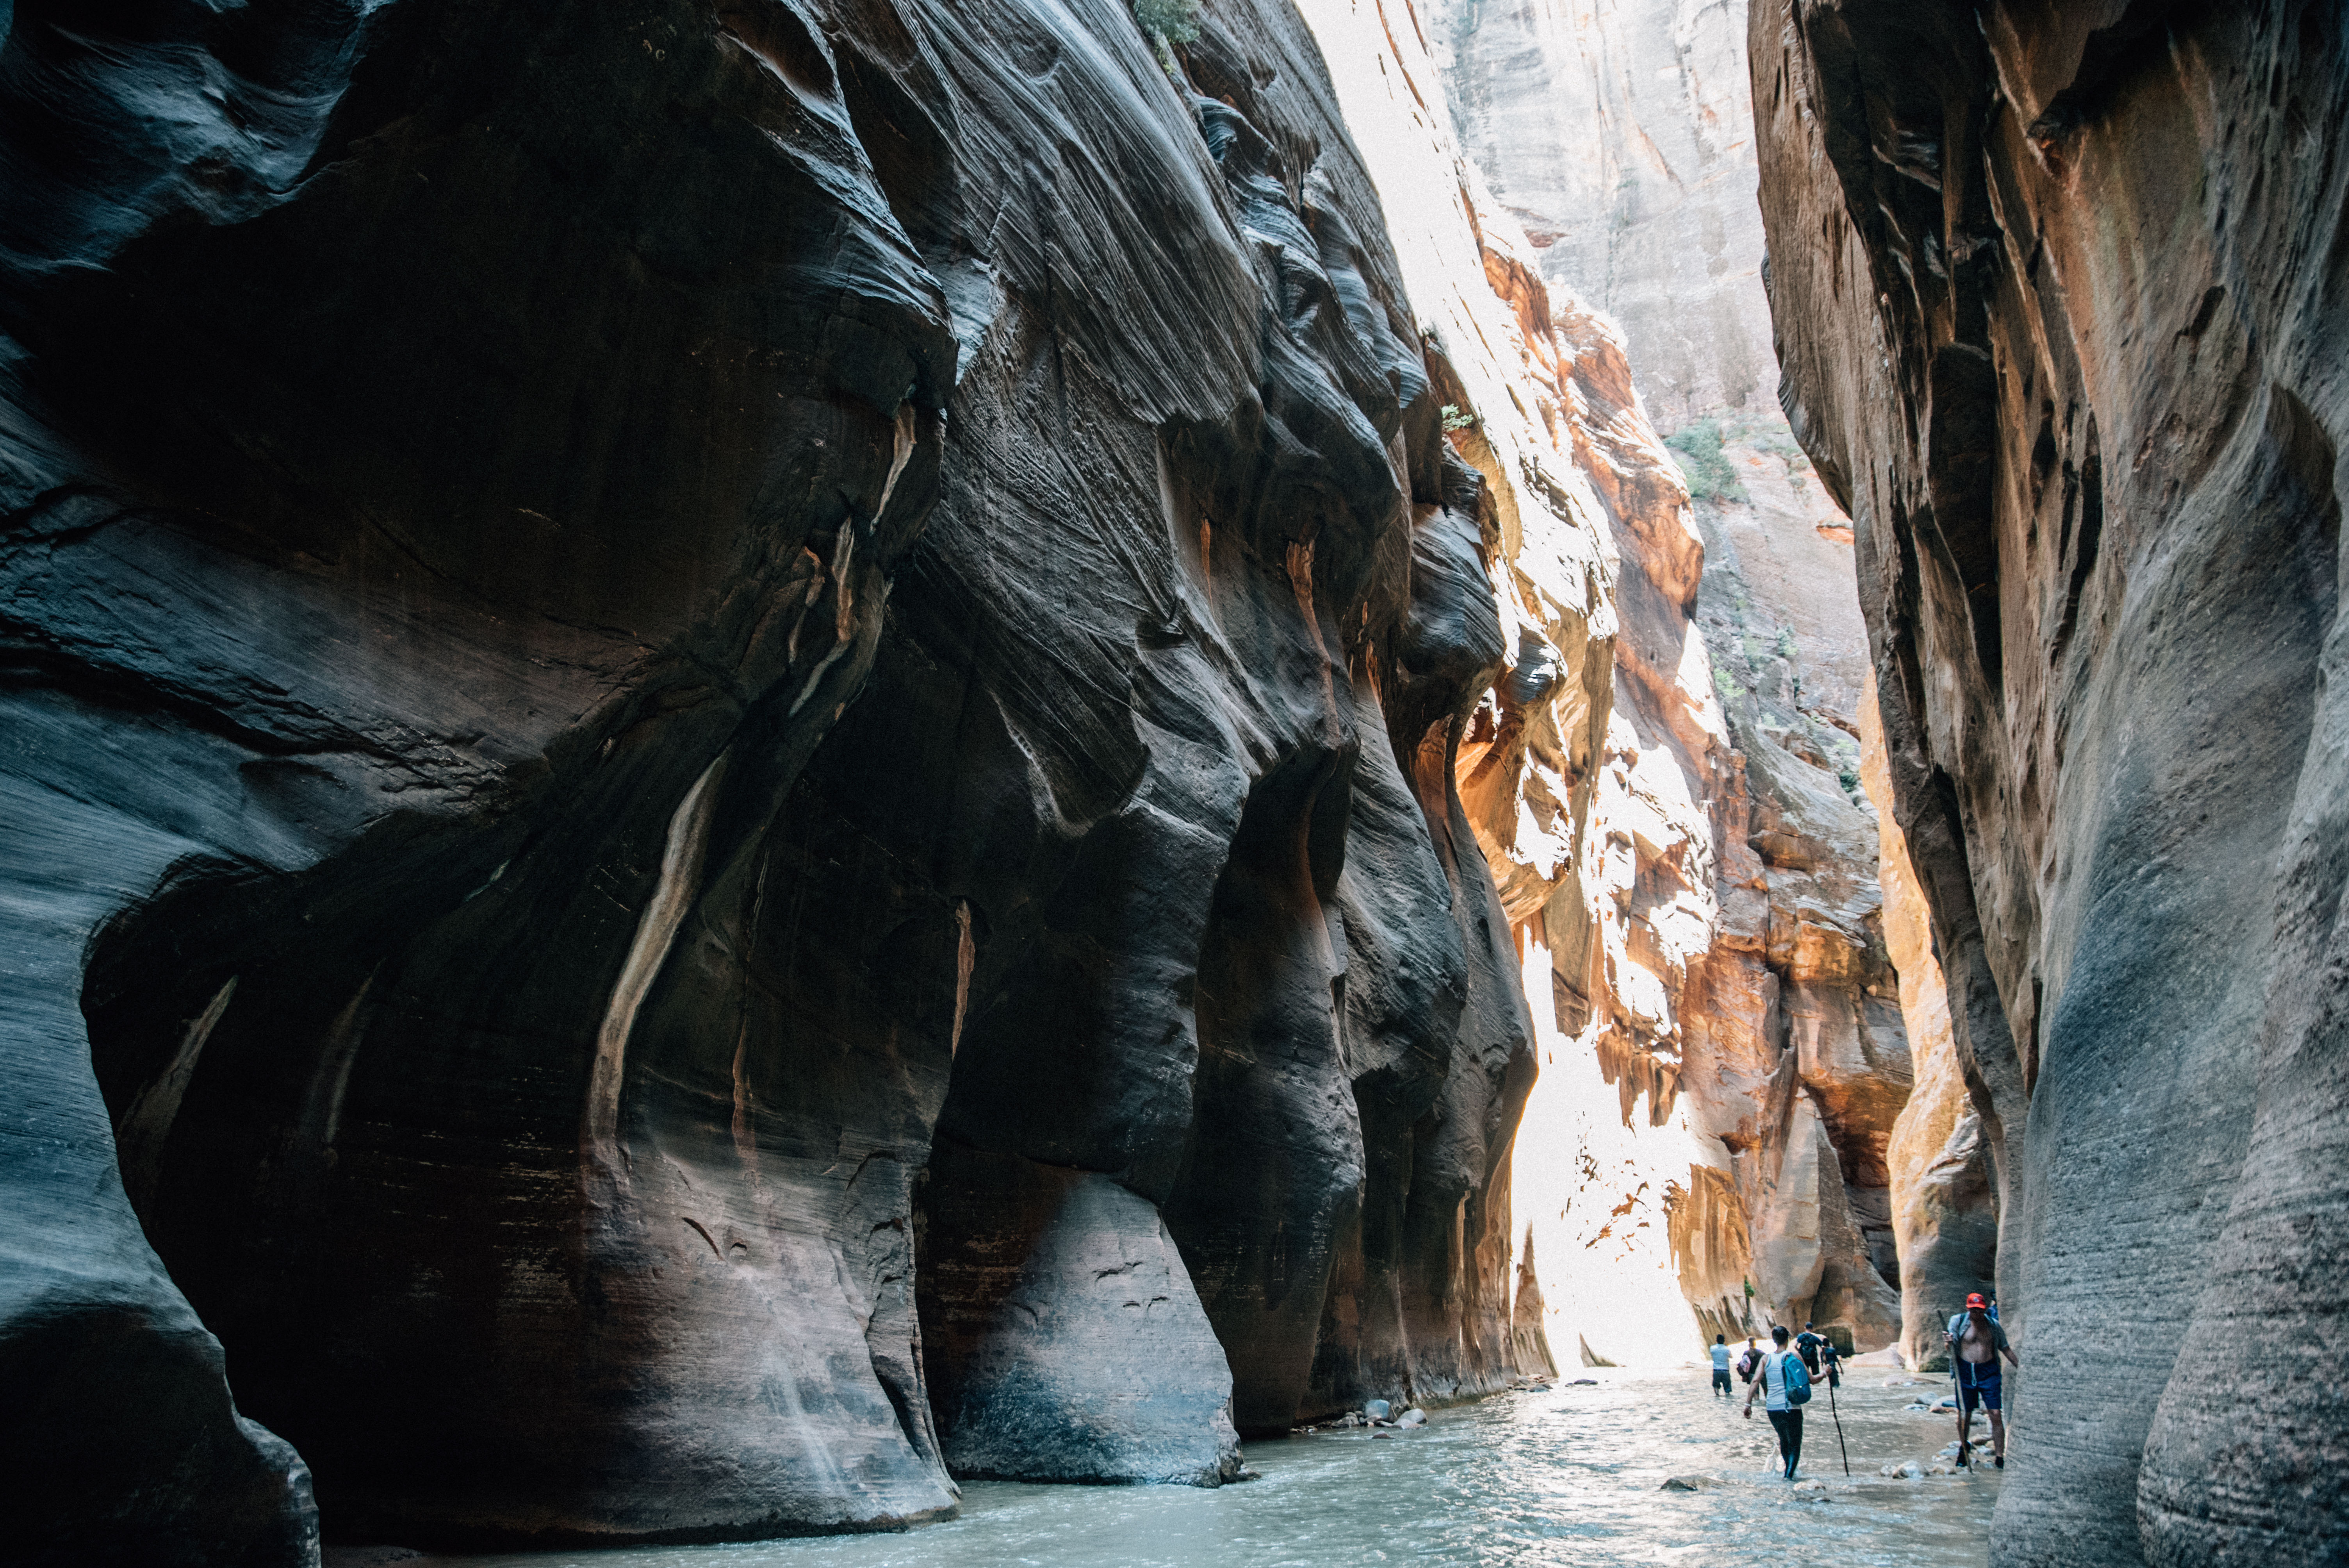
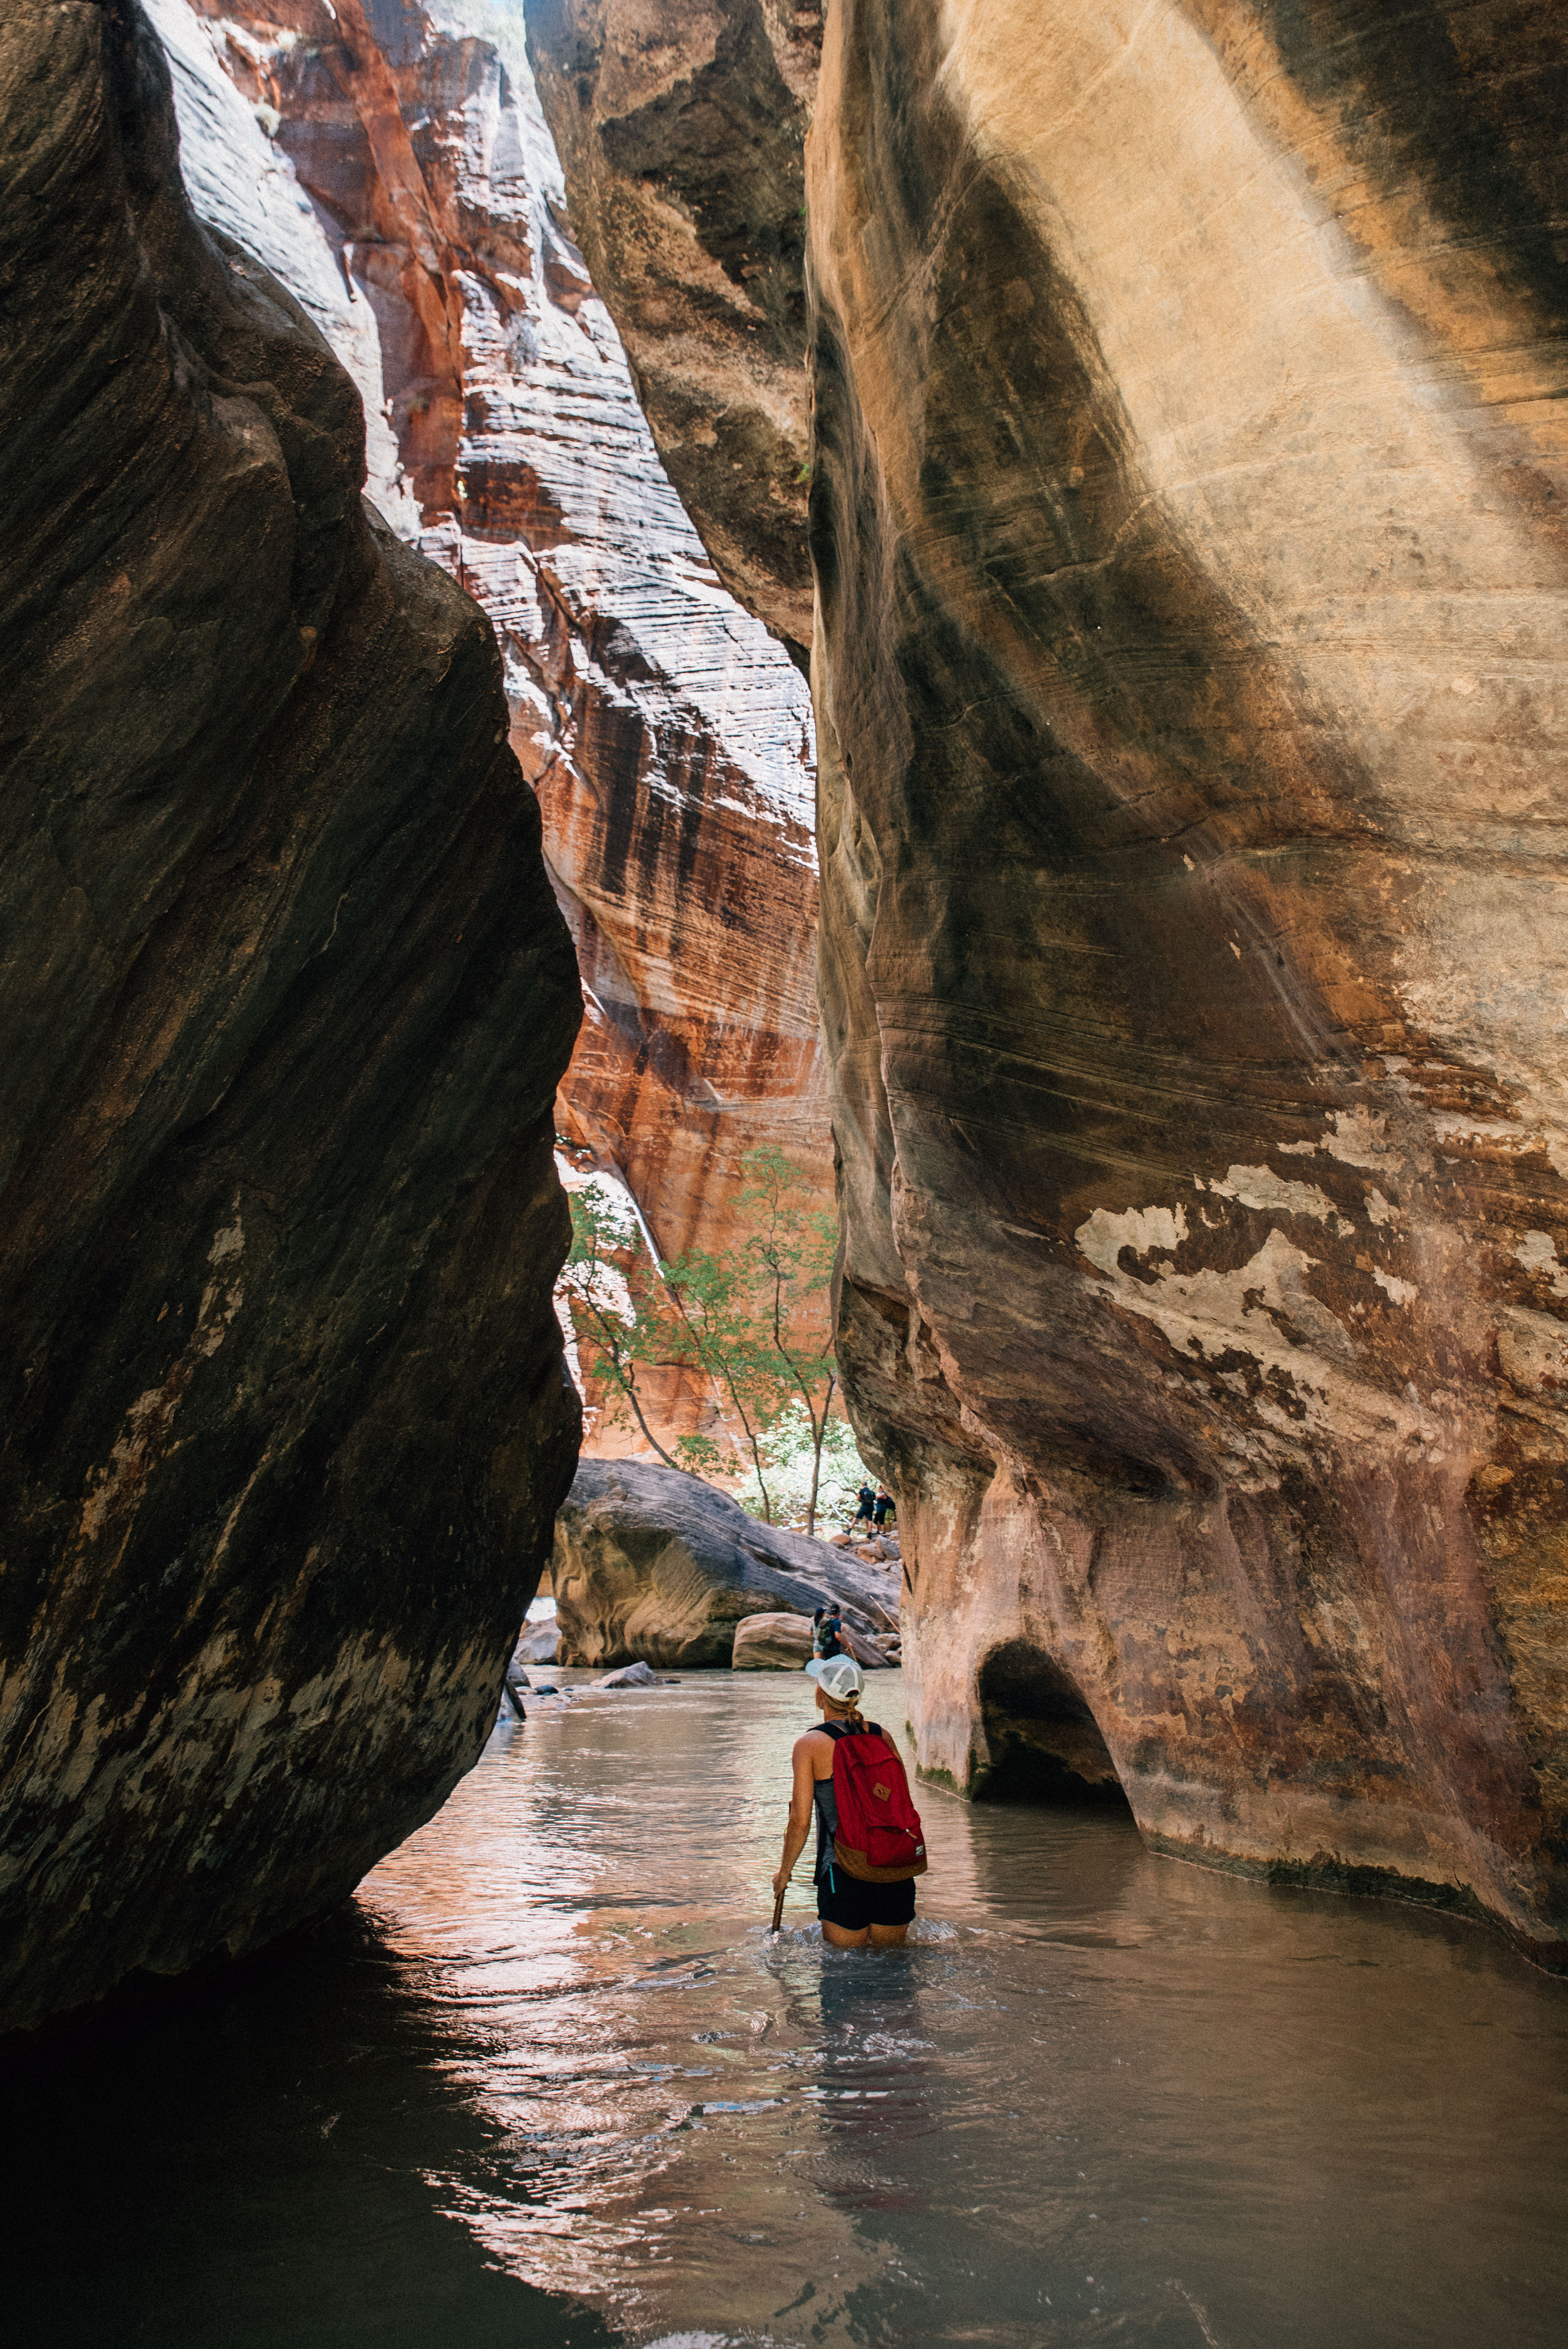
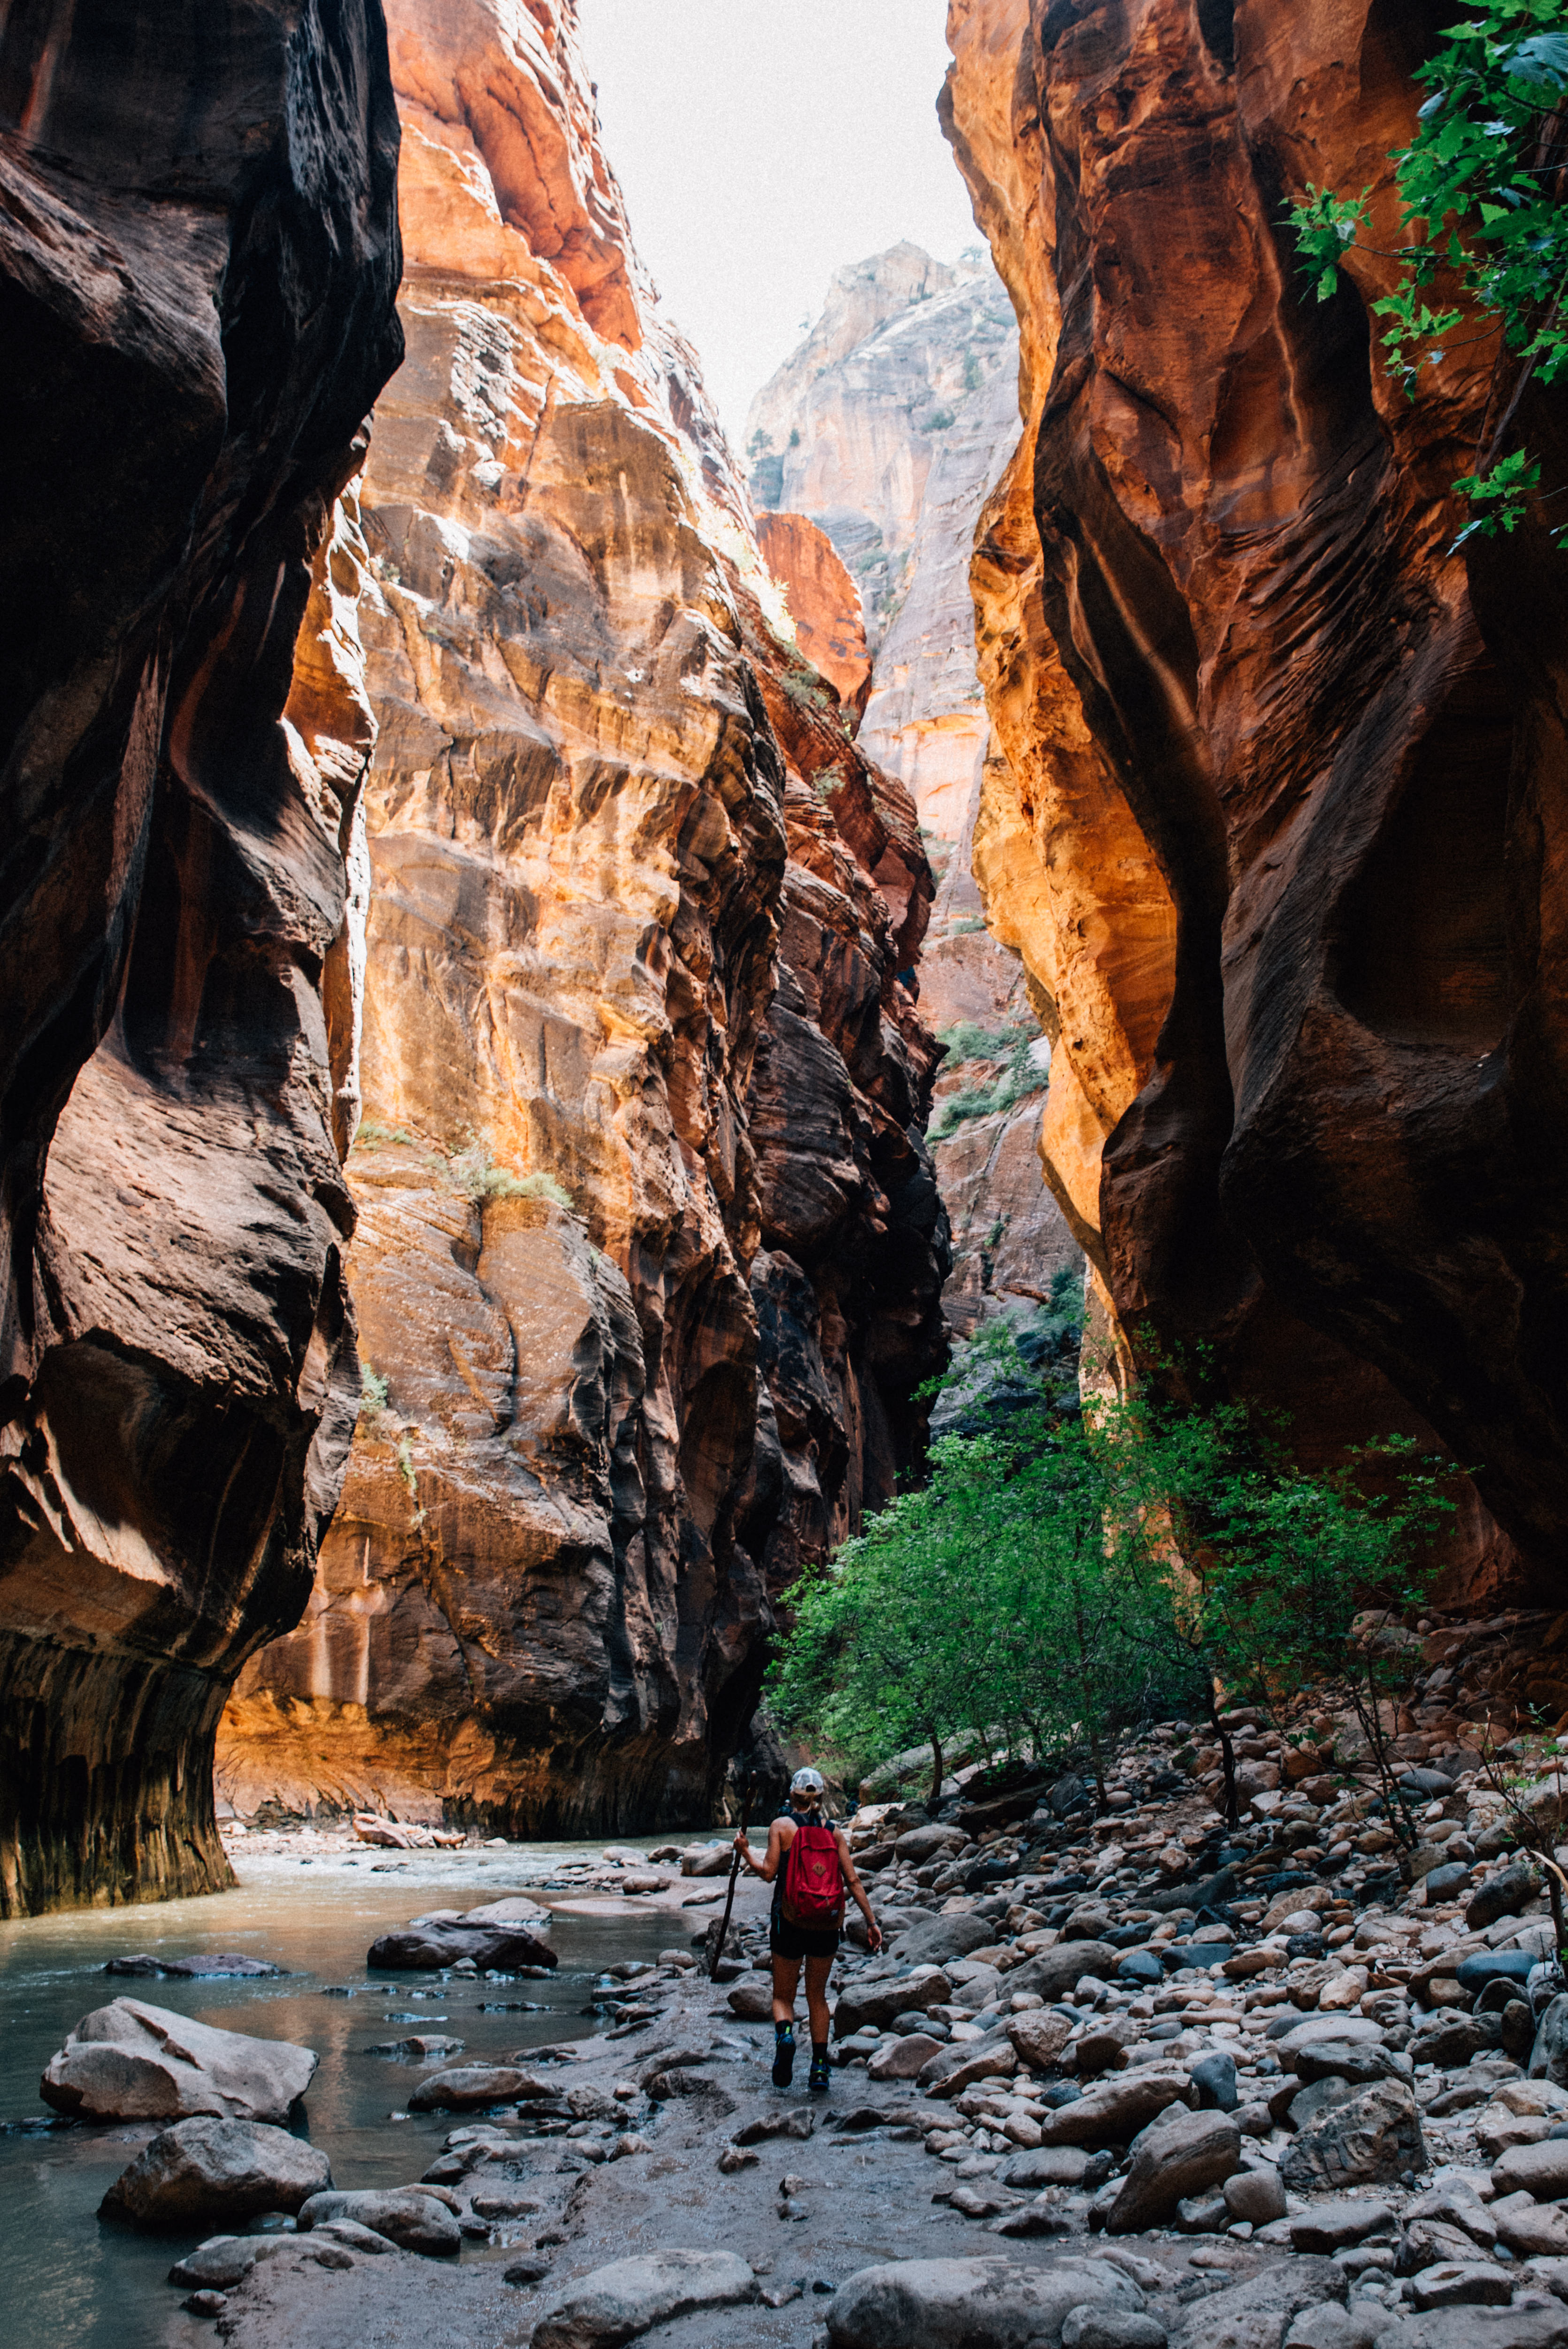
We hiked the traditional set of trails and saw the “go to” sights. We spent the first day hiking up The Narrows, and that in itself is worth the trip. The whole length of the Narrows Trail is roughly 16 miles. Typically in order to do the full hike, you need a two day permit and all the equipment you need for a two day hiking trip through a river. We started the trail from the bottom, like most people, and hiked about eight miles round trip–up the river from the bottom trailhead, up to the split. The hike itself is an experience like none other. 80% of the hike is walking through ankle to waist deep water. As soon as you start the hike, you are surrounded on both sides with massive sheer cliffs and rock faces. It’s like you are on another planet. The color tones of the stone and clay were so bright and colorful, it looked like something straight out of a painting. I remember thinking to myself, there isn’t a photo in the world that does this justice. Parts of the trail required a lot more skill, and was more of a full body type hike just to get up and over boulders, or finding your way around deeper pools of water that were close to five to six feet deep.
During the hike, my Sightseer and MoneyMaker obviously got splashed and wet the whole time. I mean, let’s be realistic: you’re wading in a river. If you think you can get away with avoiding other people falling over and splashing you by accident, think again. During the hike, there were a few times where I had to tuck my camera quickly into the Sightseer just to avoid the camera getting splashed with water or smashing it on rocks while we had to climb one boulder or another. It was ridiculously easy to just slip it over into the bag with one hand, not even having to remove it from the clips or anything. Just reach back, zip it open, swing it in, zip it closed as much as I could–done deal.
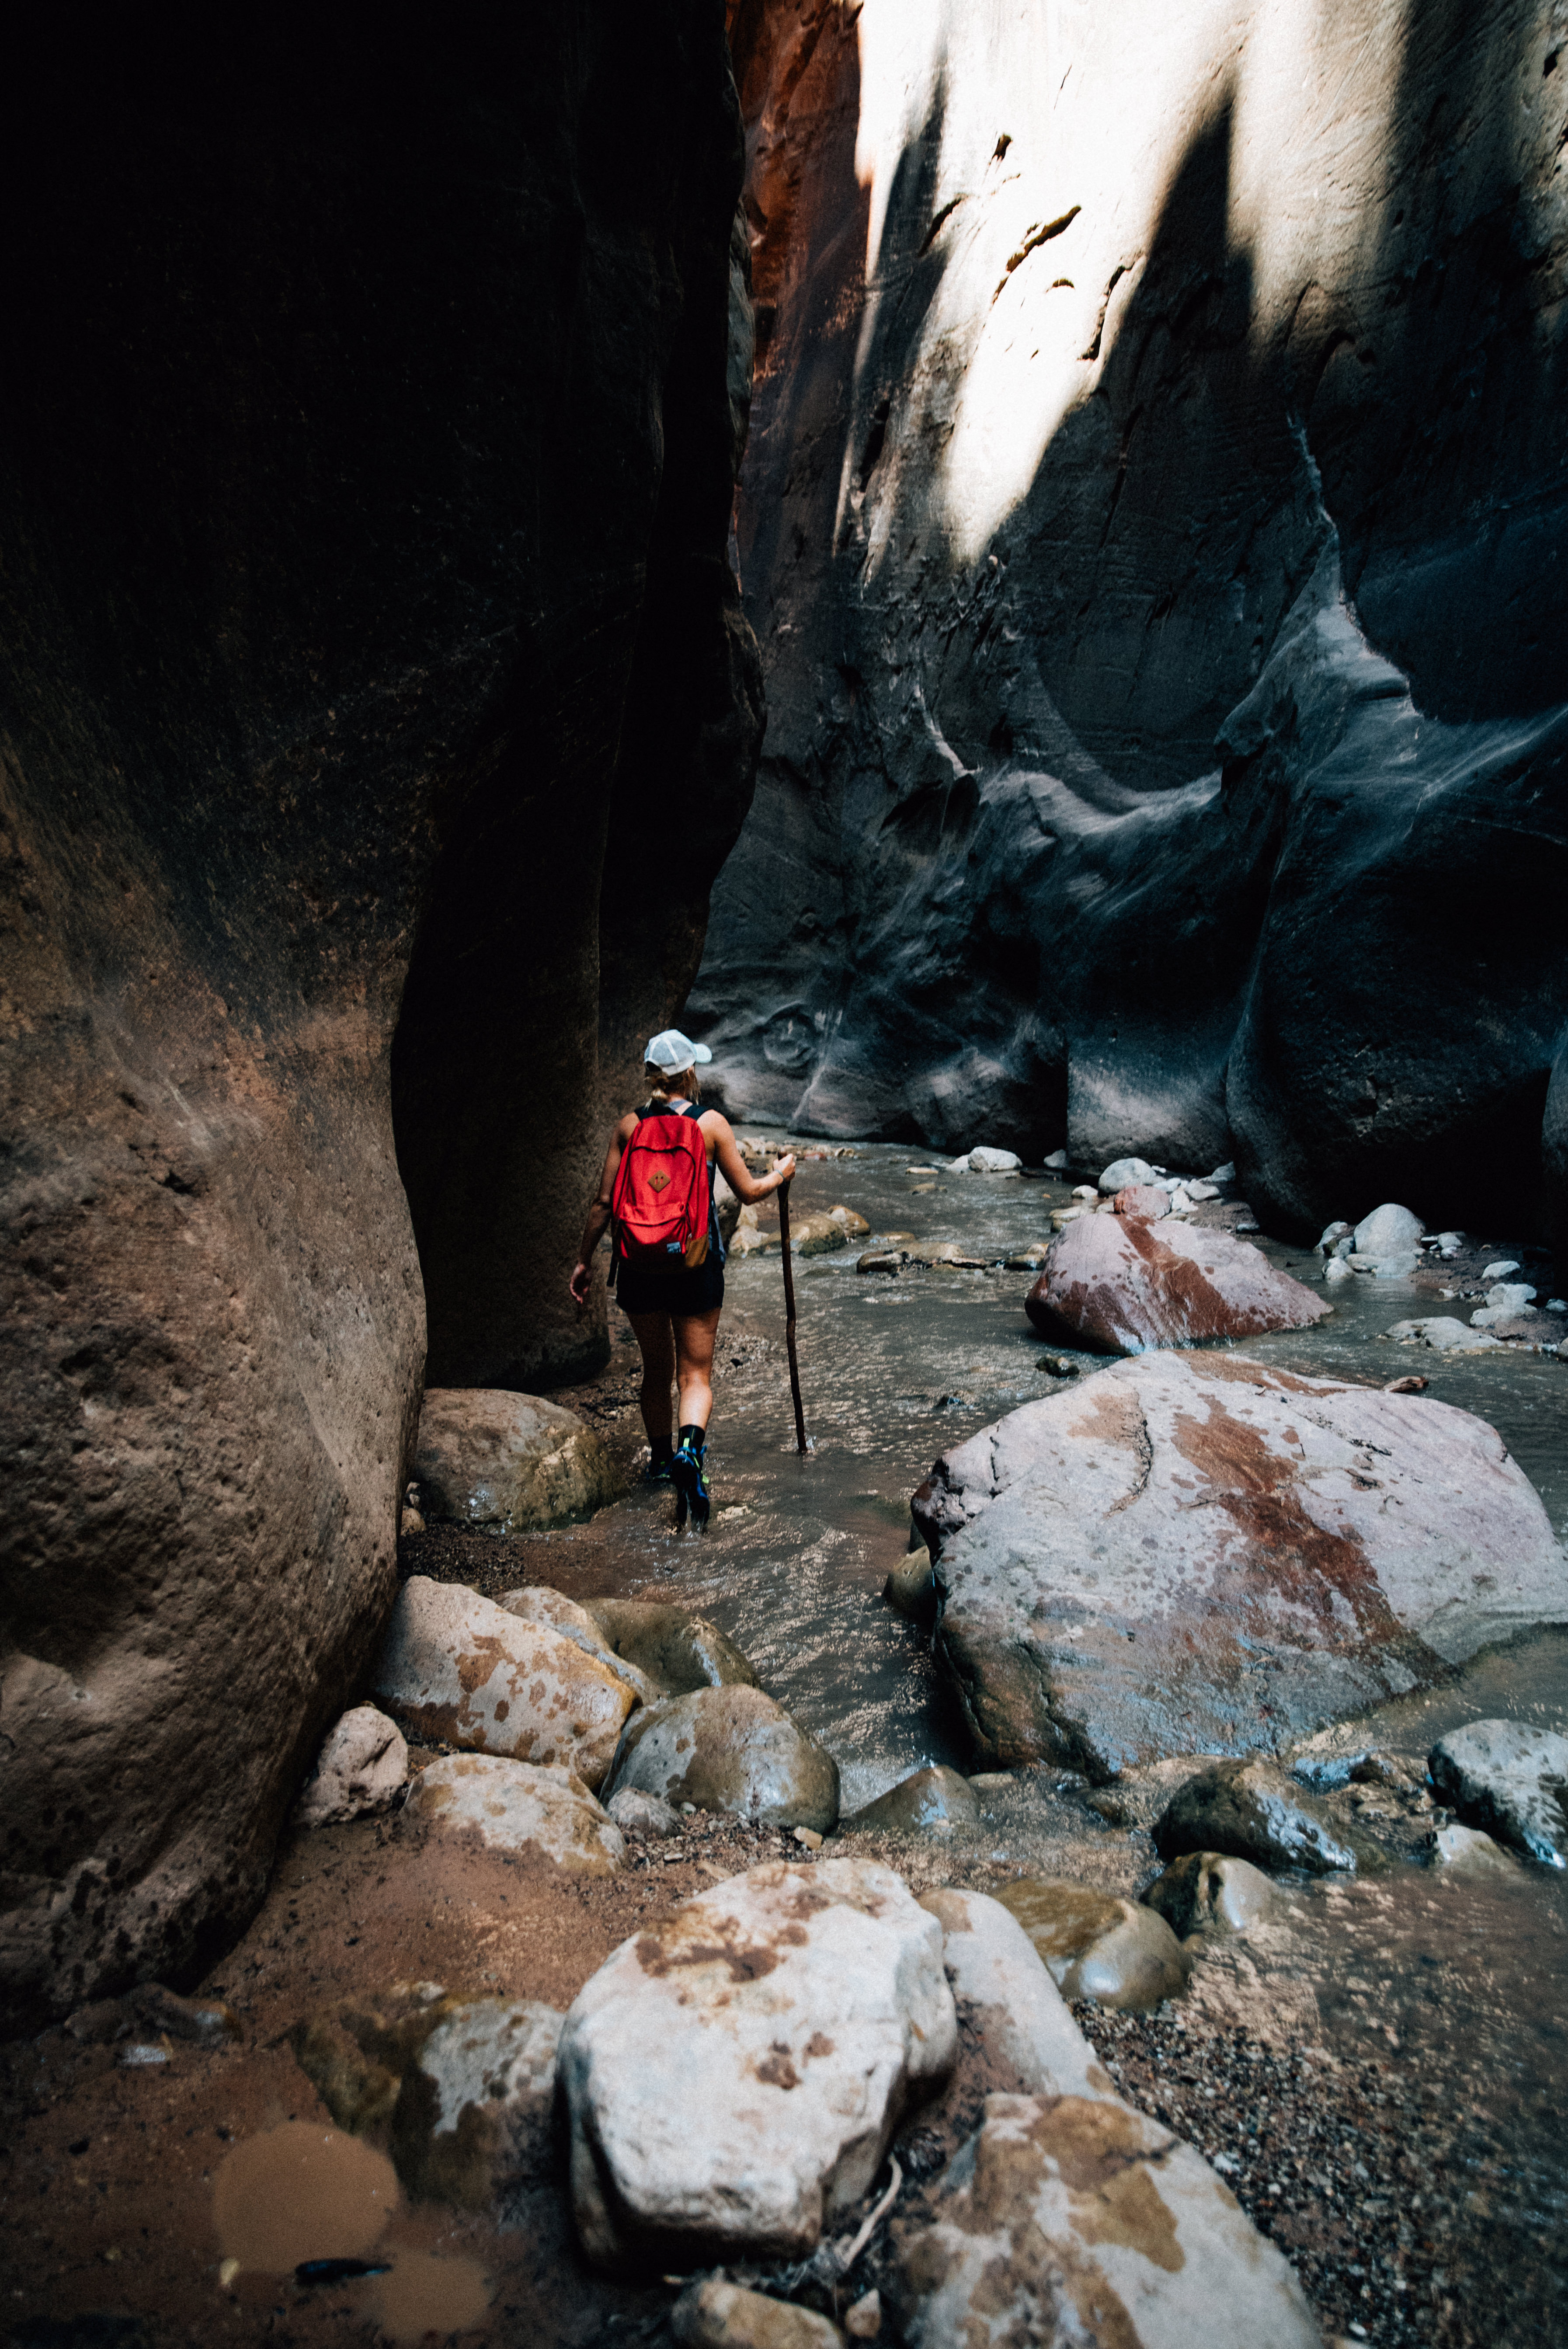
I remember one spot in particular where I did get a little nervous. We had to wade through a good four feet of water to get to a small waterfall and climb over it to continue the hike. Not only was I worried about dipping the Sightseer well into the water, but to then have to climb up some slippery boulder. I thought about it long enough that a few hikes passed us by, and I watched each one attempt the climb, just to slip and fall back down into the pool. Full body and all their gear soaking wet, and me, just standing there thinking it over, imagining my camera gear completely under the water. You know, the stuff nightmares are made of. So, like any other logical, level-headed photographer, I said screw it and went for it. All I had to do was sling my camera up and over my shoulder letting the clasp sit right where the straps cross on my upper back. This allowed the camera to sit nice and neat right in the center of my back. I used one hand to lift my Sightseer as far up as I could on my back, and used my hiking stick to get me to the boulder without falling flat on my face.
Once I got to a spot where I could start climbing up, I was able to drop the Sightseer and focus on not making a fool out of myself. Thankfully enough, I made it up the boulder without falling, but when I dropped the Sightseer, it did hit the water dipping maybe 2-3 inches into it. Just enough to make me wonder if it would seep through, resulting with the inside of the bag being wet and damp at the bottom, you know, right where all my lenses are sitting–not to mention the snacks! We hiked on and I checked the bag from time to time, but didn’t have a single problem with the inside of the bag. I was grateful that I was able to pack everything I needed and still have quick access to my camera. Getting images of the Narrows is something I will cherish for a very long time. I was able to hike like a hiker with a small backpack, and I was able to hike like a photographer with all the gear I needed.
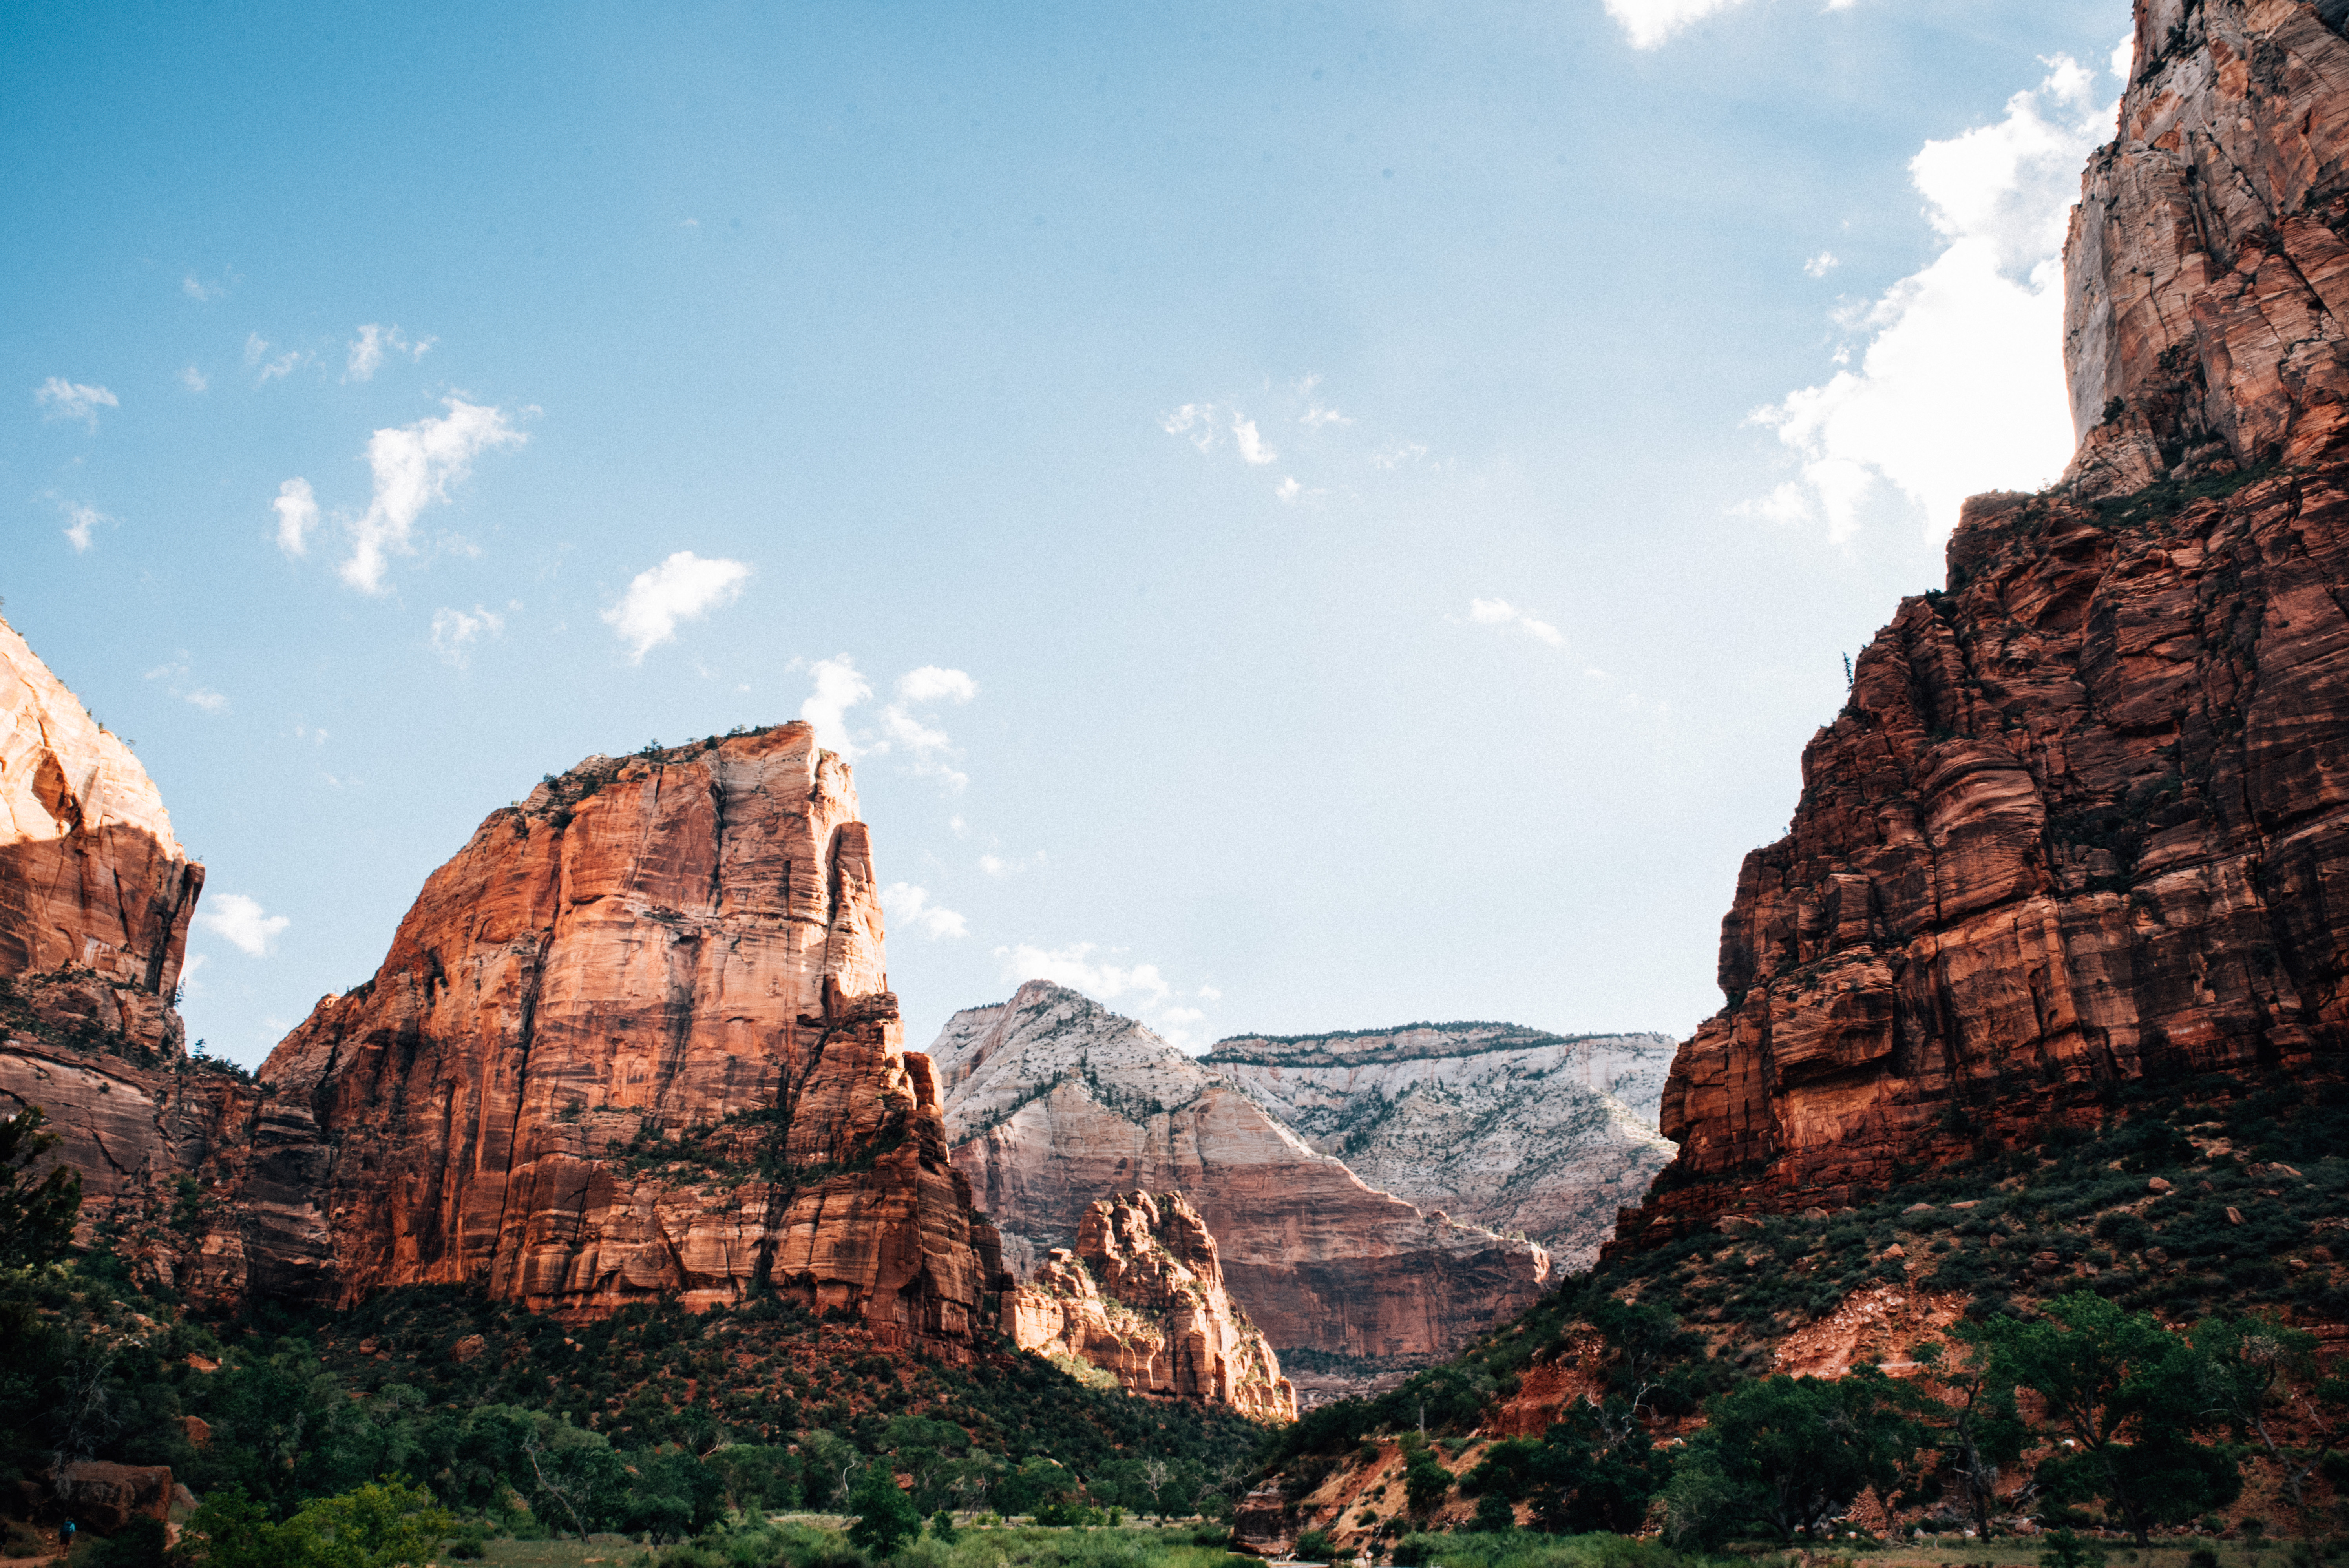

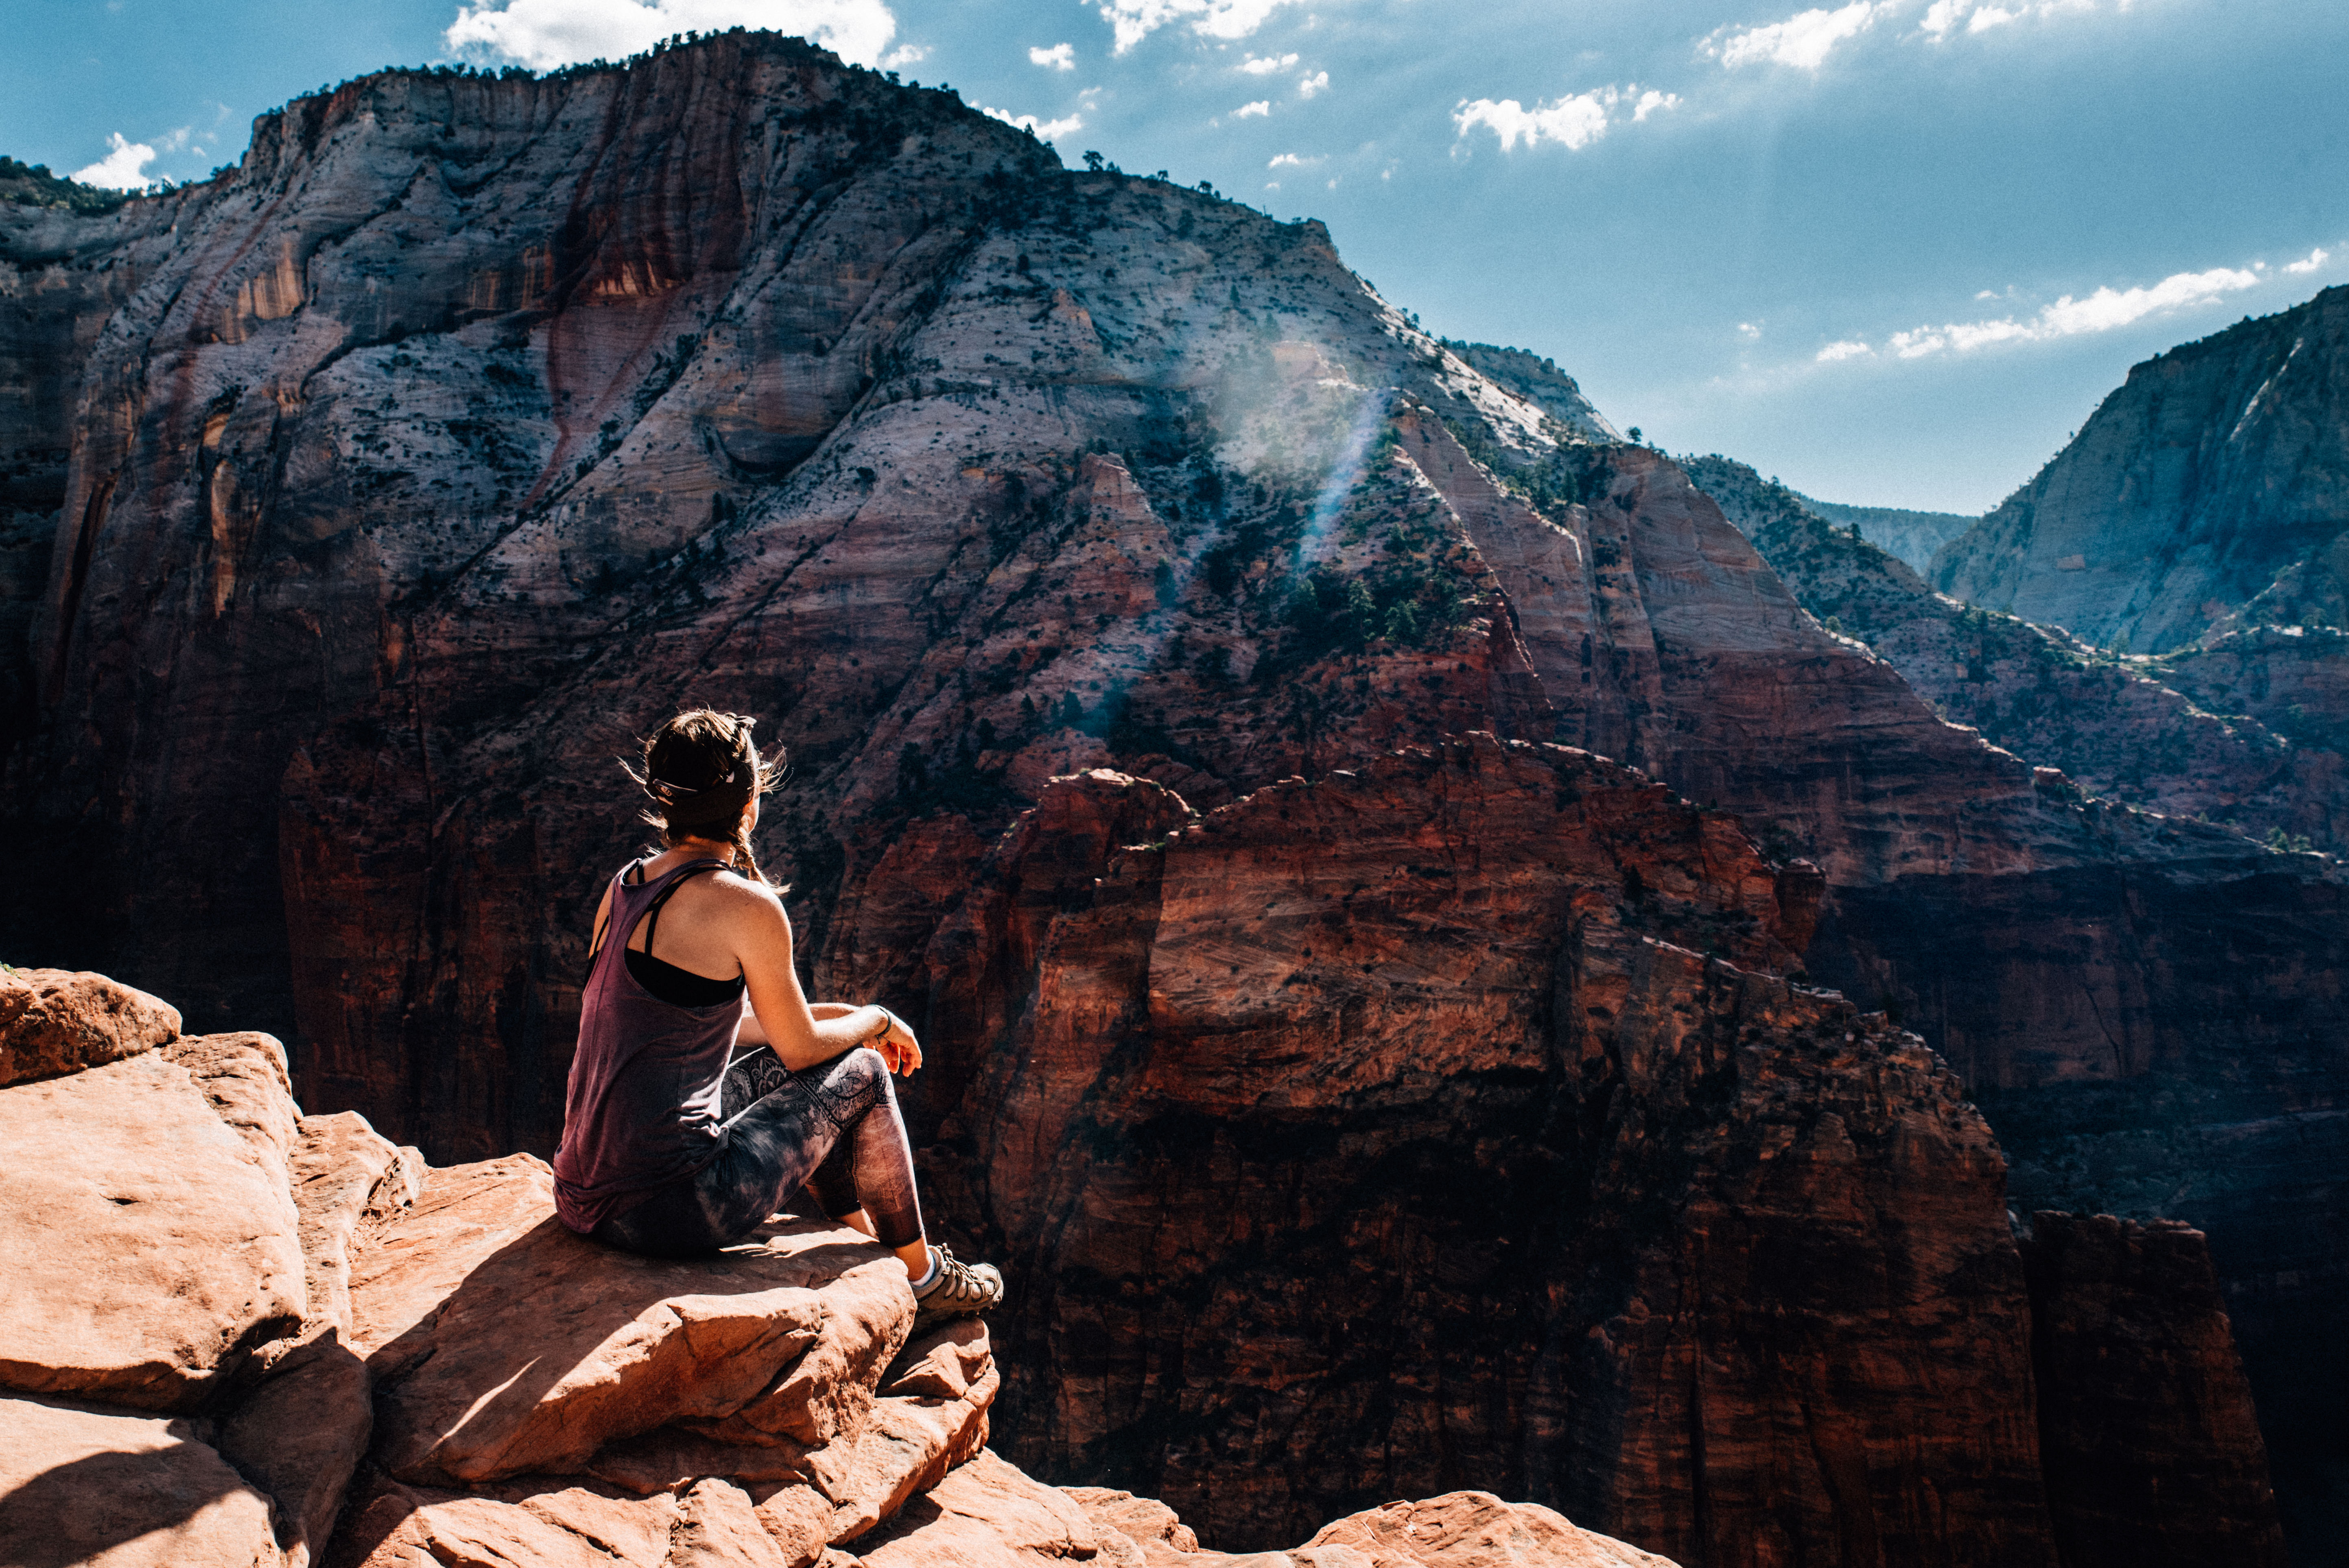
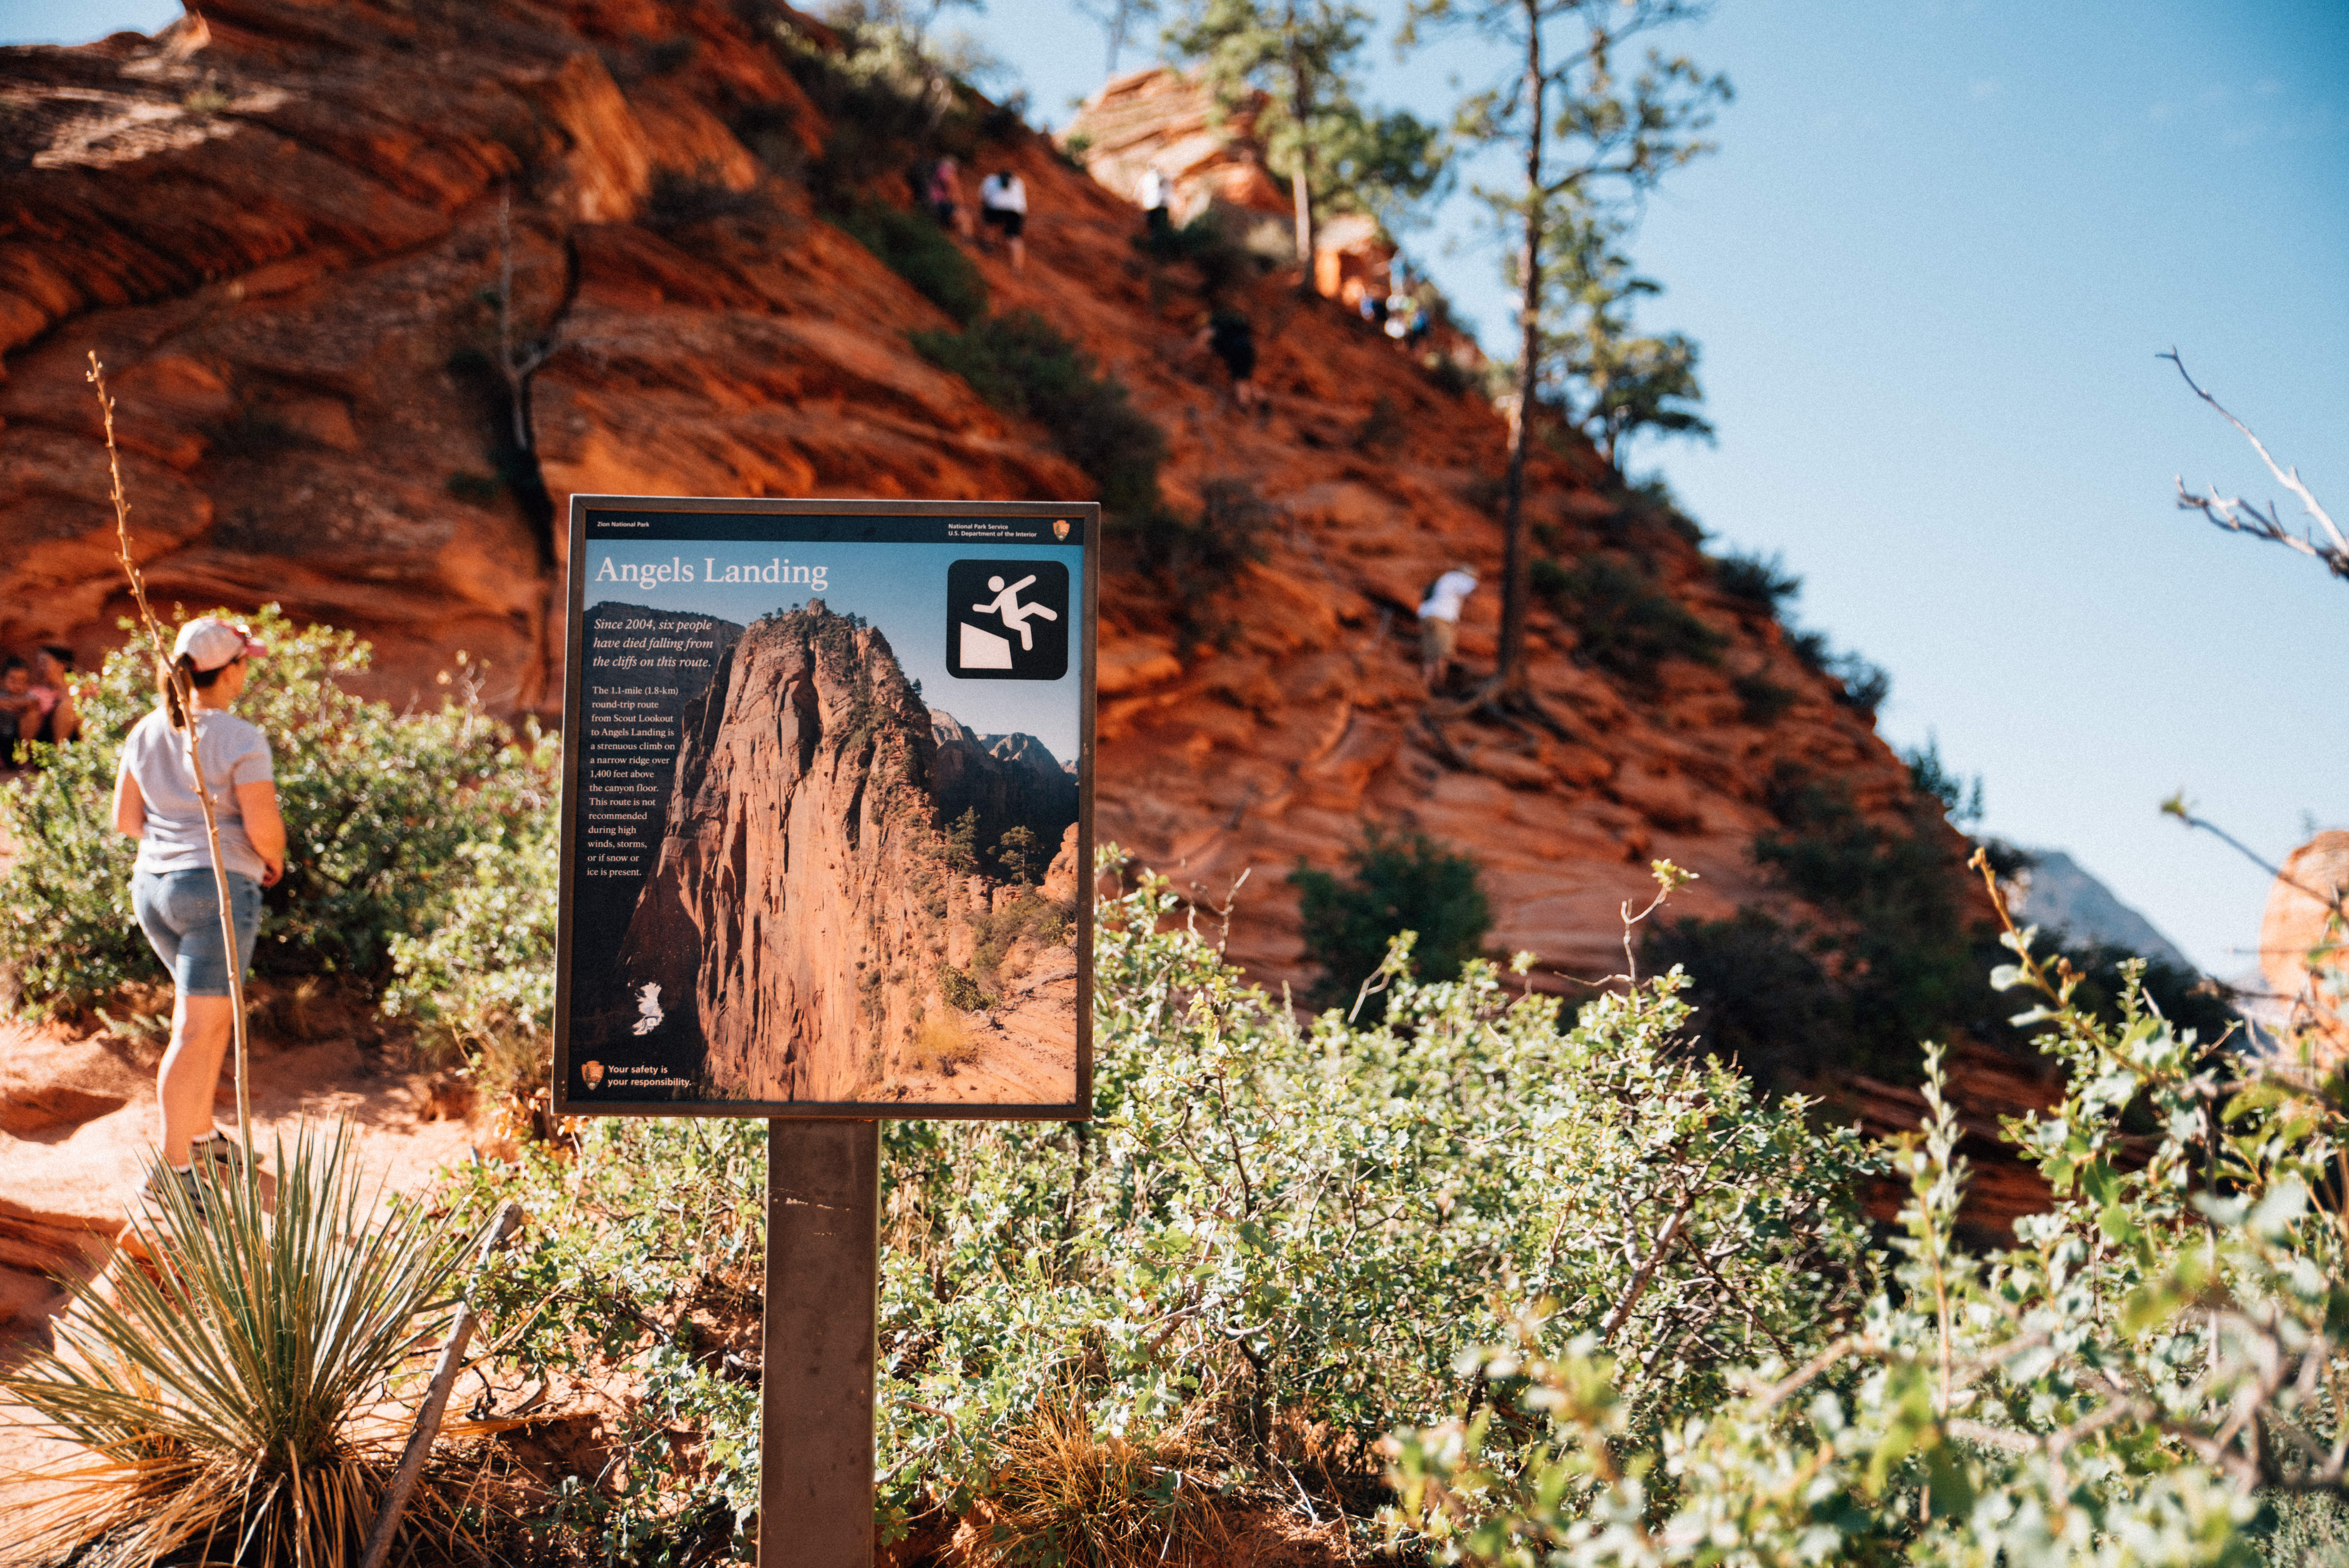
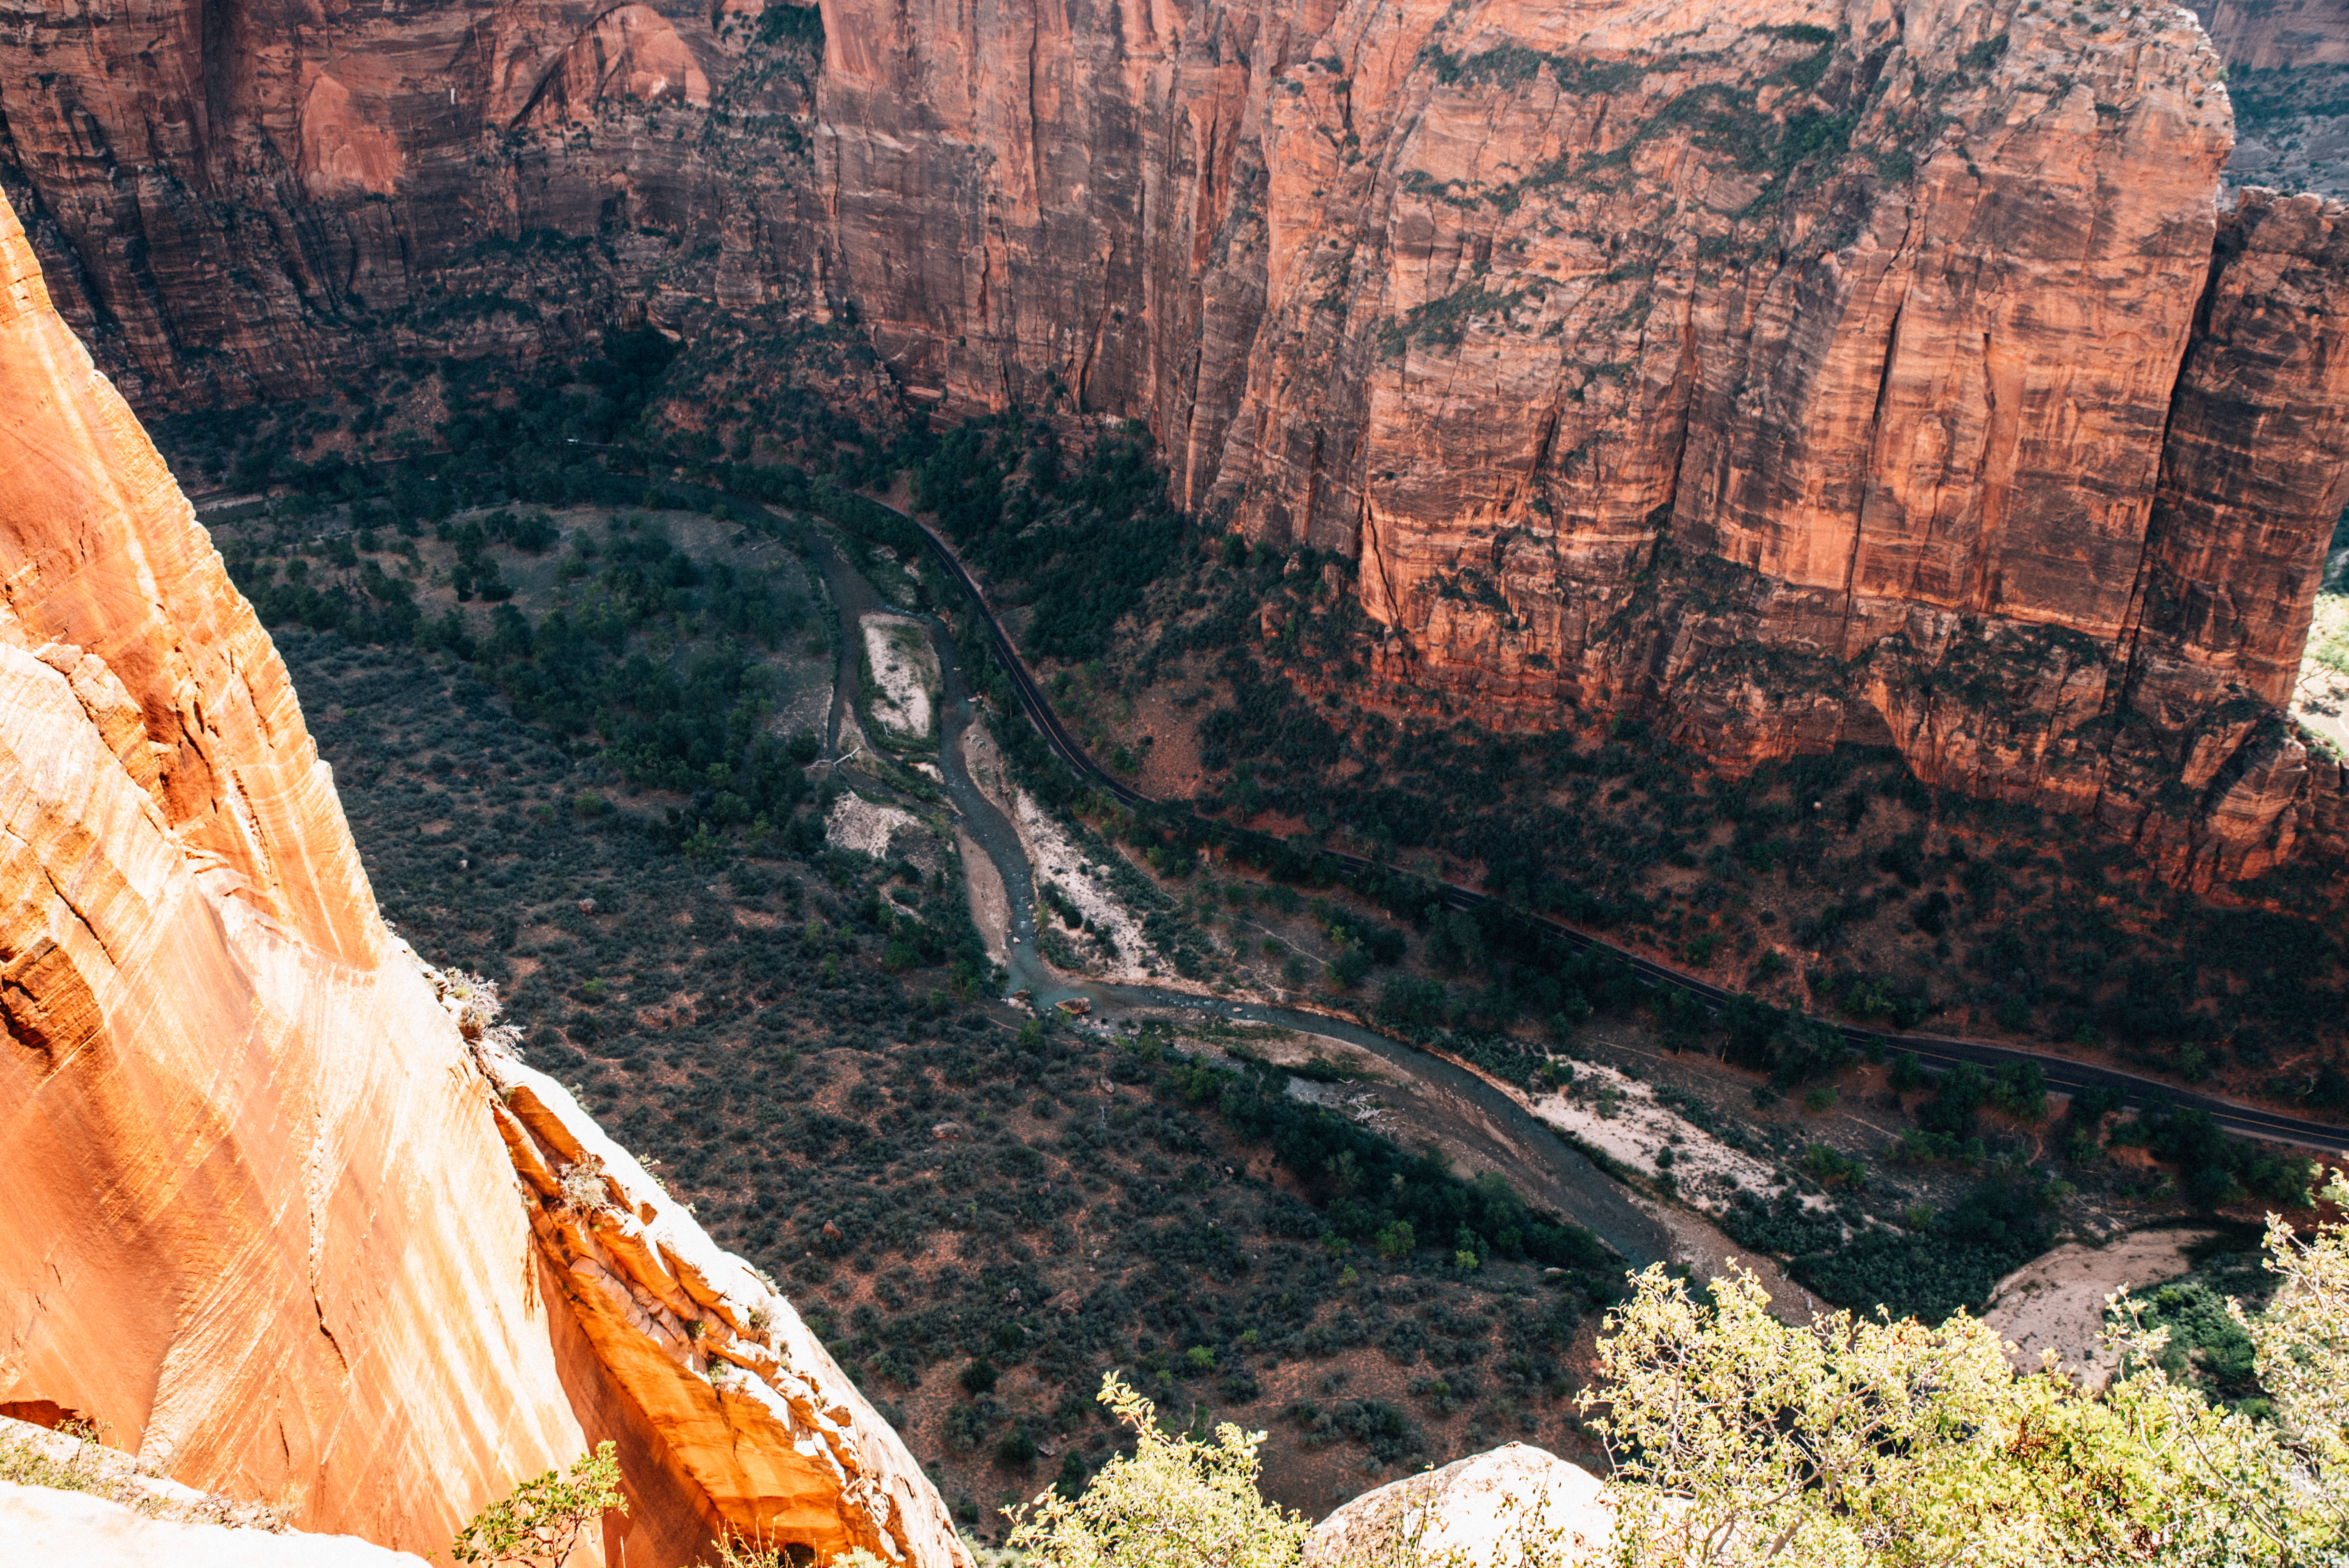
Angel’s Landing:
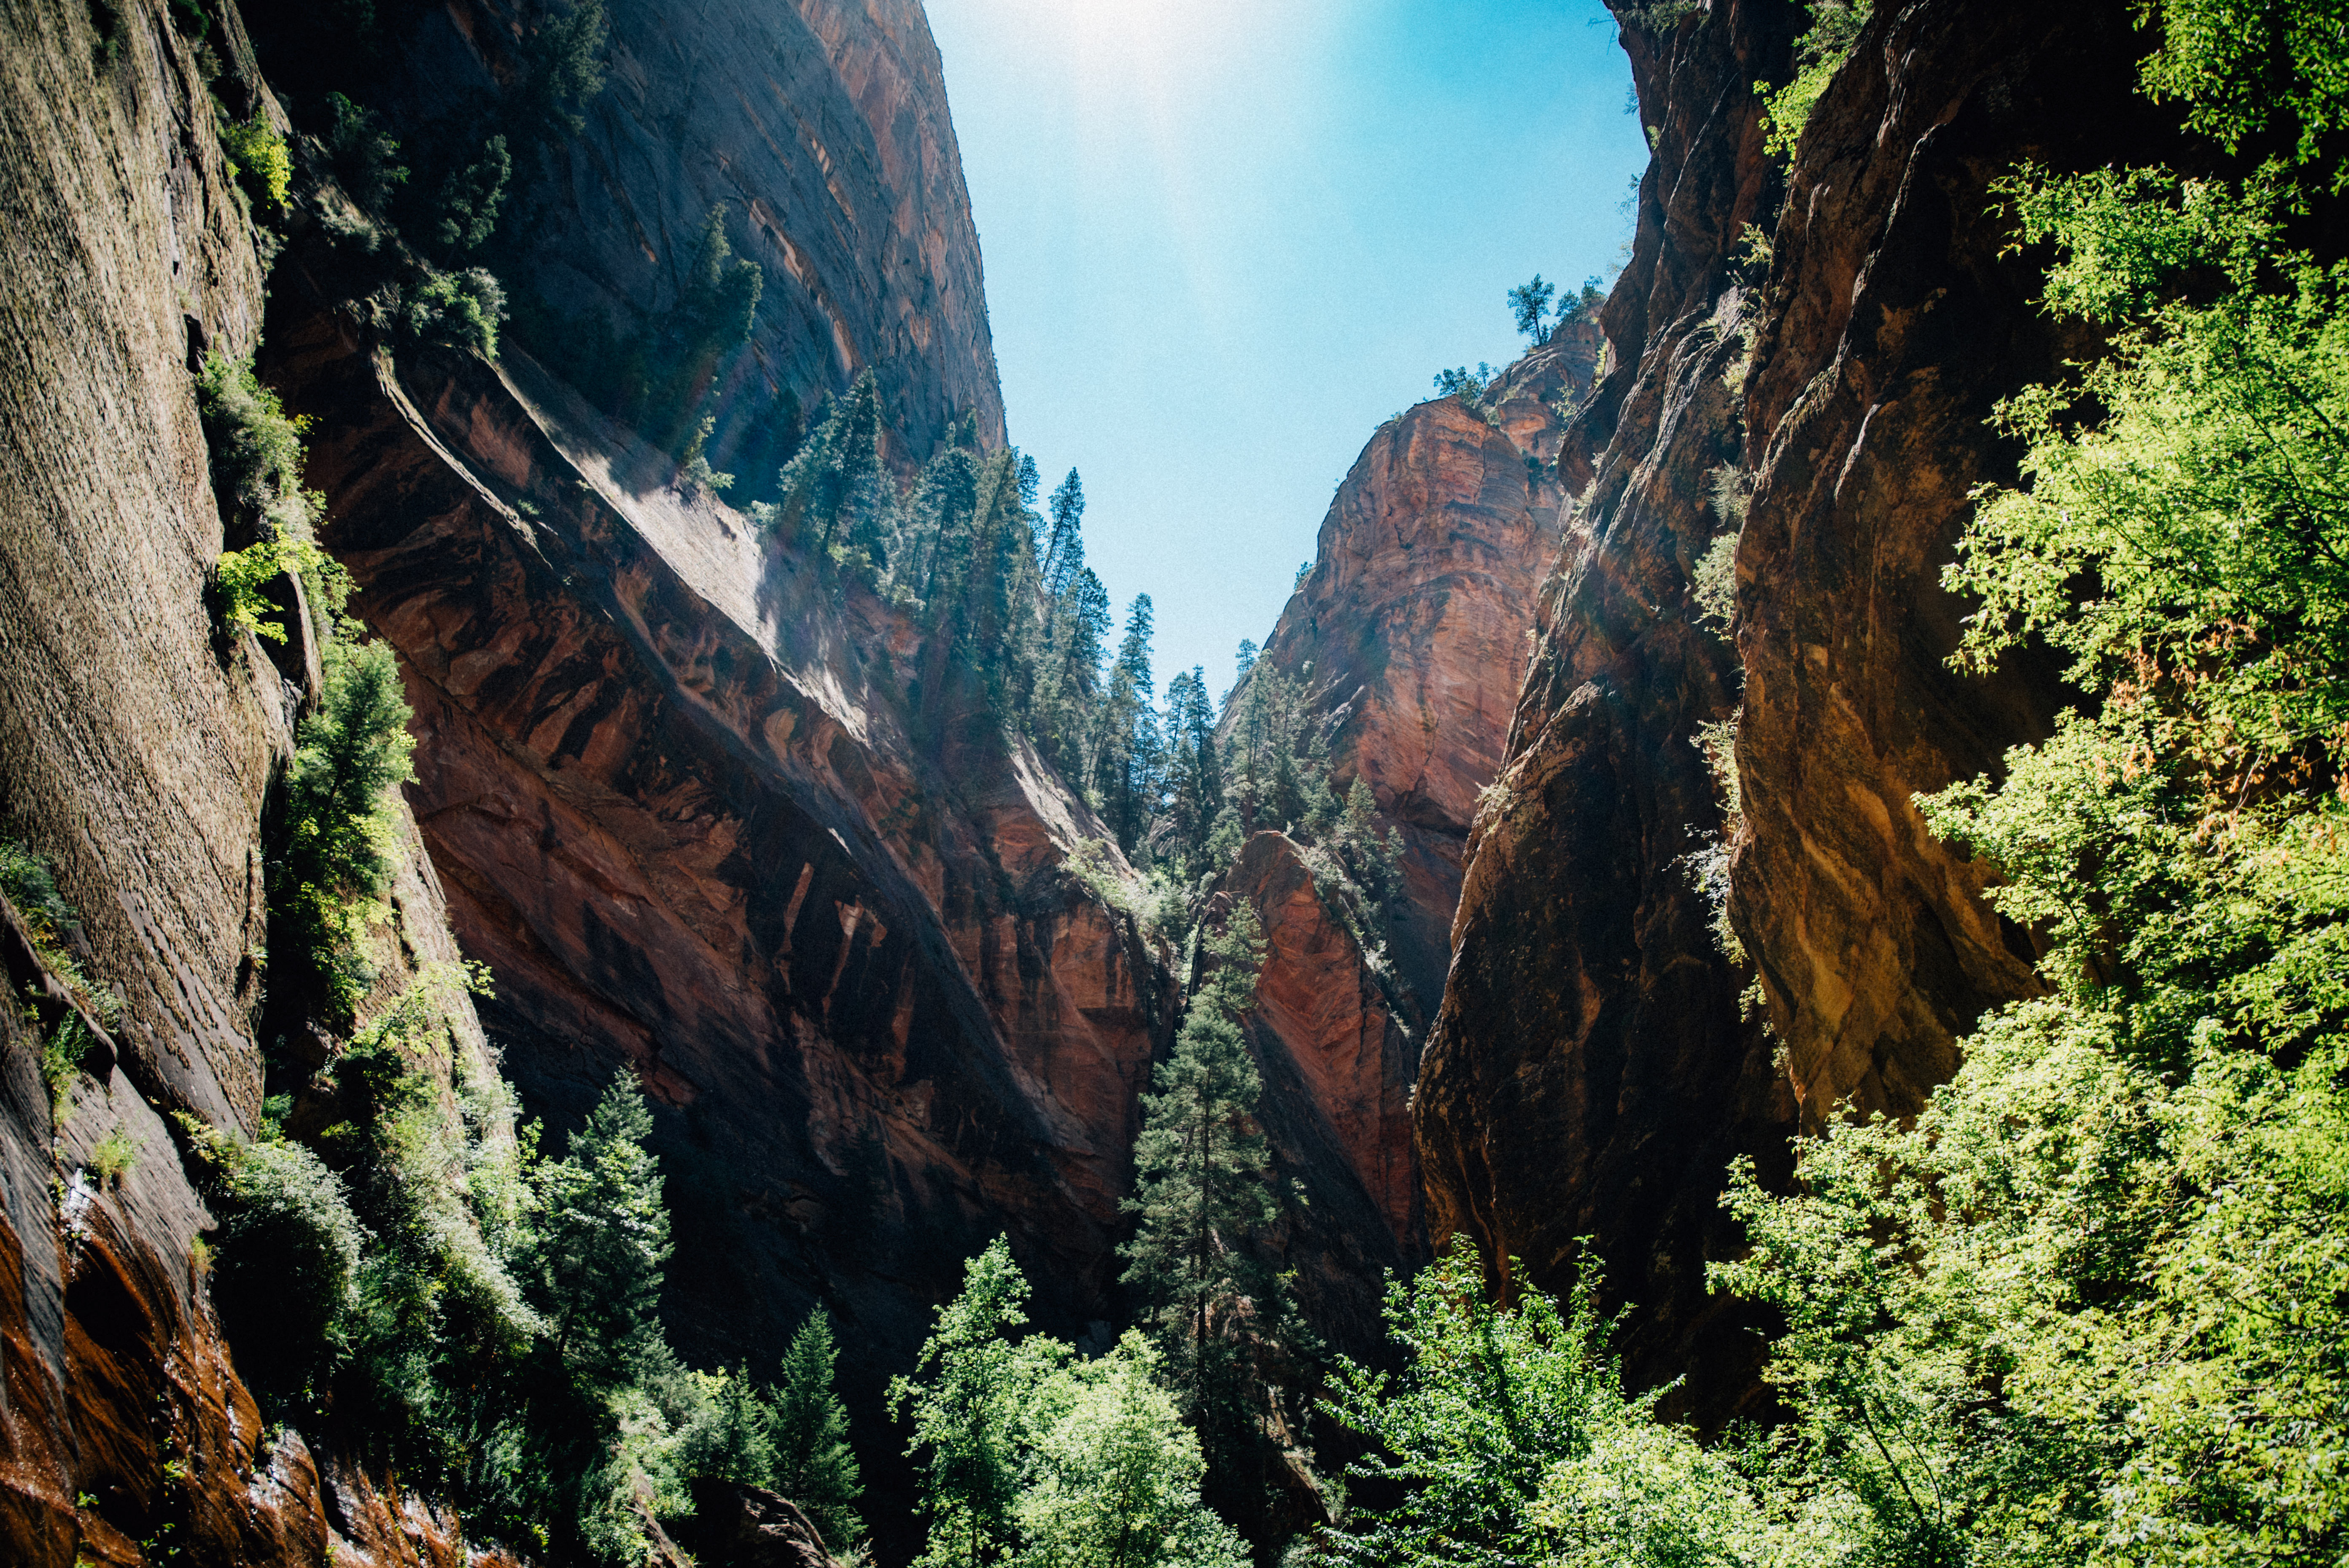
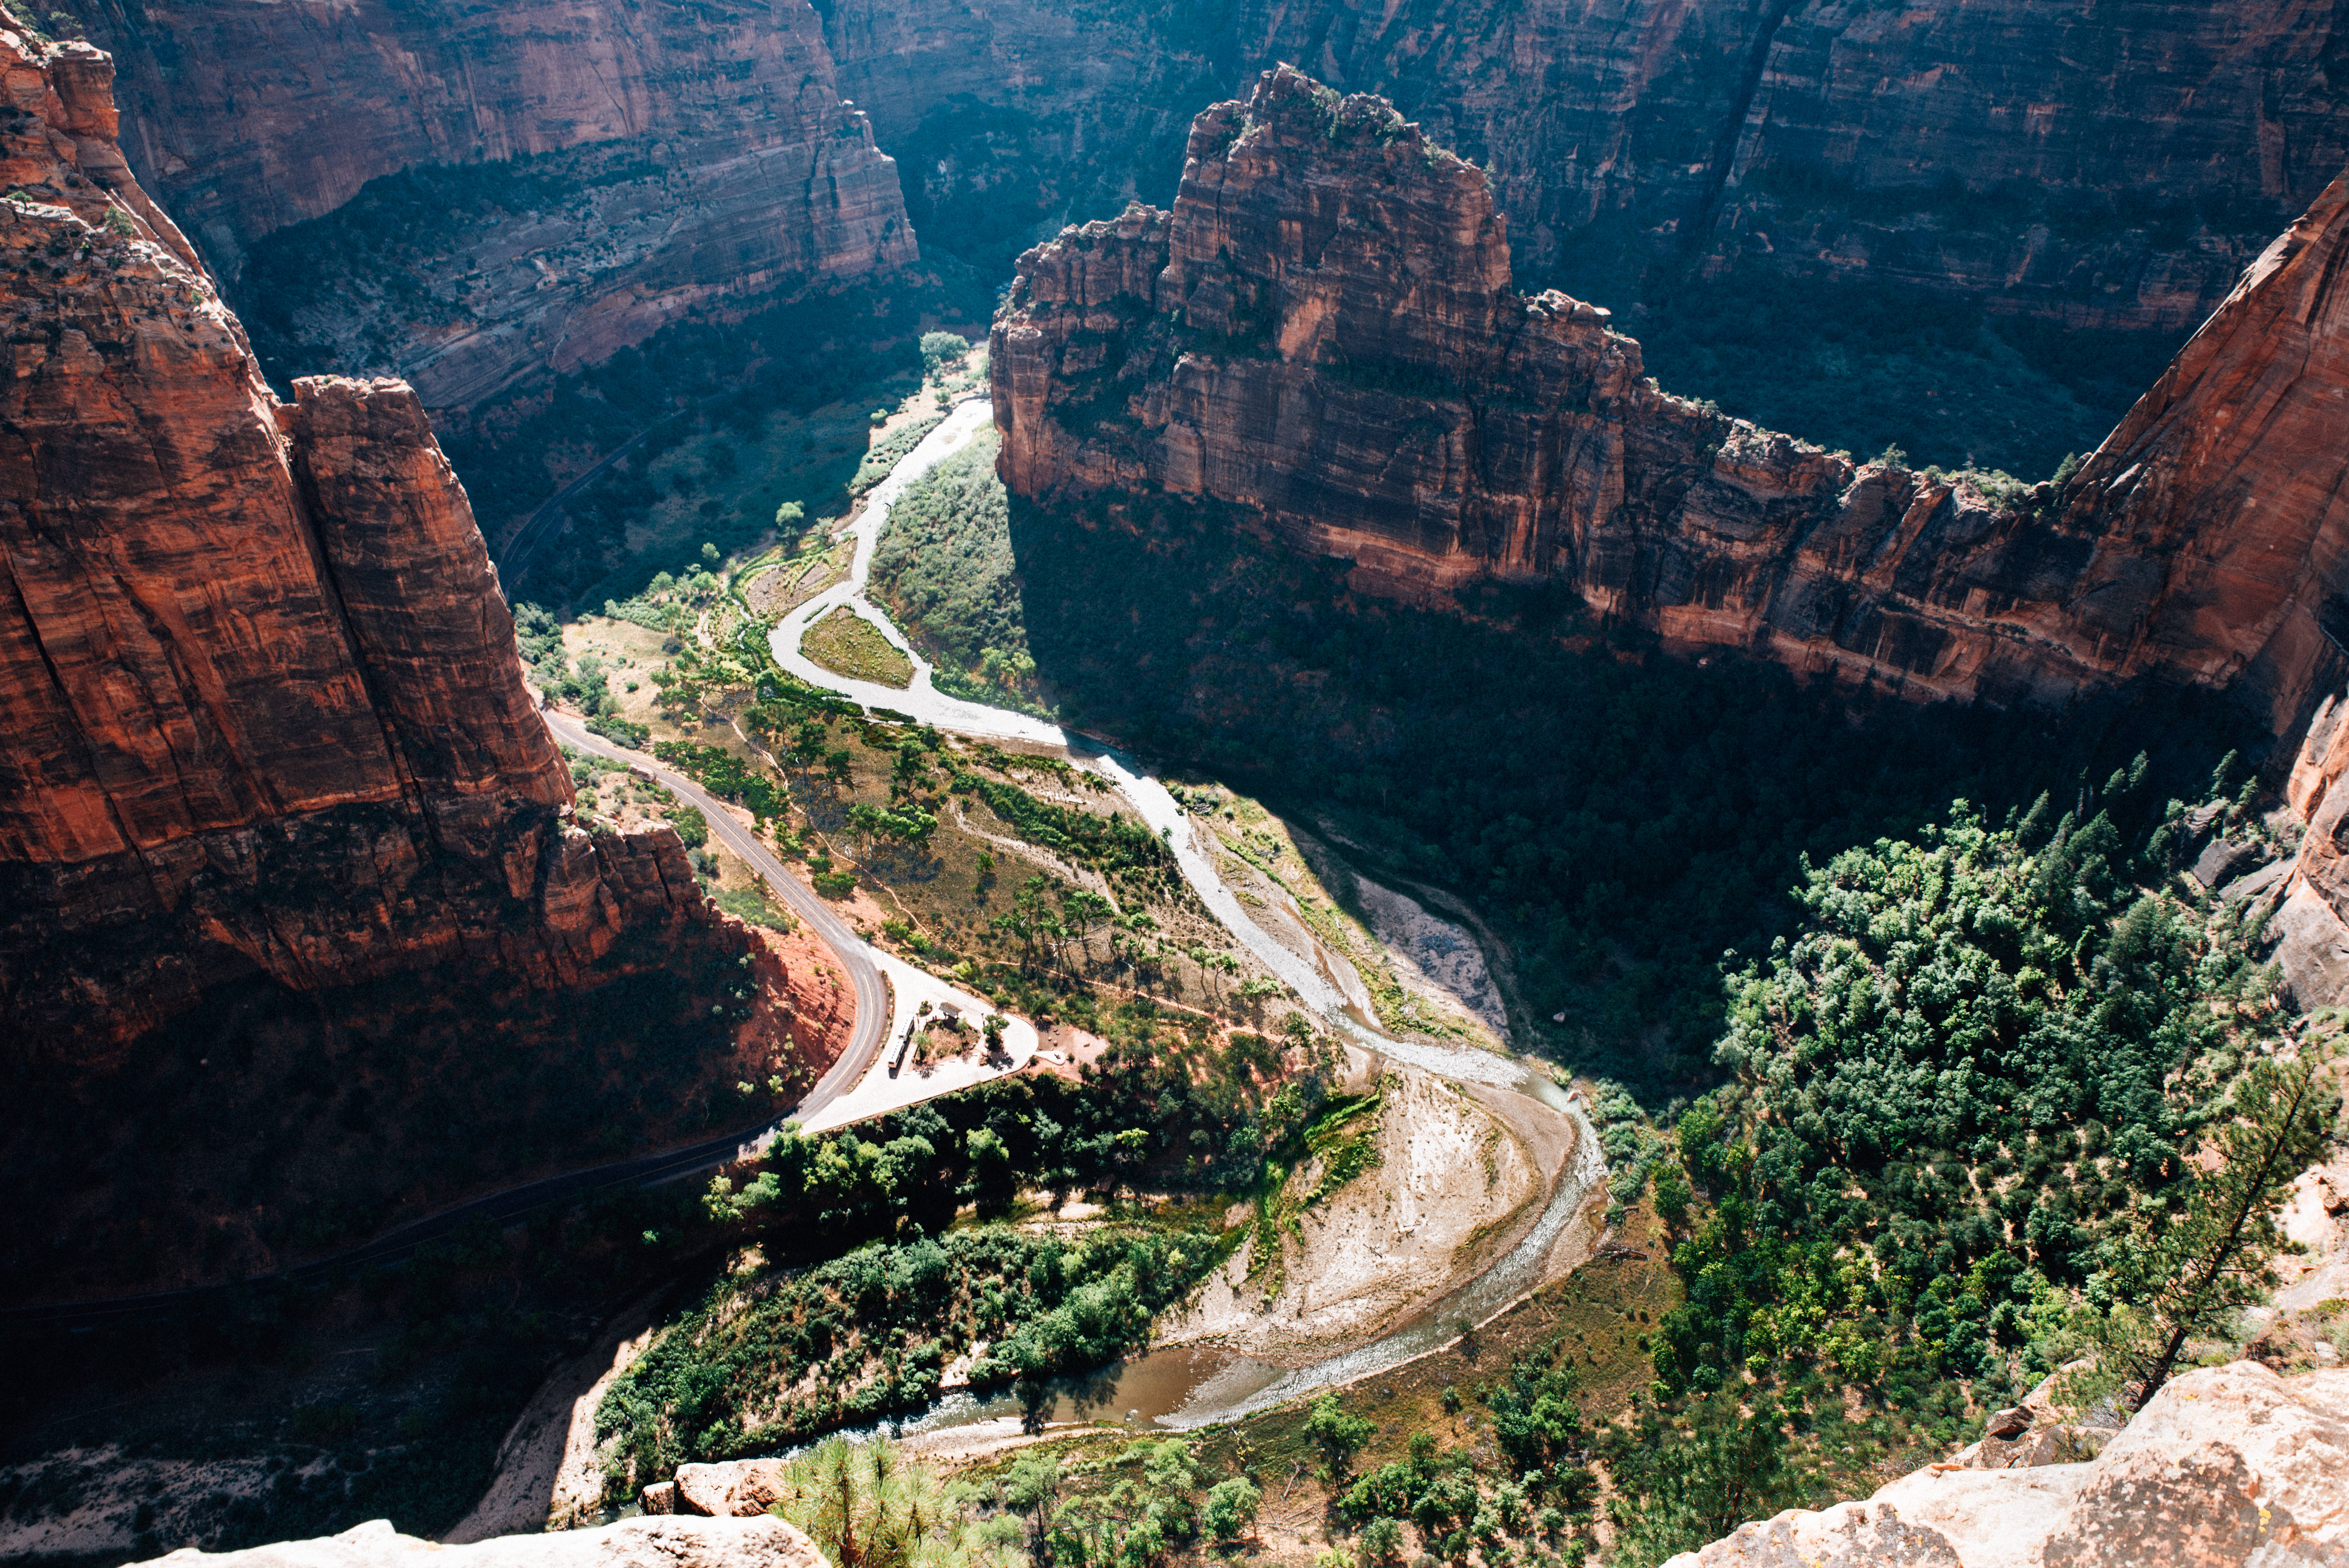
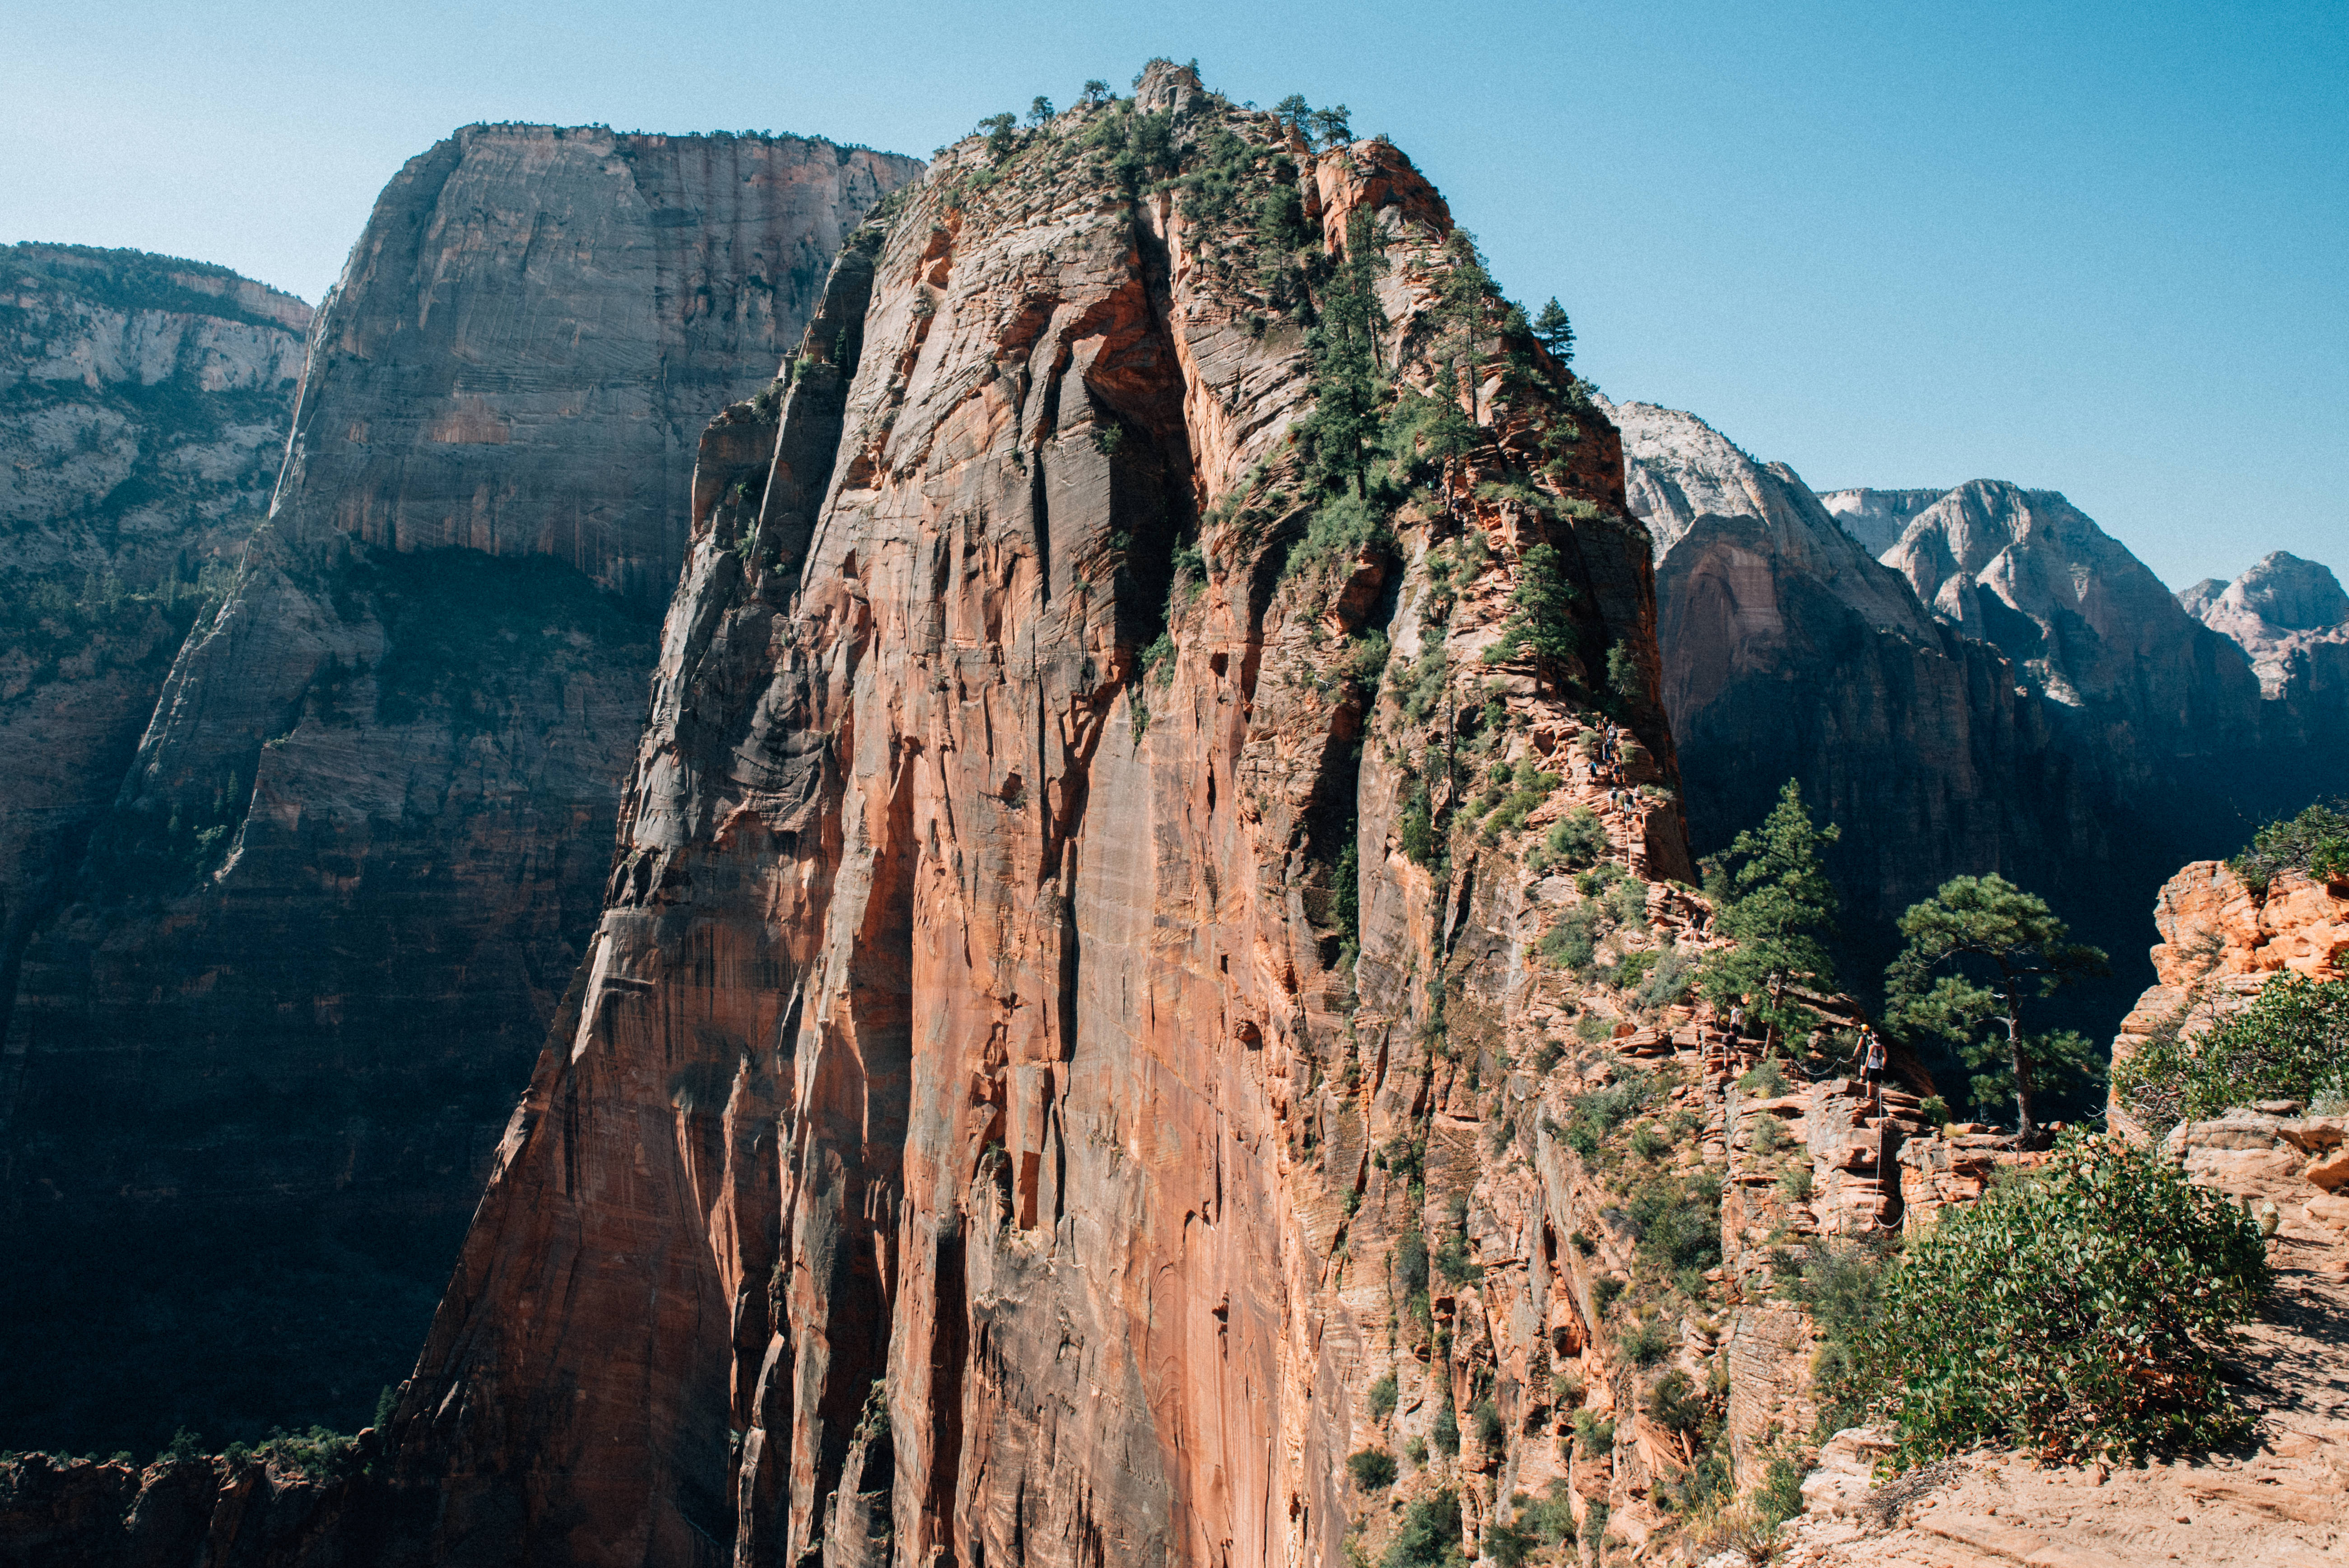
Angel’s Landing is one of the trademark hikes in Zion, and it was an incredible experience. The Narrows is a hike down in the canyon at it’s lowest point, looking up surrounded by the cliffs. Angel’s Landing is the complete opposite: a hike up to the top of the cliffs looking down on some of the best views of the park. This hike was challenging to say the least. It started out with a typical uphill hike with a lot of switchbacks to make it to the top. Once you get to the top, that is when the real hike begins. You make your way through steep rock landscapes already looking at breathtaking views of the park. During this hike, there are many spots where you have to climb up rock faces using chains sticking tight to the cliff so you don’t slip and plummet down the side of a 1,000 foot cliff. The majority of this hike was spent thinking through your next step, how you were going to get to the next part, and making sure your footing was secure before you moved on. Not to mention being in the blistering Zion sun the whole time.
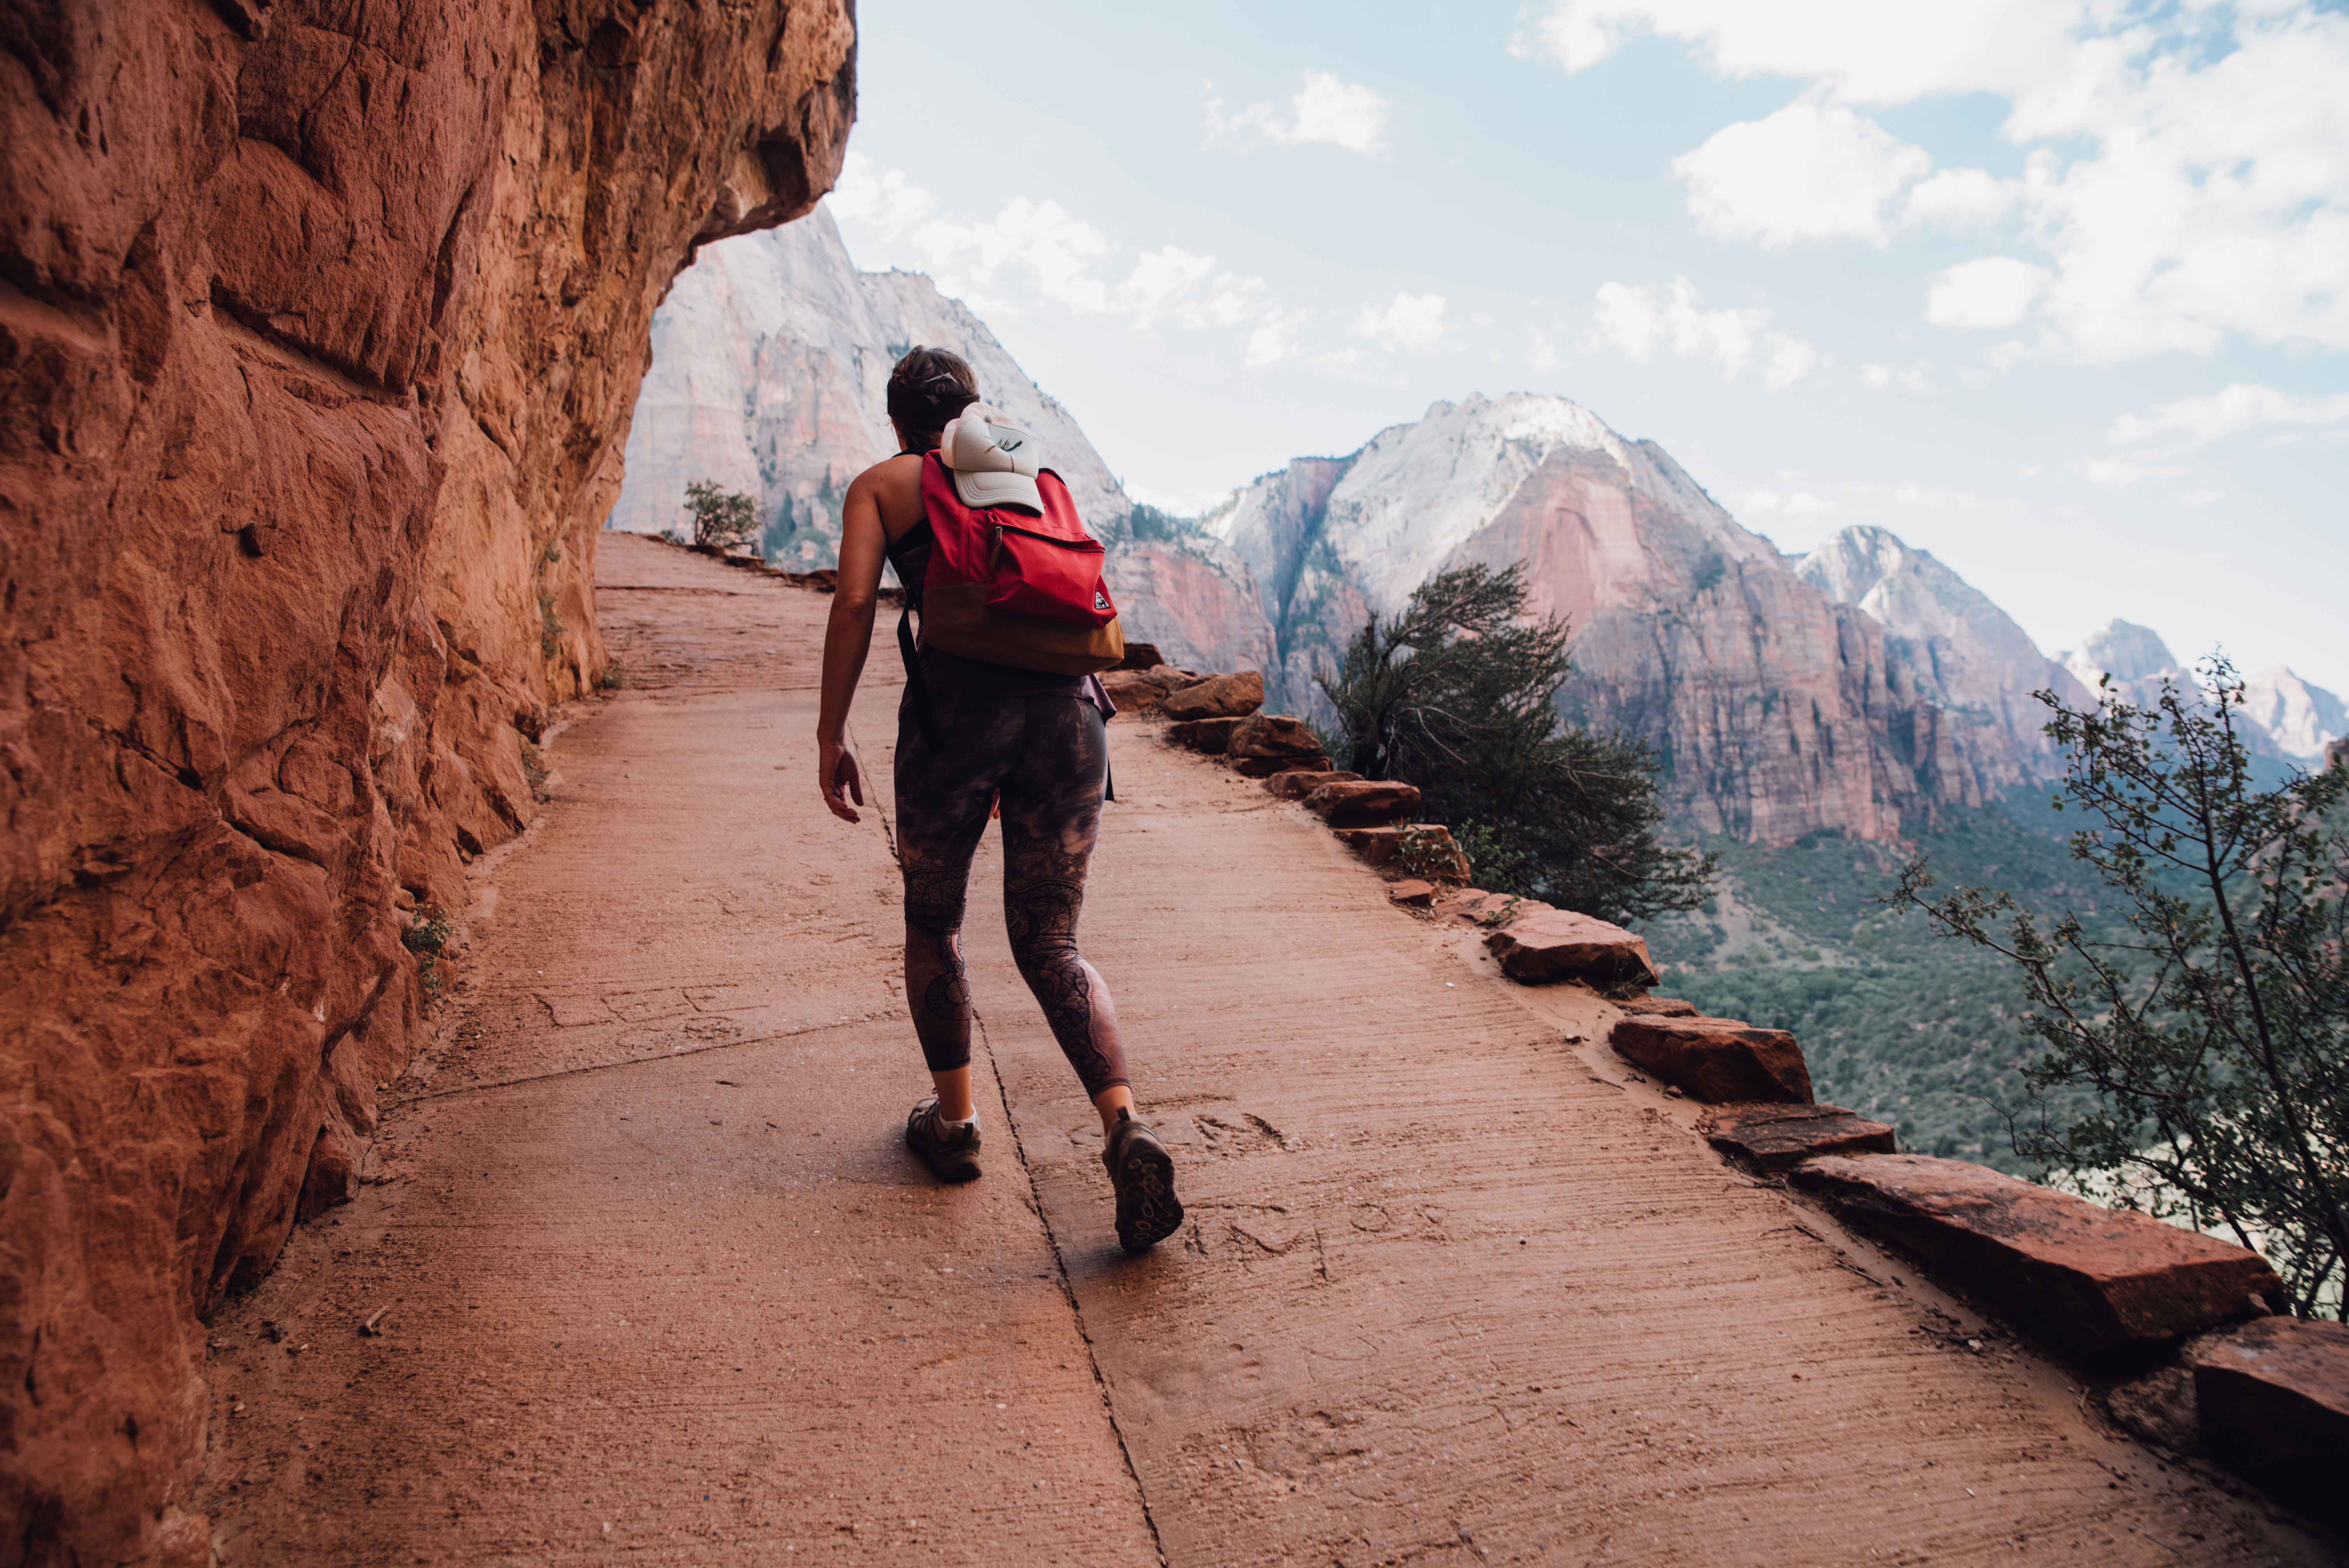
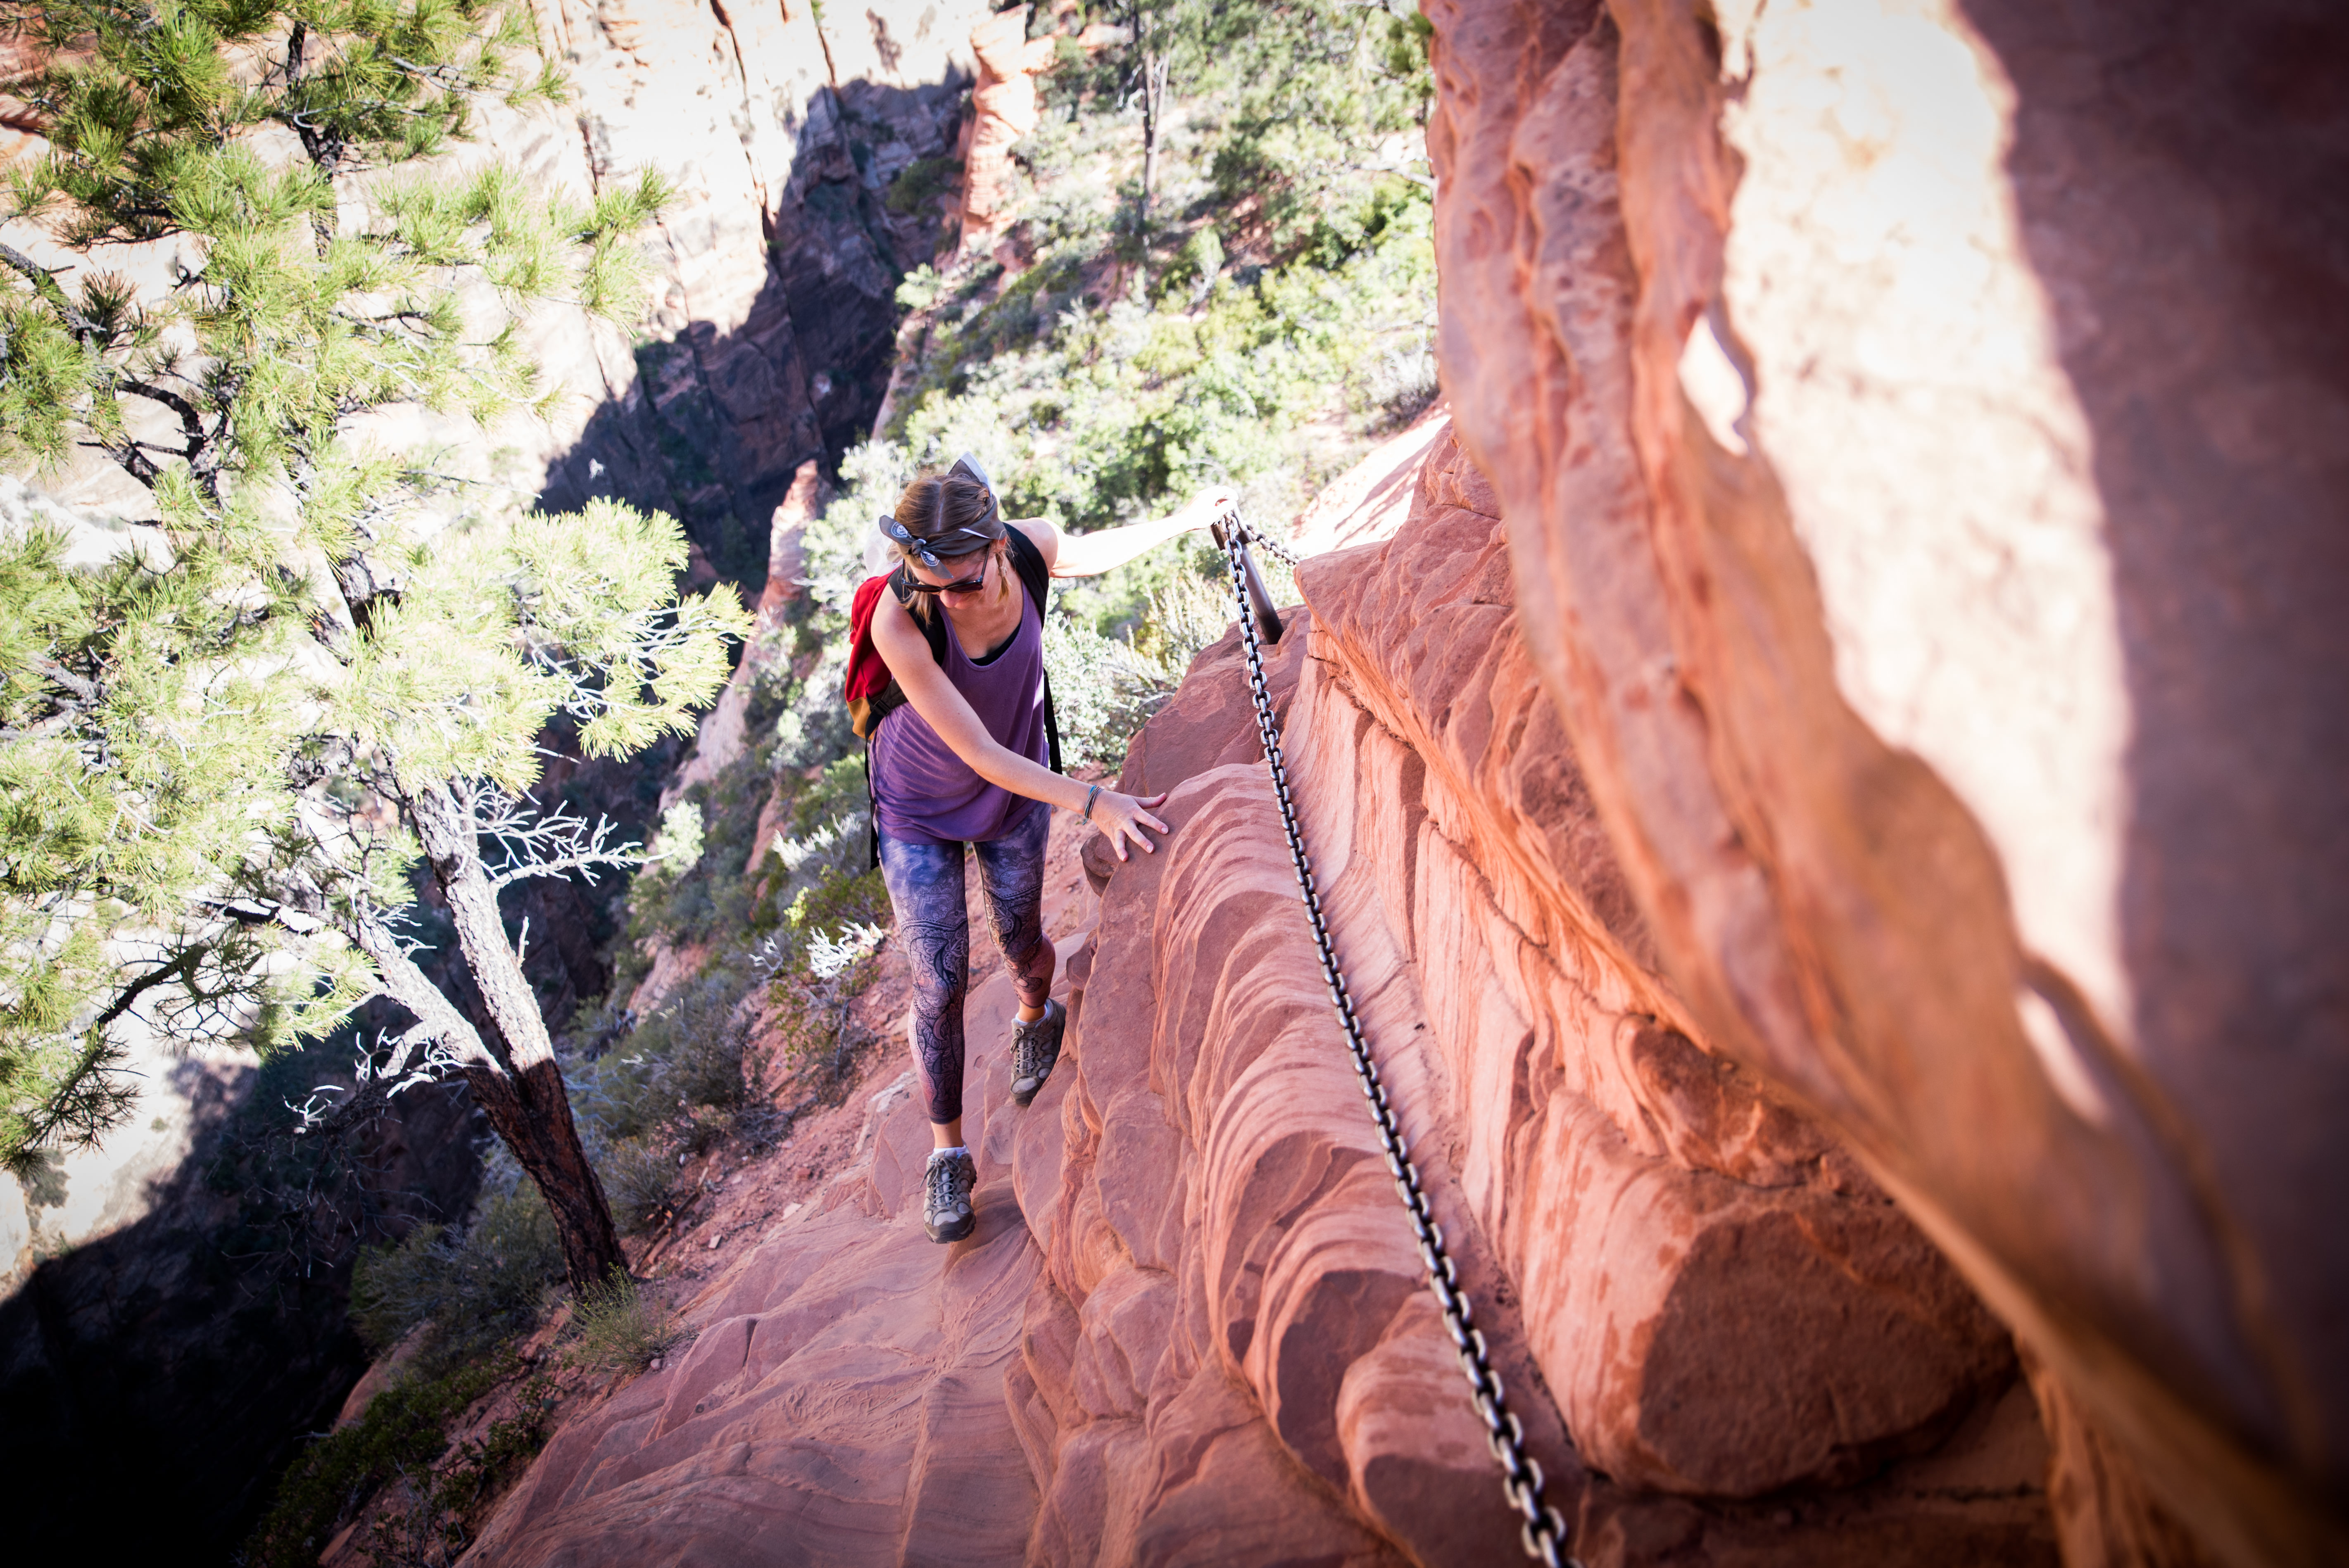
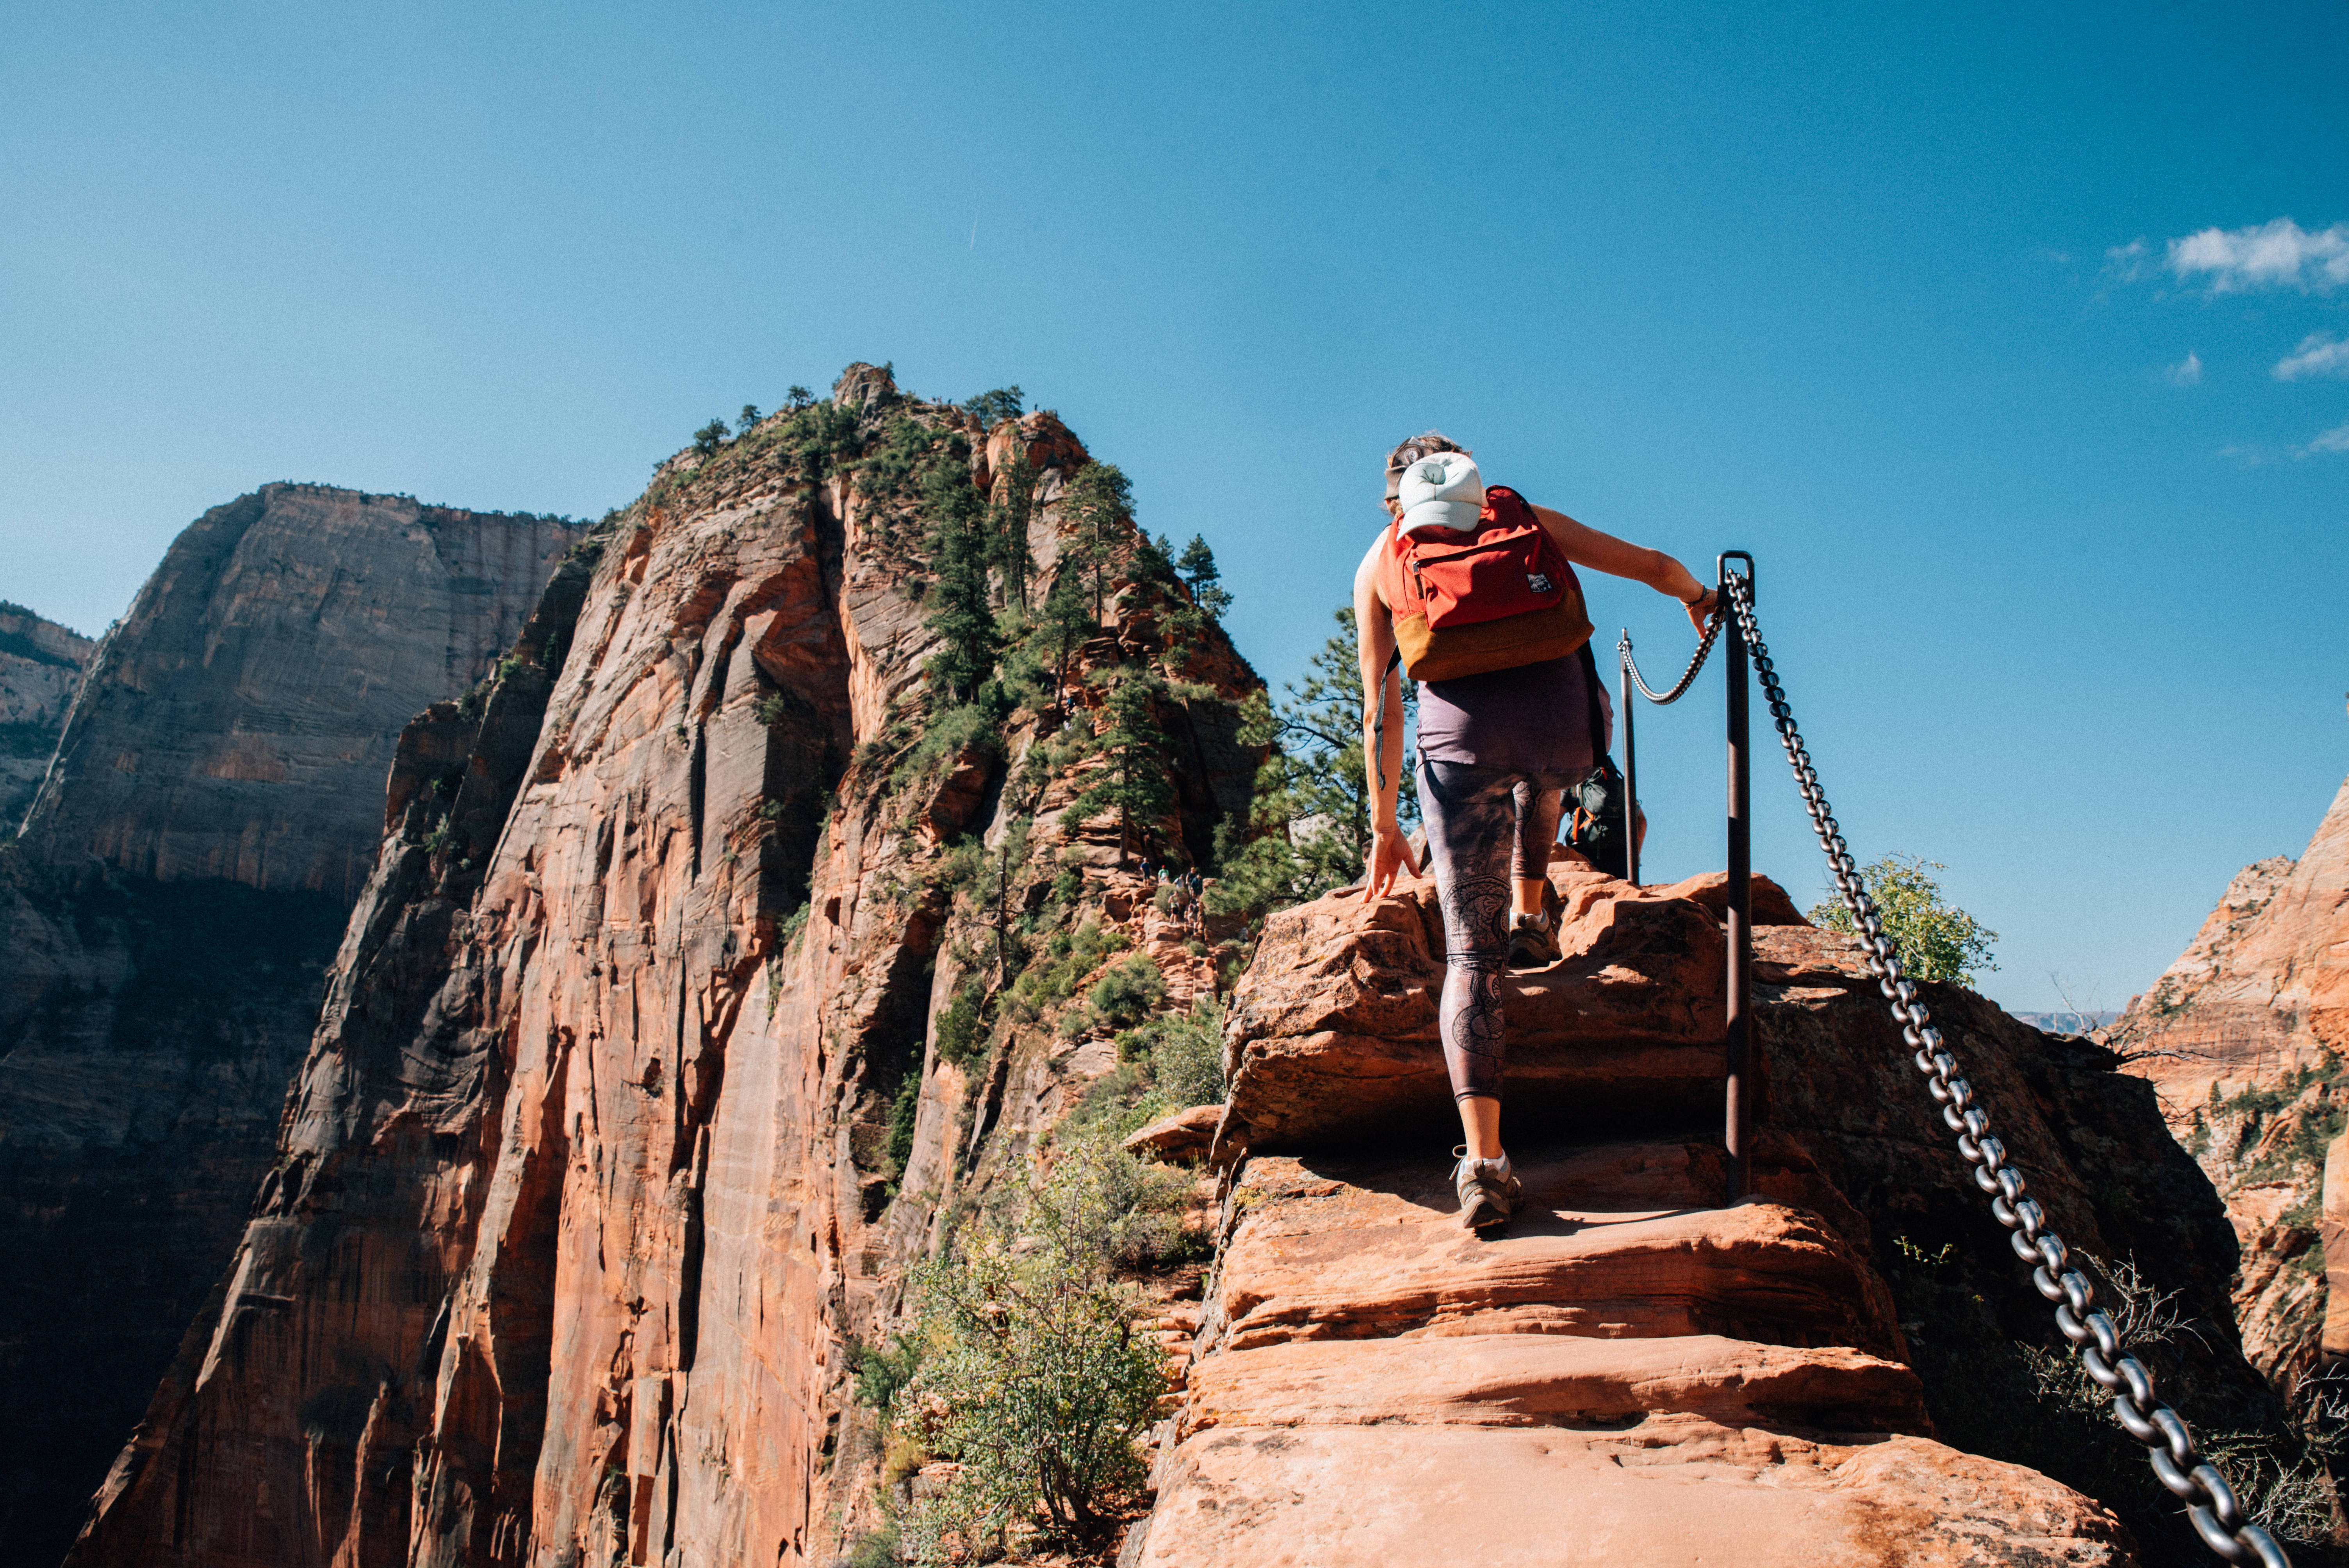
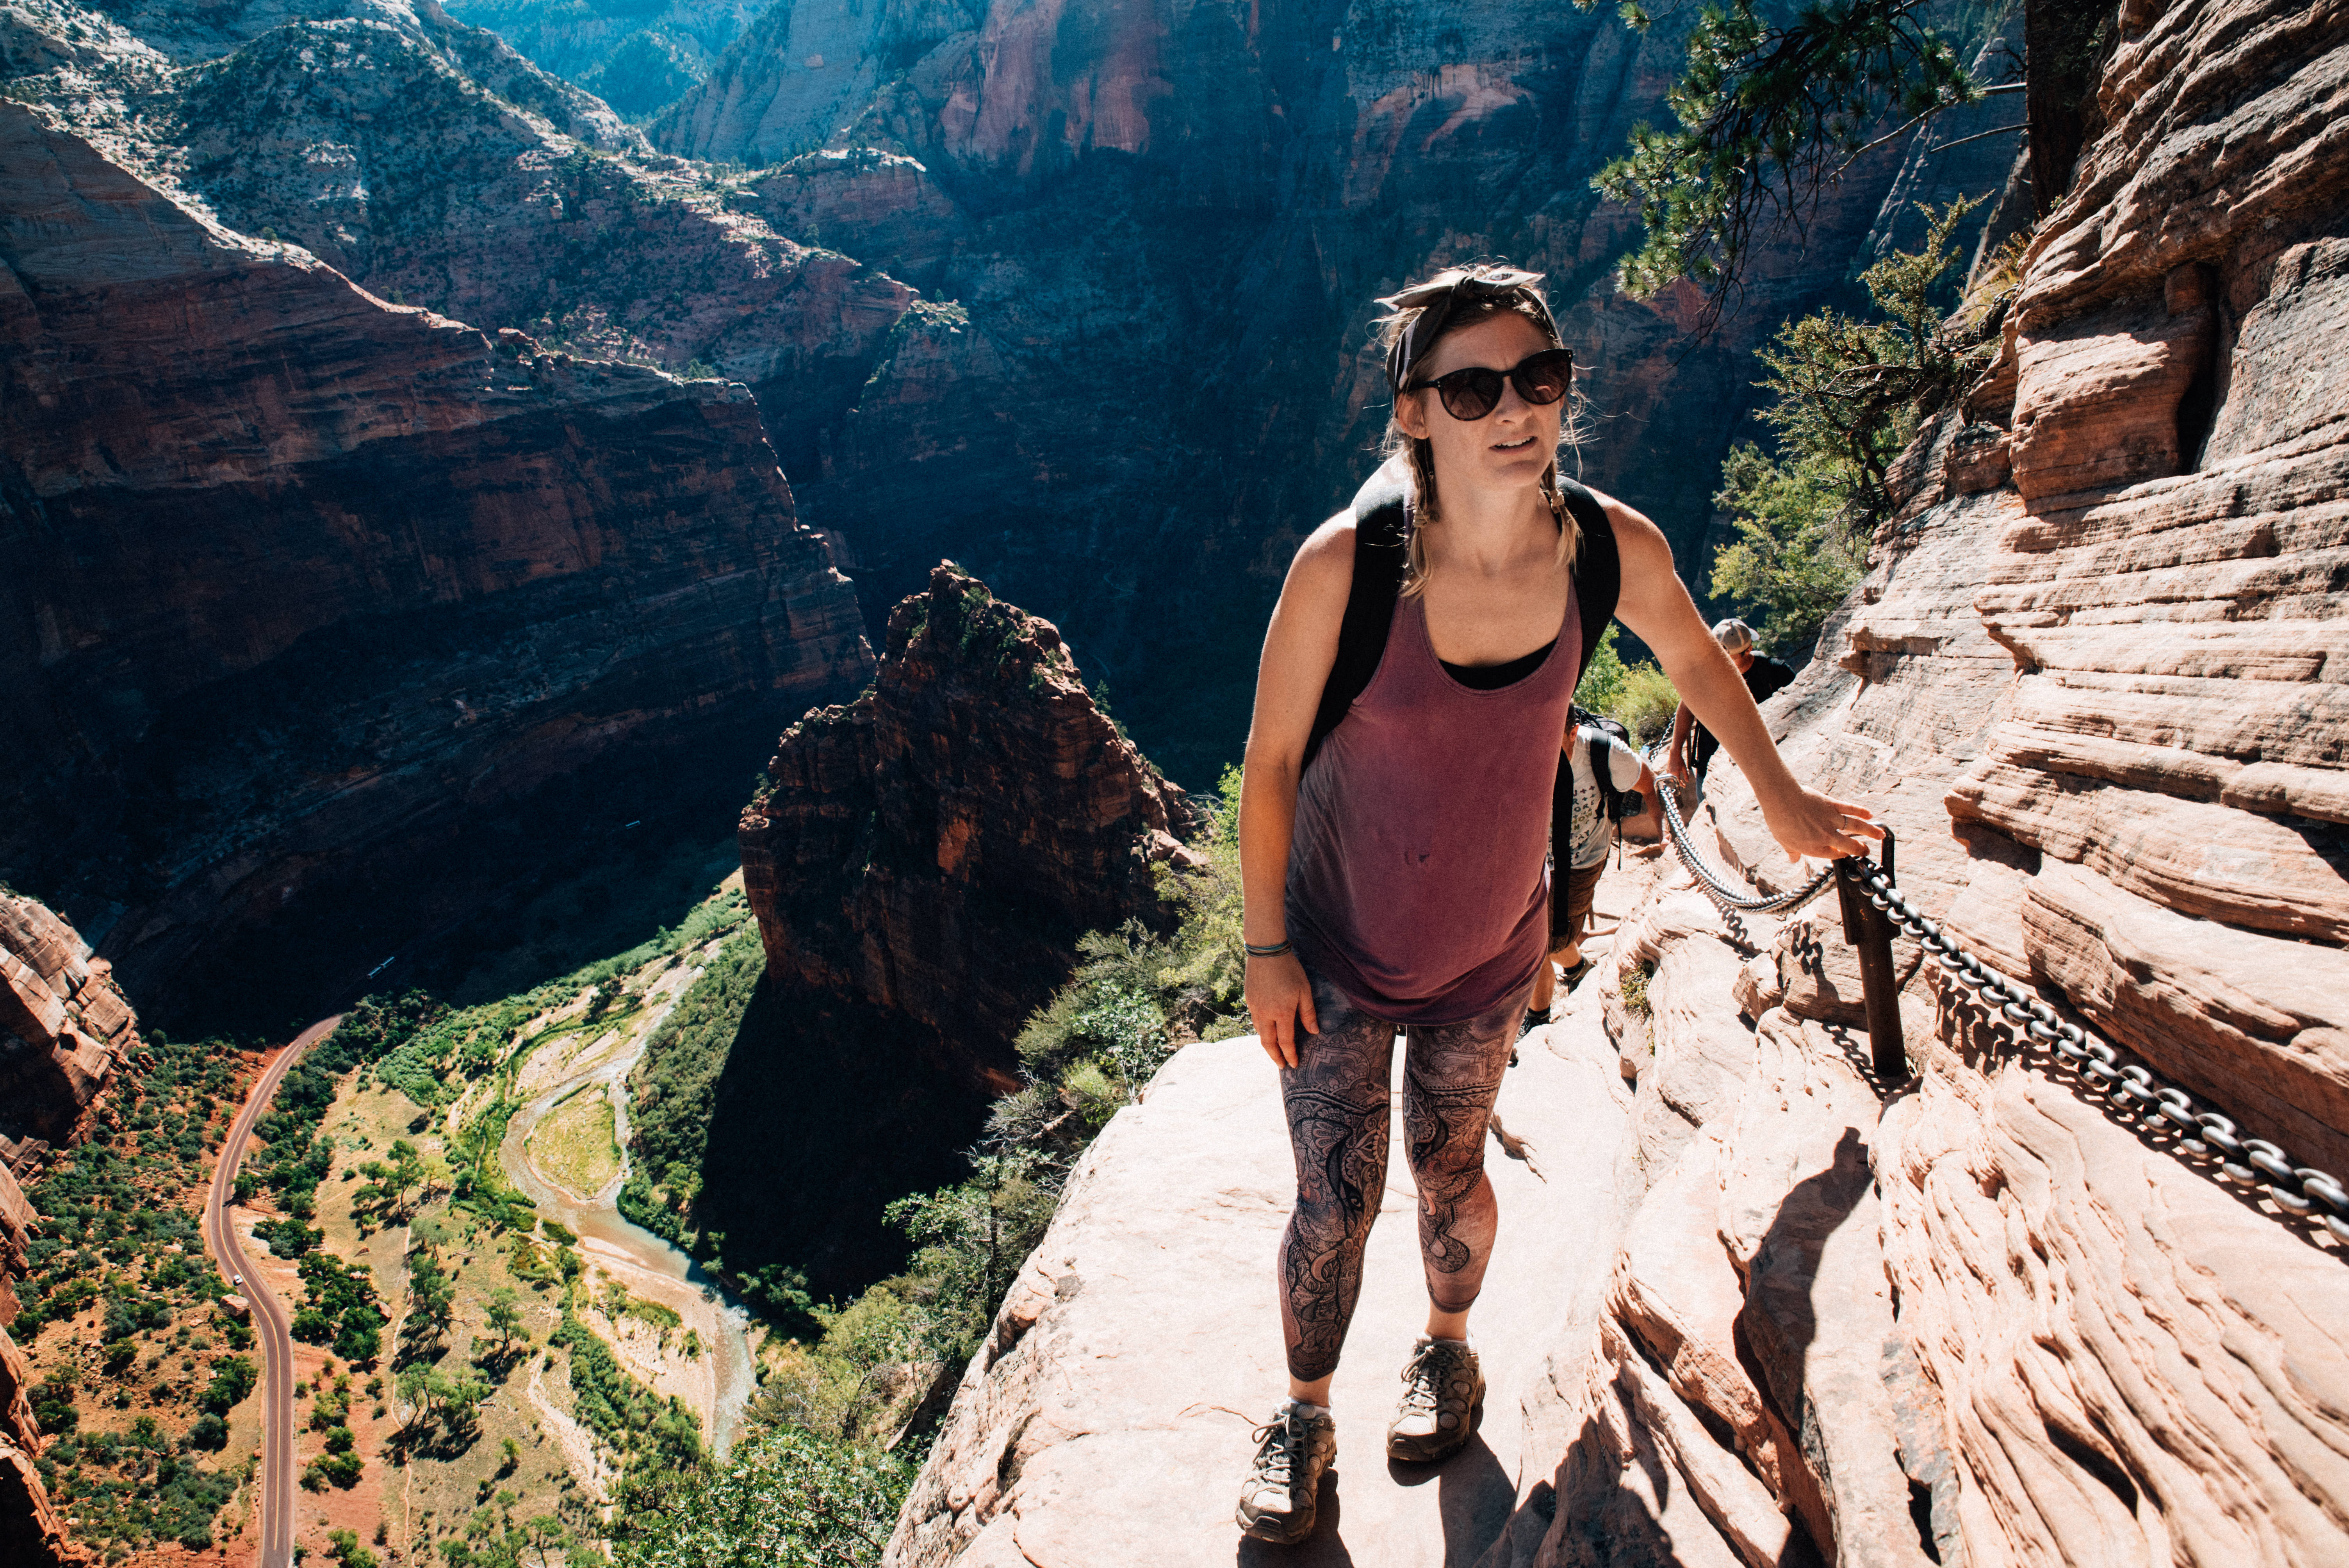

Again, I wanted to photograph this as best I could without carrying so much gear that I physically couldn’t make it up to the top. This was an uphill hike the entire time after all, who wants to be so weighed down that they can’t make it? I went with a simple set up: MoneyMaker, Sightseer, and a tri-pod. I left the heavy lenses at camp to cut down on weight. Half the time we were up there in this hike, I easily whipped out my camera and snapped candid shots in one hand, while holding on for dear life with the other. I watched so many people with their cameras swinging around their necks get tangled up in it, trying to stop it from smashing into the rocks. I was glad I was able to stow mine away easily and just pull it out with one hand when needed. I tied up my tripod to the cross hash on the MoneyMaker and it didn’t move or get in the way at all. I didn’t have to worry about smashing any plastic clips to pieces against rocks, I didn’t feel like I needed to think about my gear at all. I knew it was sturdy enough to give me peace of mind.
I was curious while planning the trip if the Holdfast gear would hold up. I was worried about damaging it, but figured it definitely looks sturdy enough for the task. I felt like I was asking a lot of it, but I put my faith in it and, of course, it did not disappoint.
Contact Info
Website: www.inspiremeimagery.com
Facebook: www.facebook.com/inspiremeimagery
Instagram: INSPIREMEIMAGERY
Email: john@inspiremeimagery.com